Arc Survival Guide
This guide provides detailed strategies and insights into effectively defeating various ARC enemies in the game. Learn about each enemy's weaknesses, recommended weaponry, and tactical approaches to ensure survival and success.
Overview
The PVE threats in ARC Raiders are numerous and can be deadly if you're unprepared. This guide will walk you through the best ways to take on each type of ARC enemy, focusing on both easy and resource-efficient methods. We'll cover Hornets, Leapers, Rocketeers, ARC Surveyors, and Bombardiers, excluding the Queen as she deserves her own dedicated guide.
Step 1: Hornets
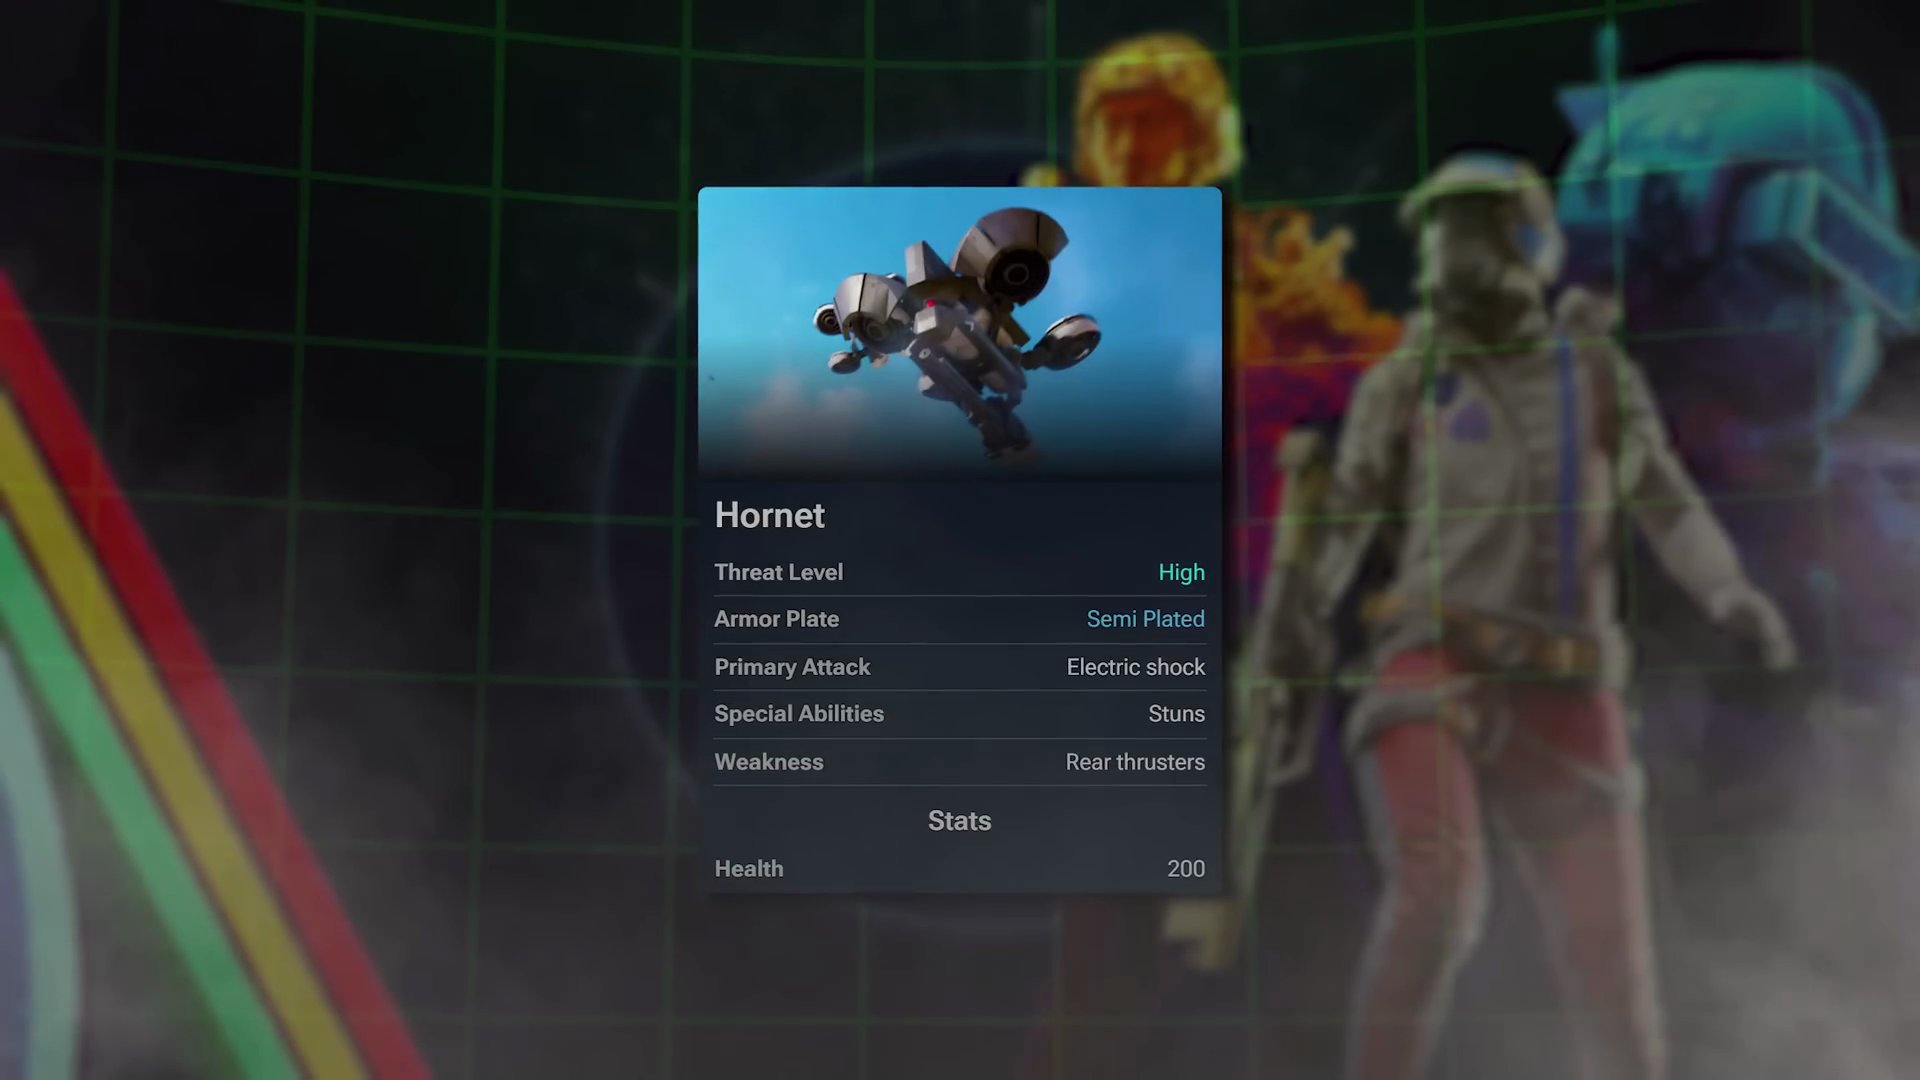
- Threat Level: High
- Armor Plate: Semi Plated
- Primary Attack: Electric shock
- Special Abilities: Stuns
- Weakness: Rear thrusters
- Health: 200
Killing a Hornet is like taking down a wasp: aim for the rotors. The front two rotors are armor-plated, so heavy ammo weapons will be more effective against them. If using light ammo, focus on the rear two rotors, though this can be tricky due to the angle.
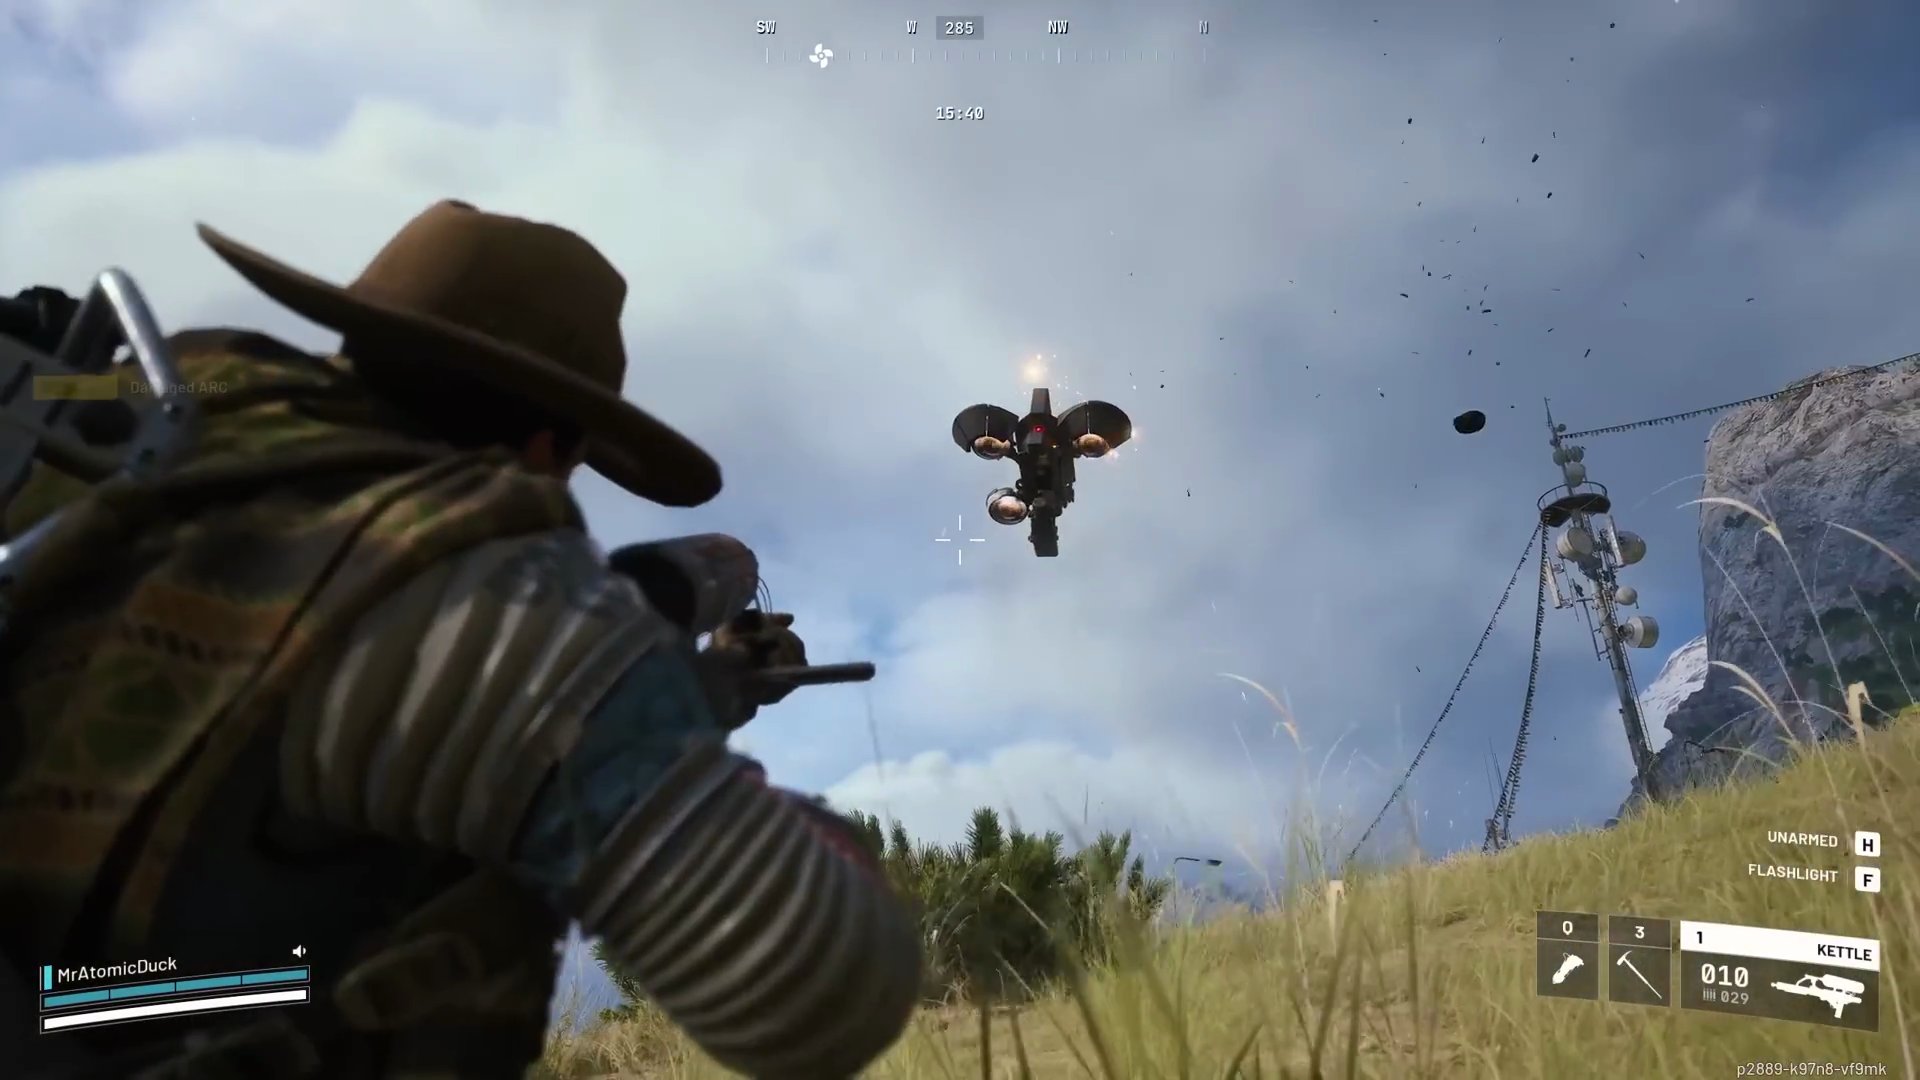
Dodge Attacks:
- Wait for the three yellow targeting lasers to combine into one.
- They will flash red just before firing, which is your cue to perform a dodge roll.
- Timing is key; spamming dodge roll is ineffective as they compensate.
- A little distance can help, as closer attacks are harder to dodge.
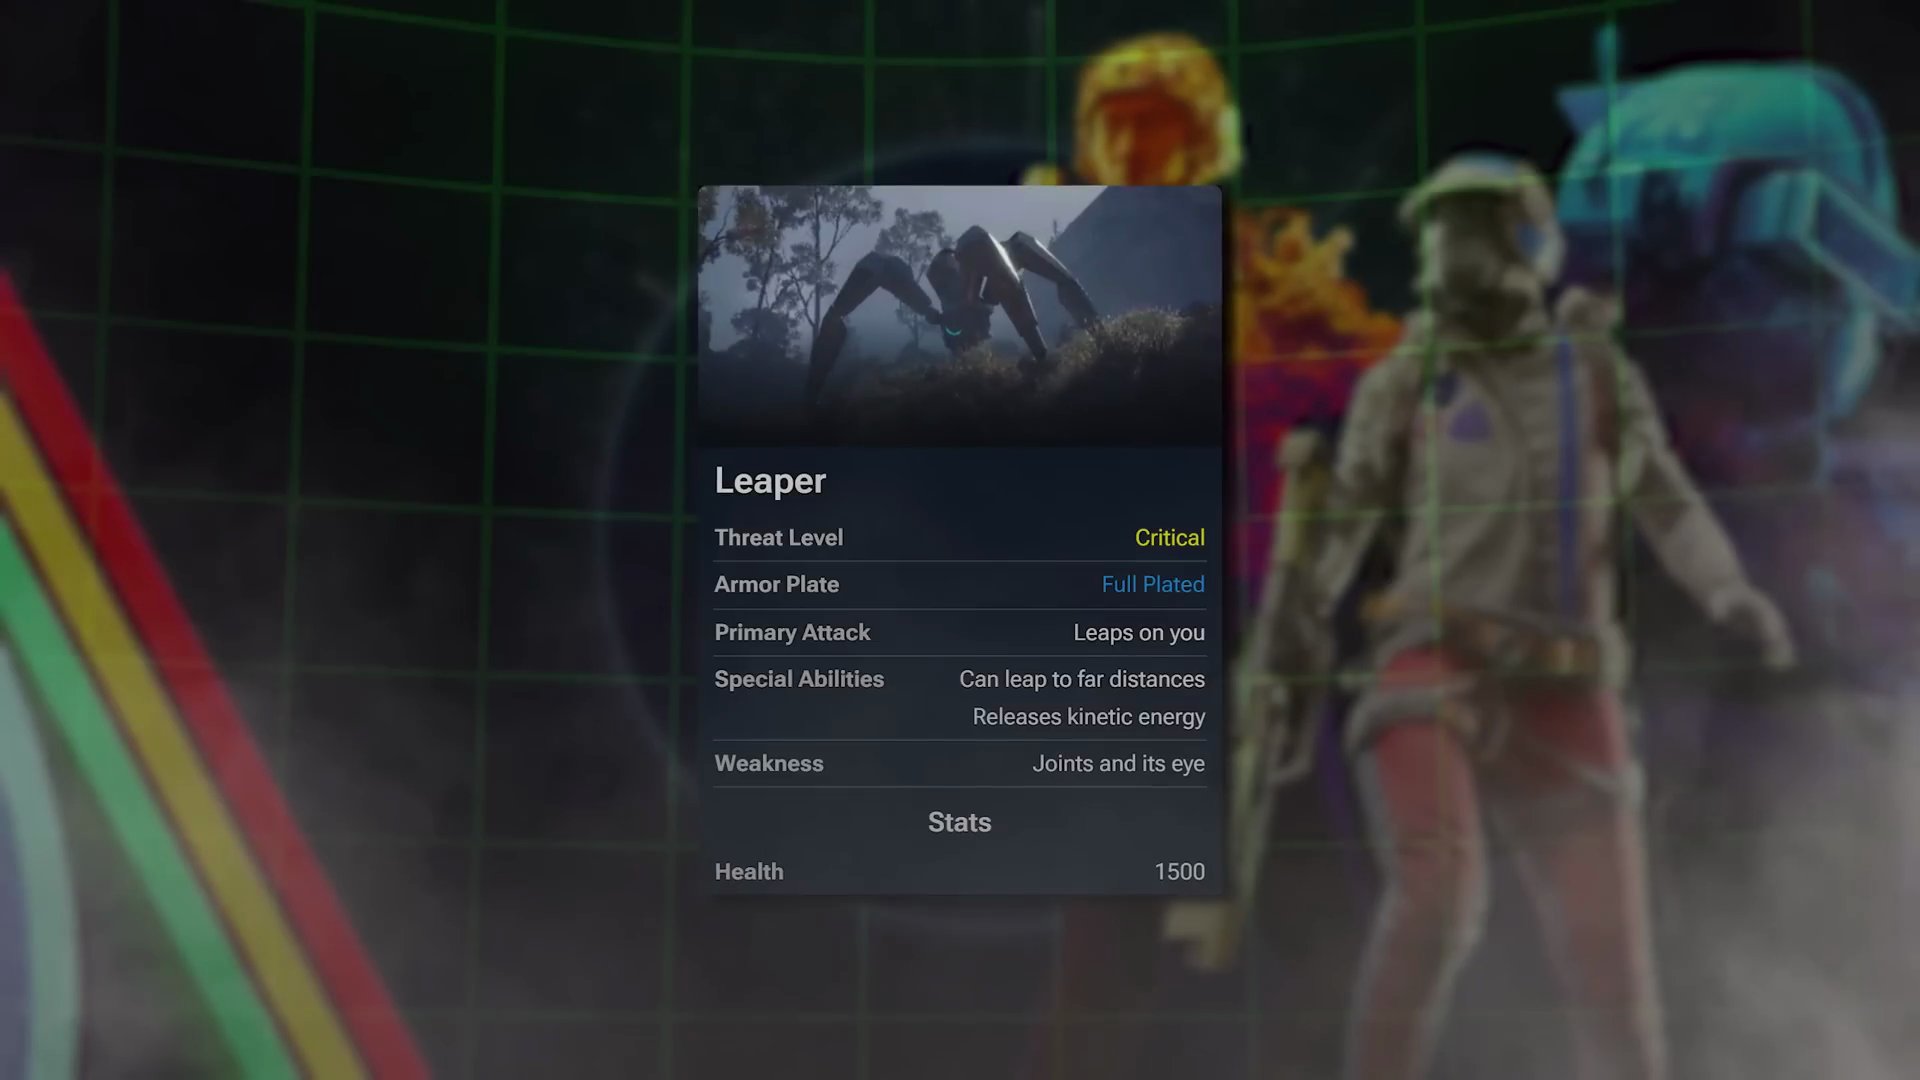
Step 2: Leapers
- Threat Level: Critical
- Armor Plate: Full Plated
- Primary Attack: Leaps on you
- Special Abilities: Releases kinetic energy
- Weakness: Joints and its eye
- Health: 1500
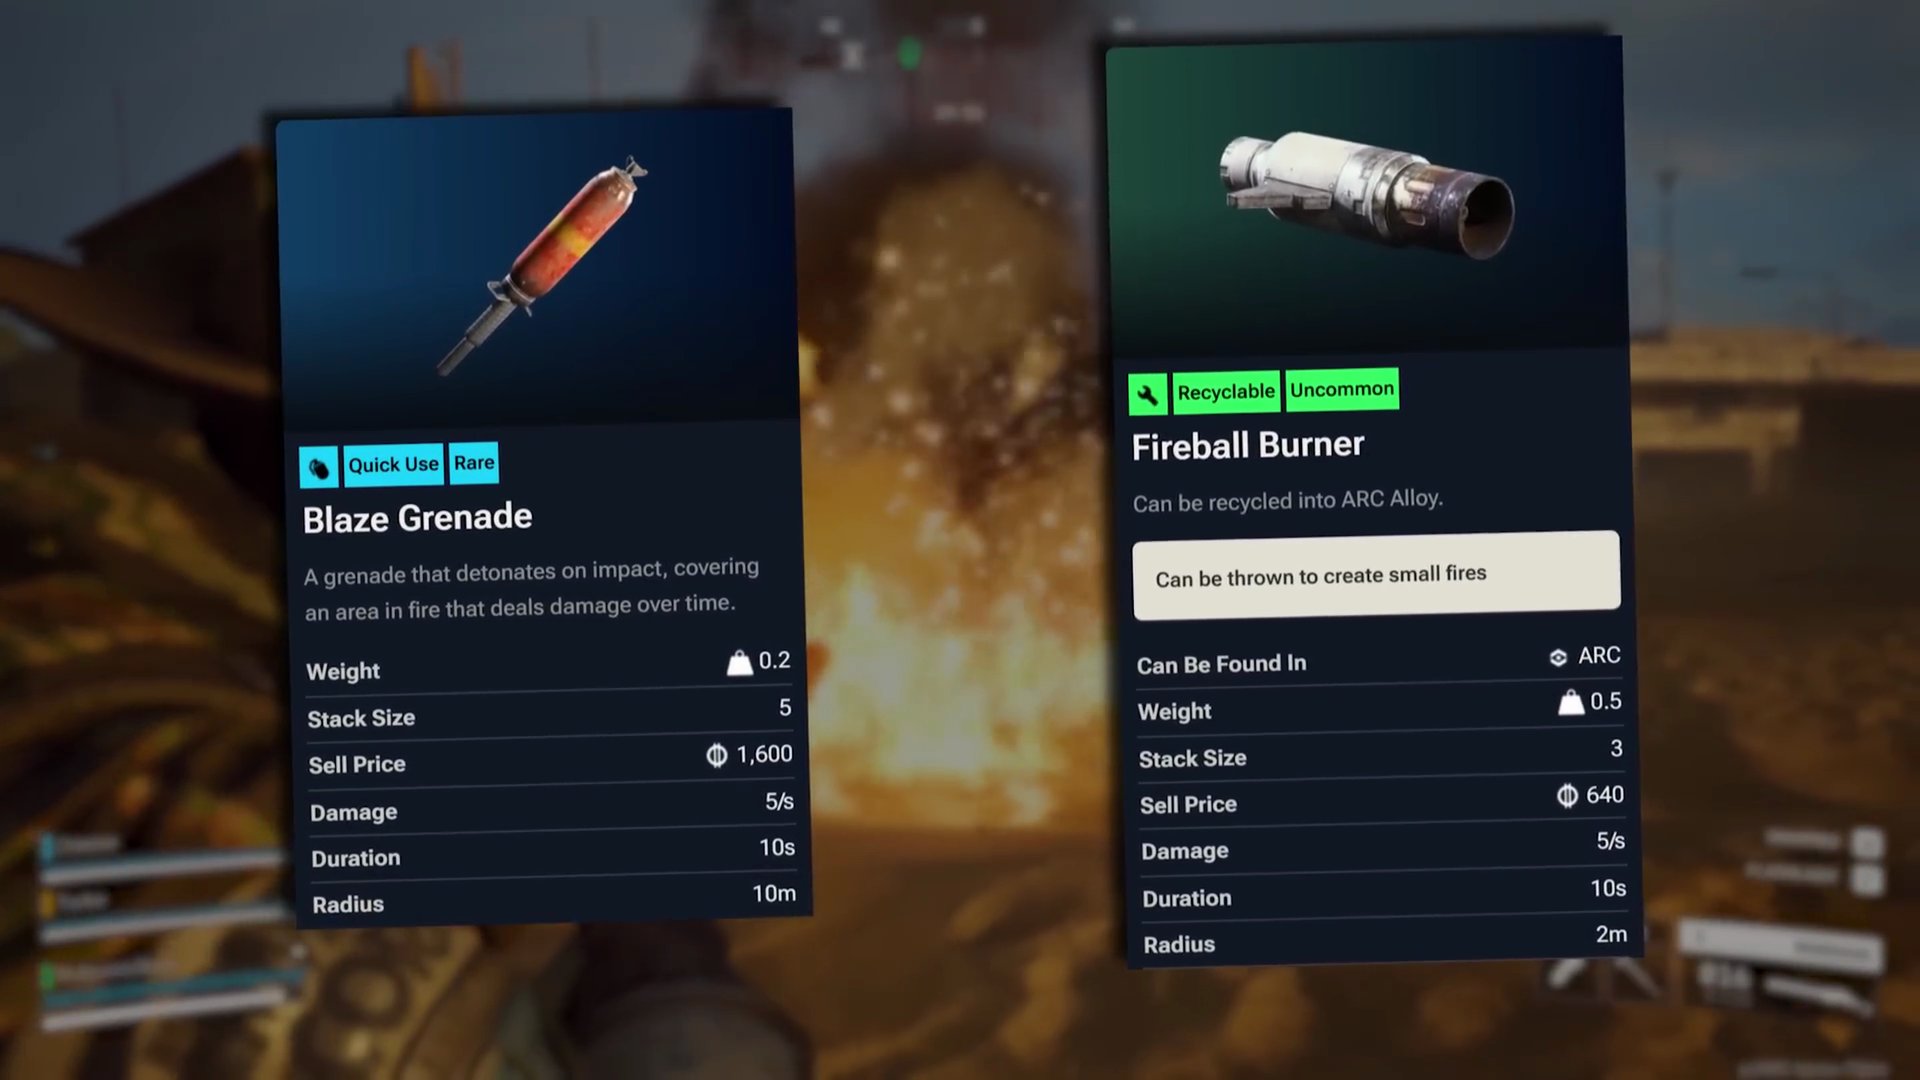
Leapers are vulnerable to tight spaces and fire. Blaze Grenades and Fireball Burners are viable choices.
Method 1: Grenades and Positioning
- Bring about three Blaze Grenades or Fireball Burners.
- Position yourself in buildings or bunkers where Leapers struggle to get through small doorways or reach you when indoors. For example, using bunkers on the Spaceport is always advised.
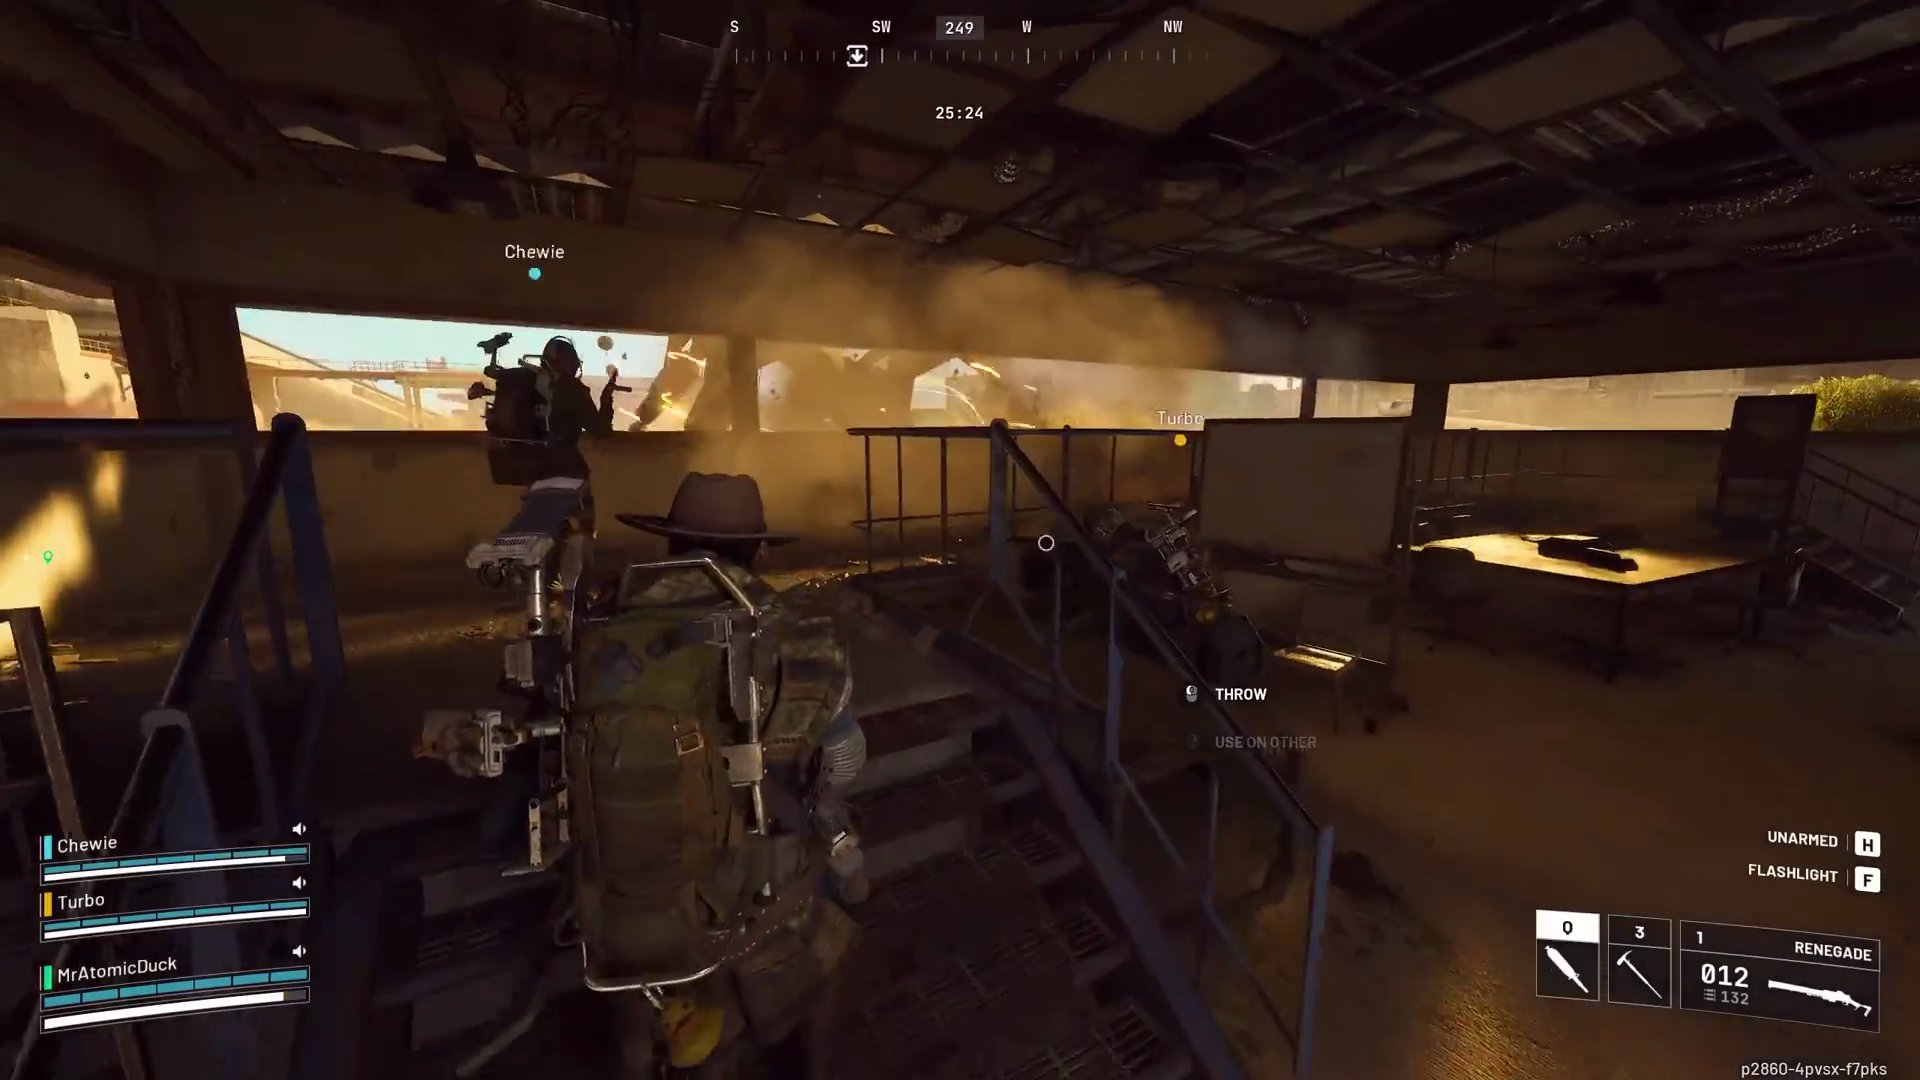
- Aim to land grenades on the center eye-piece of the Leaper to spread fire to all three limbs.
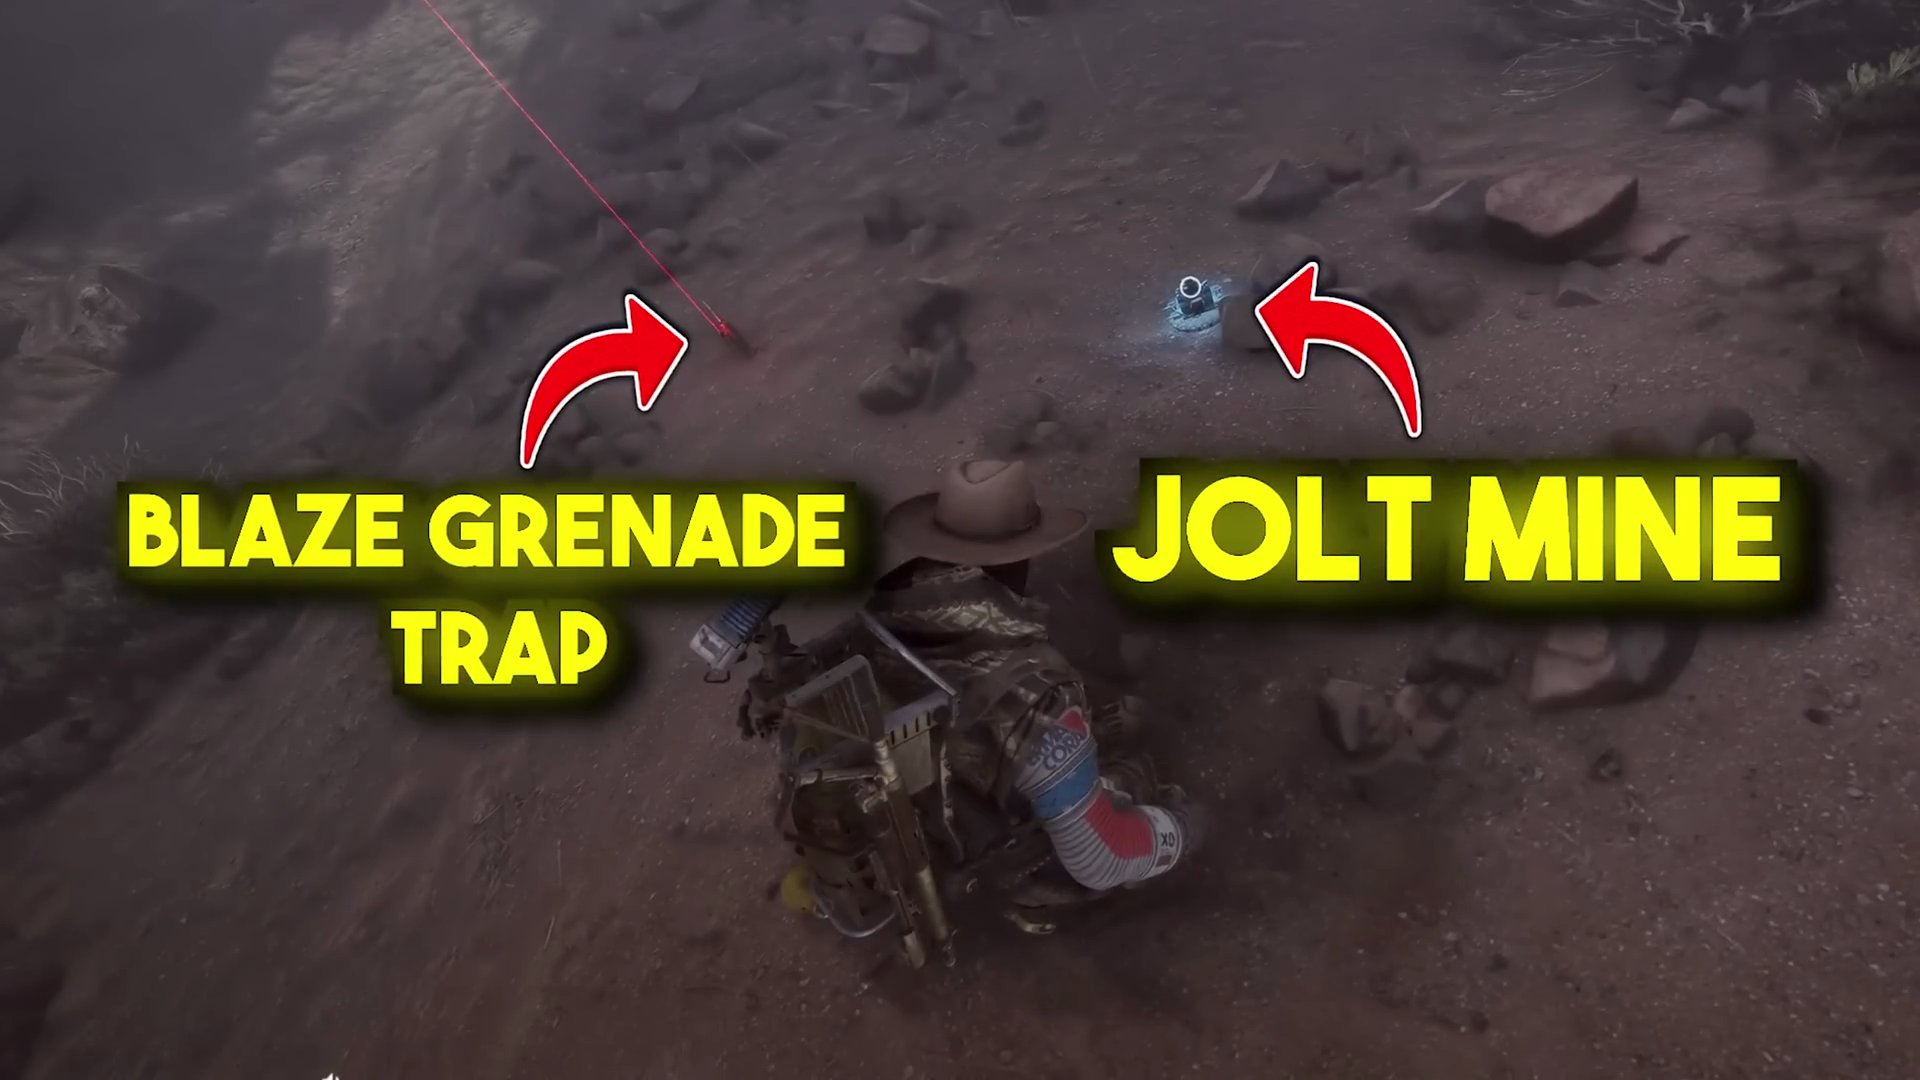
Method 2 (Preferred): Blaze Grenade Trap & Jolt Mine
- This method is easier and more resource-efficient.
- A single Blaze Grenade Trap will shred a Leaper's armor.
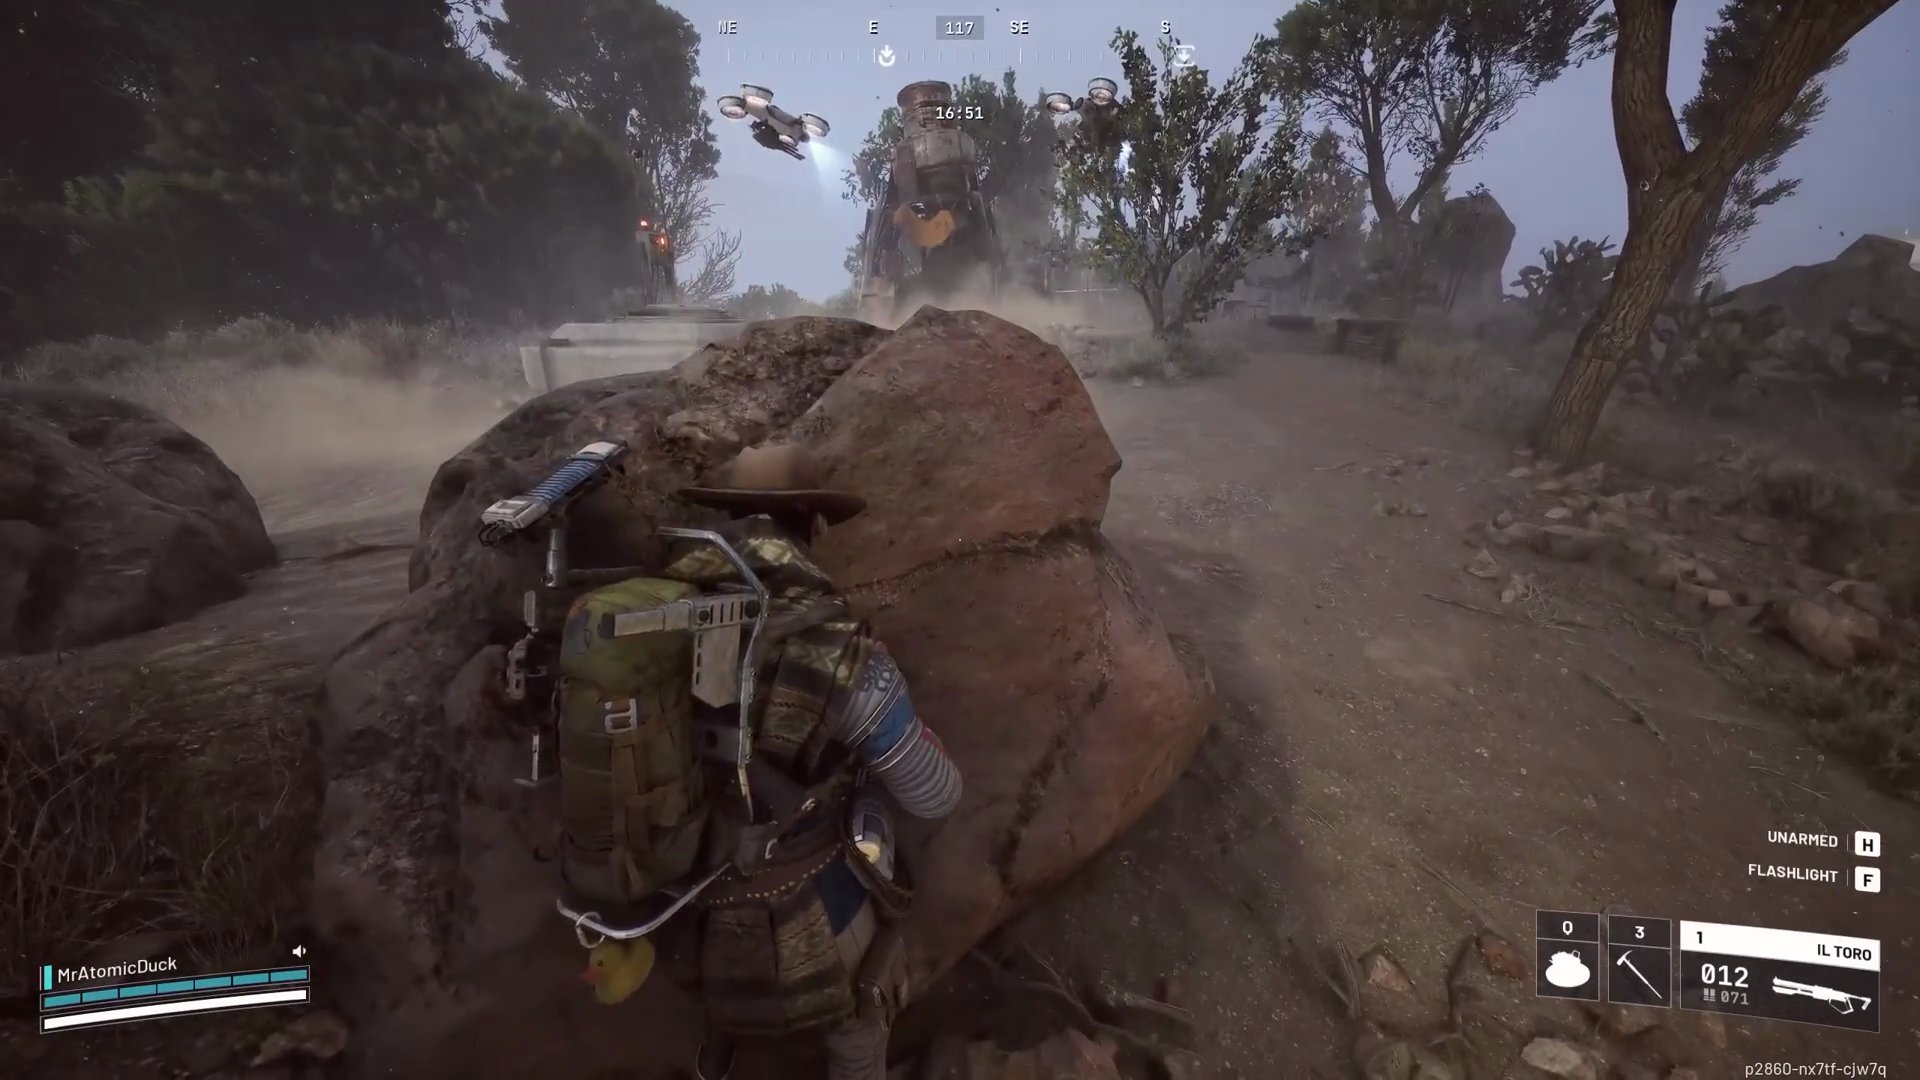
- Place a Blaze Grenade Trap, shoot the Leaper until it launches itself into the air, then take a few steps back.
- Optionally, combine with a Jolt Mine for extra insurance to stun and keep the Leaper in the fire.
- You can recycle Leaper Pulse Units for Advanced Mechanical Components as they're not often useful.
Step 3: Rocketeers
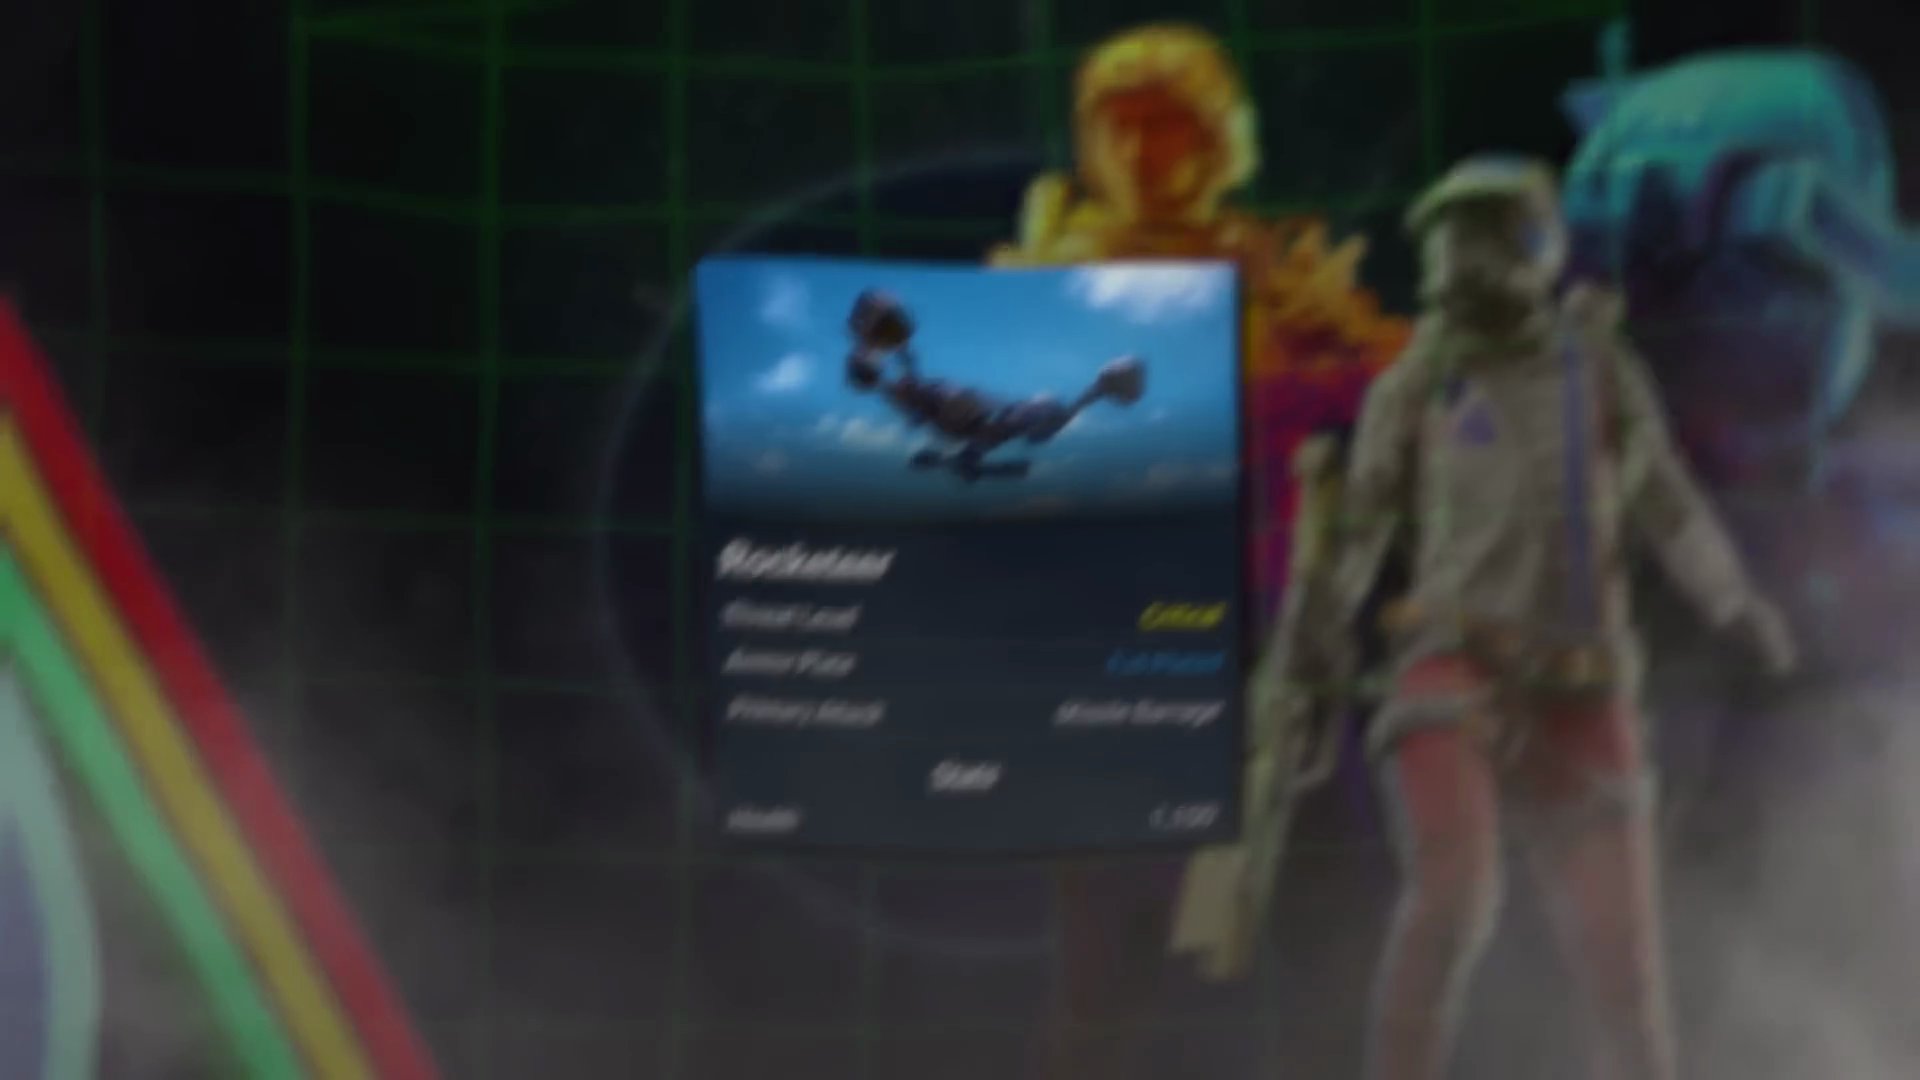
- Threat Level: Critical
- Armor Plate: Full Plated
- Primary Attack: Missile Barrage
- Weakness: Thrusters (covered in armor plating)
- Health: 1100
Rocketeers can be terrifying, but easy to defeat with the right strategy.
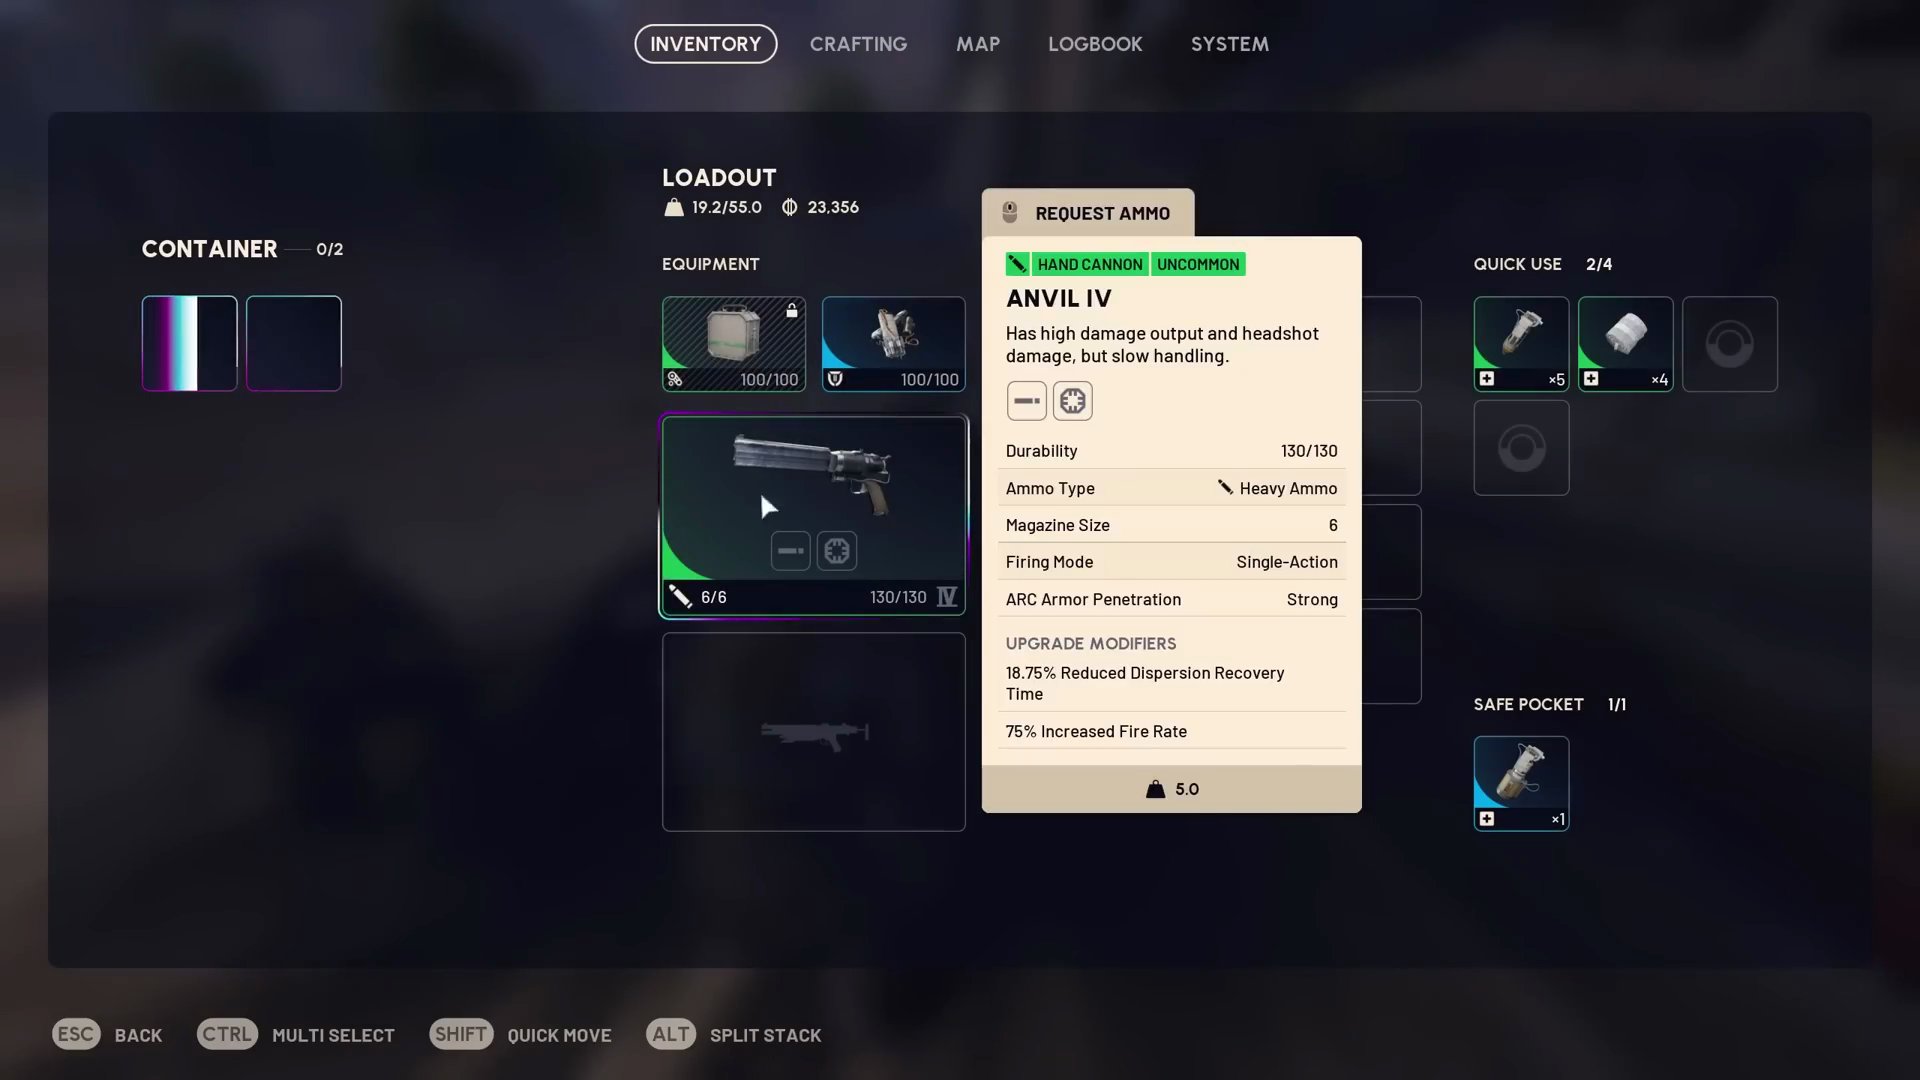
Recommended Weapon: Anvil
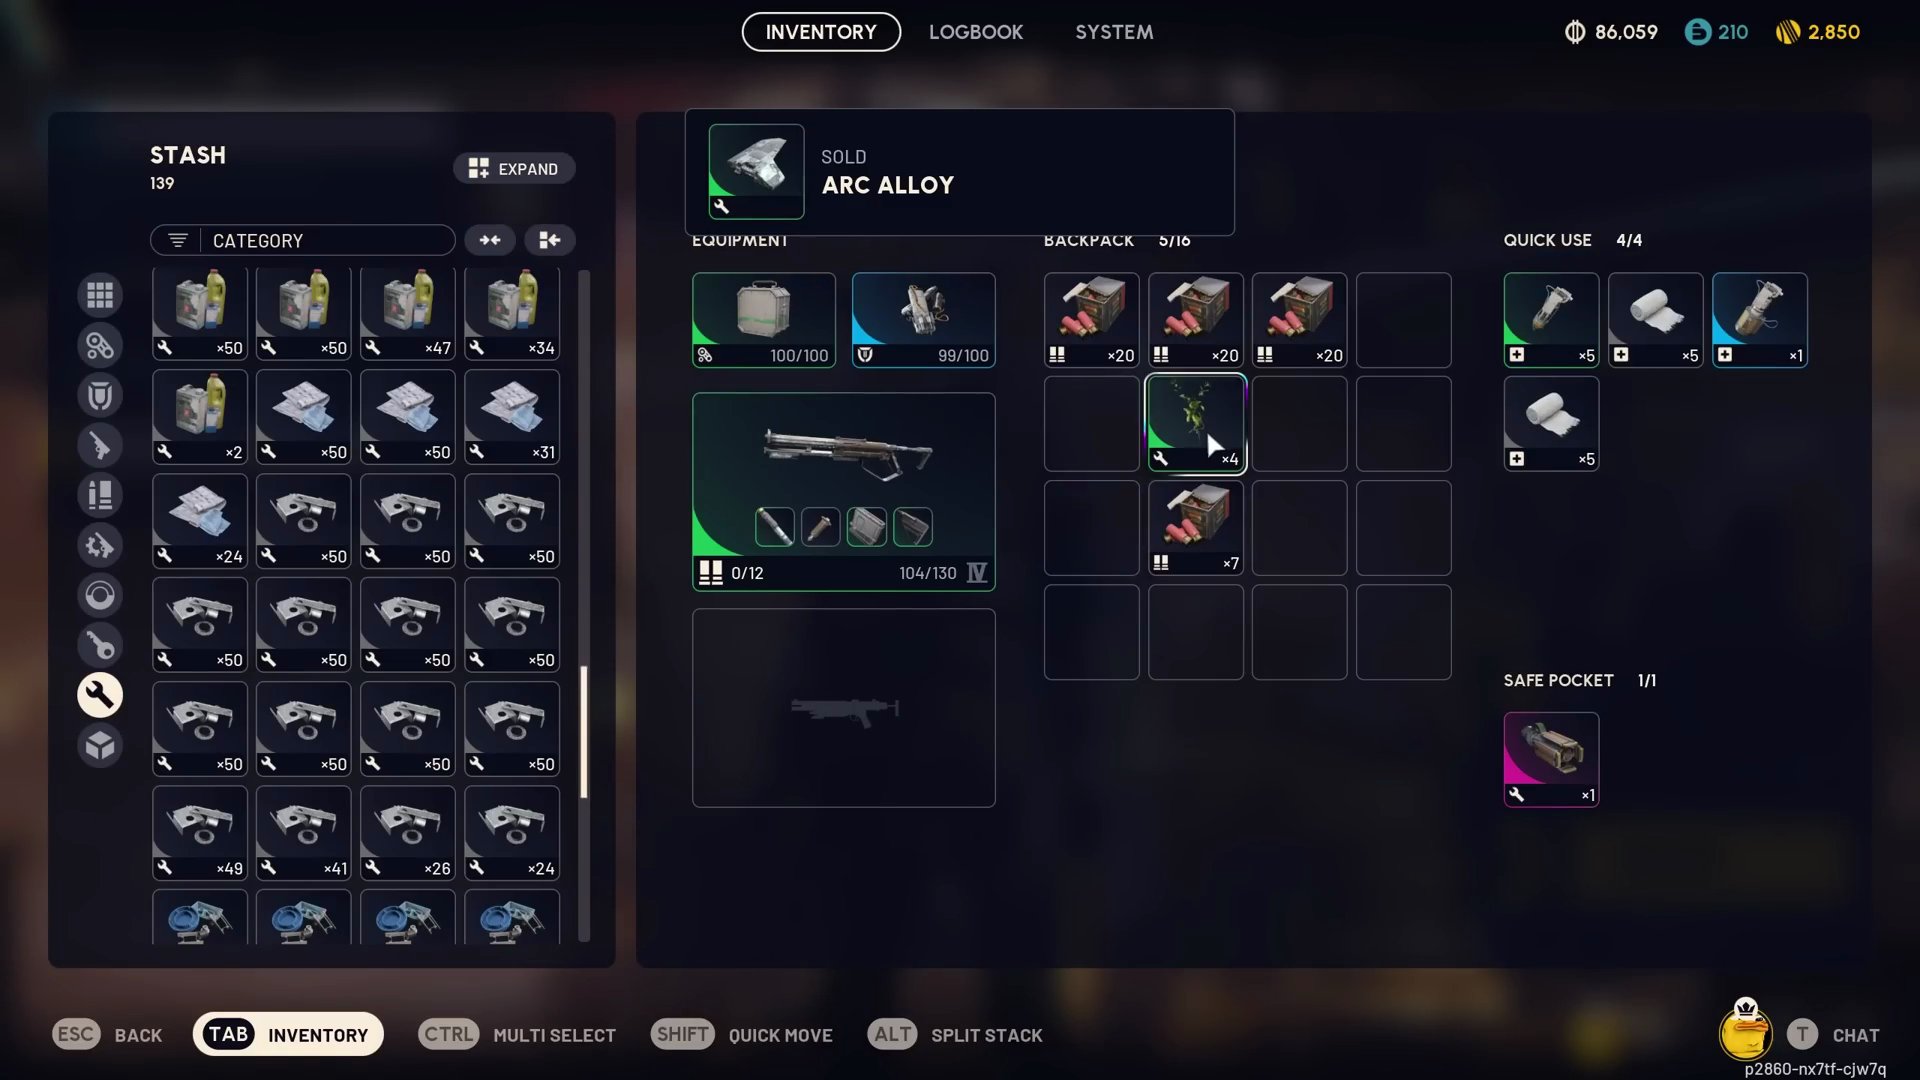
- Anvil (Hand Cannon) is an easy-to-get heavy ammo weapon with a quick fire rate.
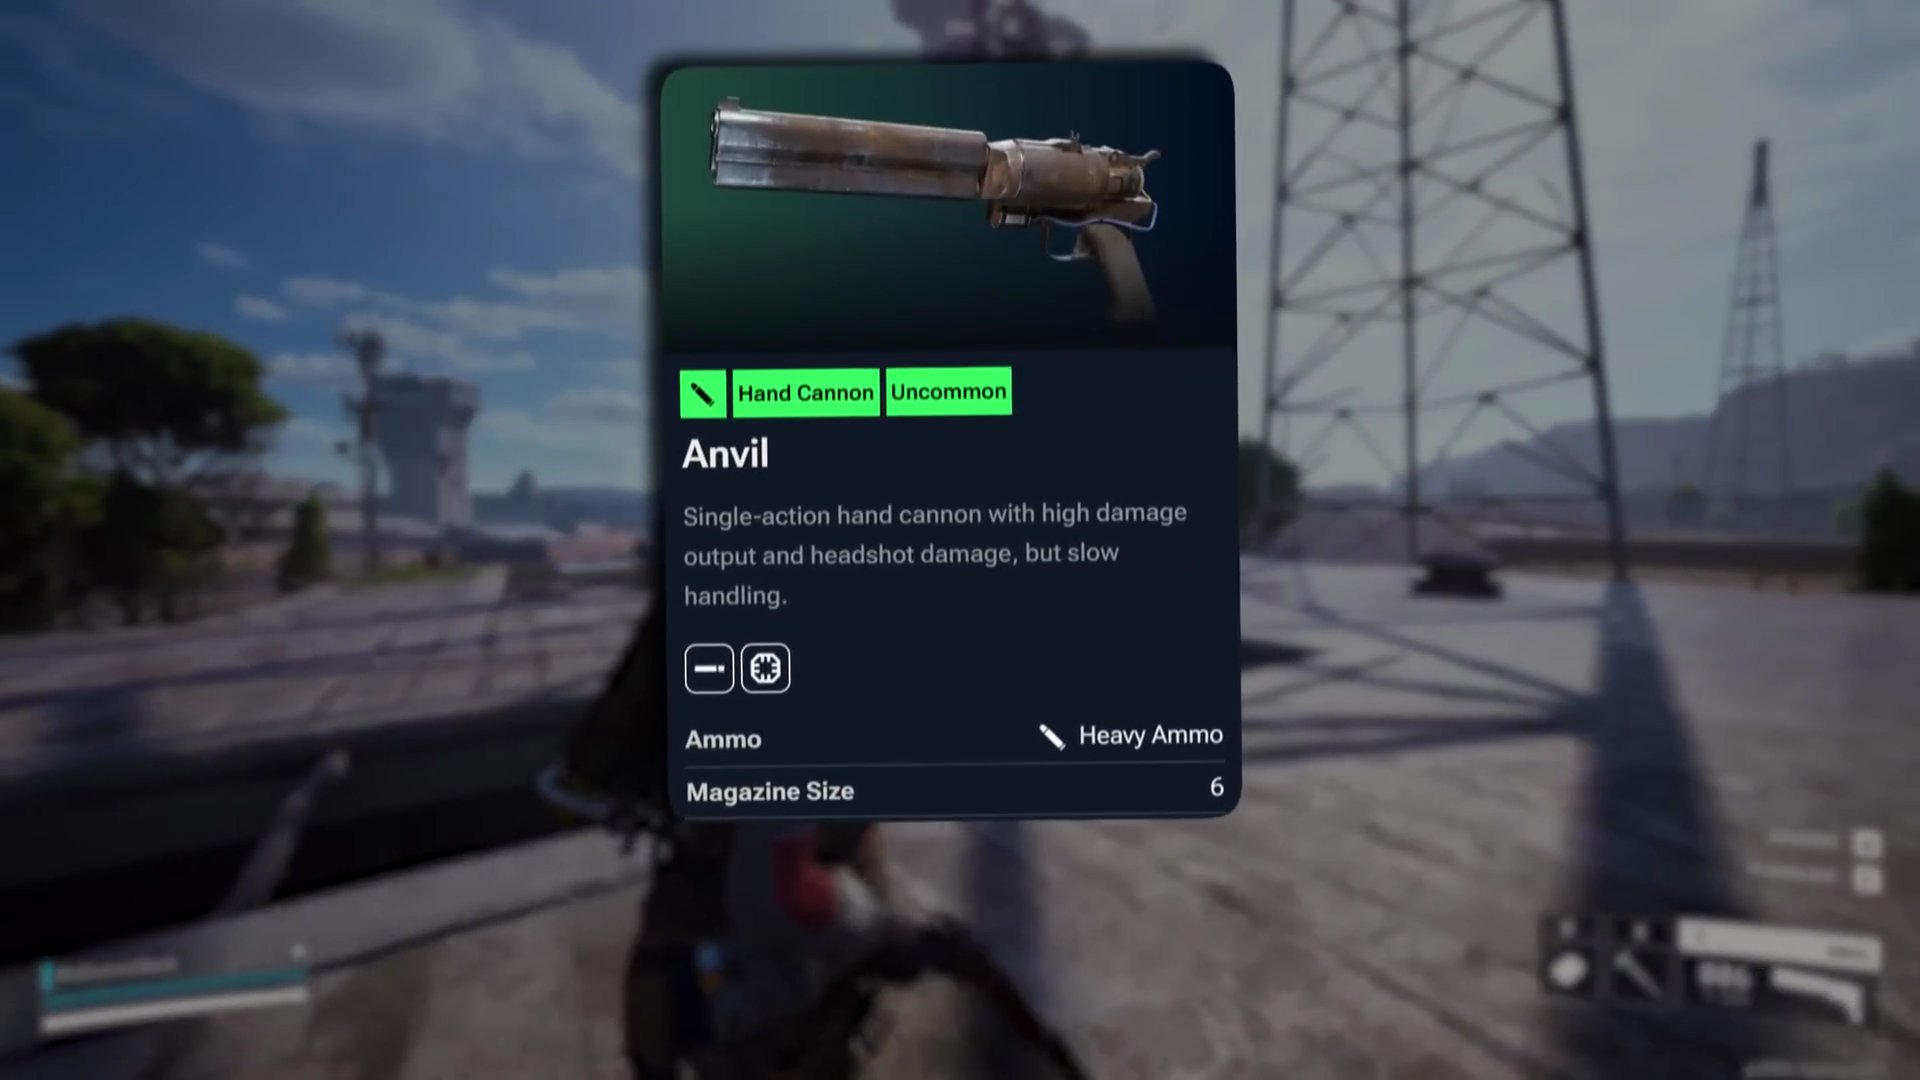
- Approximately 40 rounds of heavy ammo should suffice.
- Consider upgrading your Anvil to increase its fire rate.
Strategy: Distance and Thruster Focus
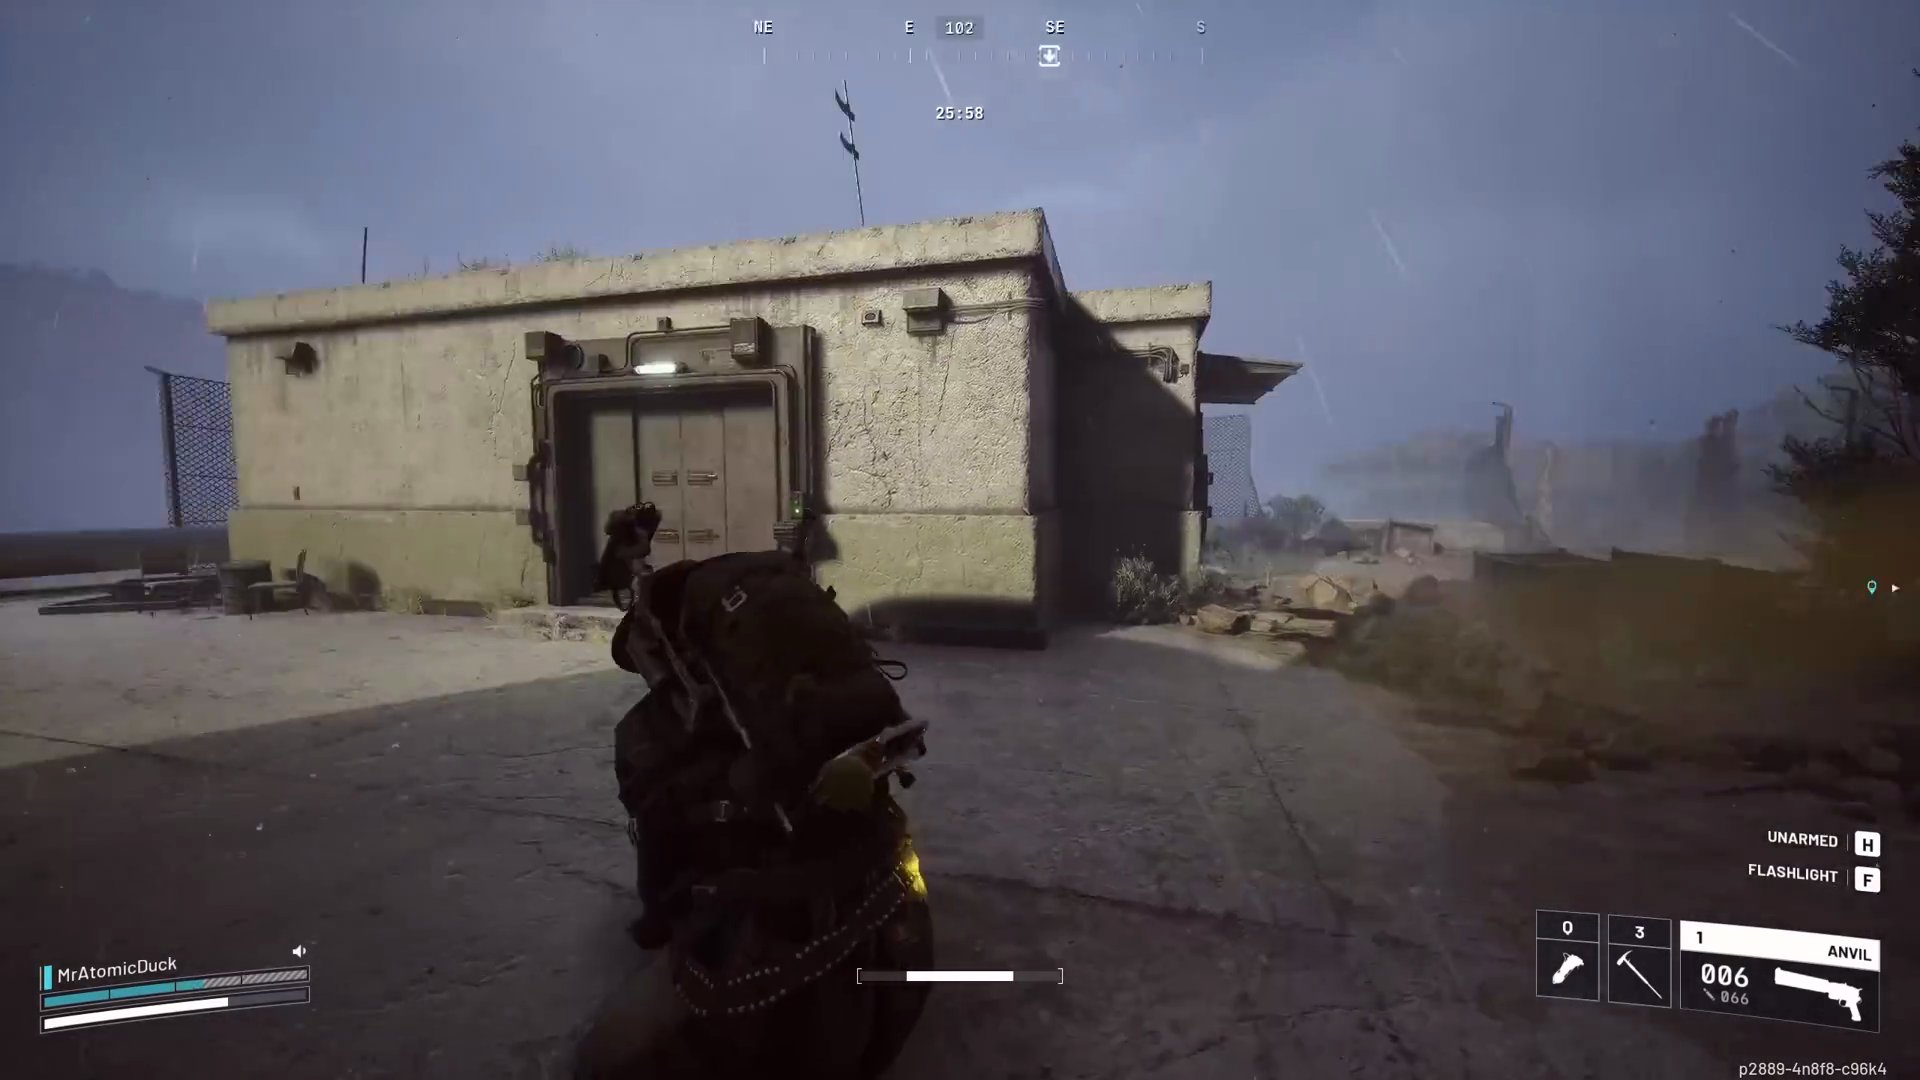
- Before engaging, ensure you have ample cover, preferably inside a building or close to an entrance.
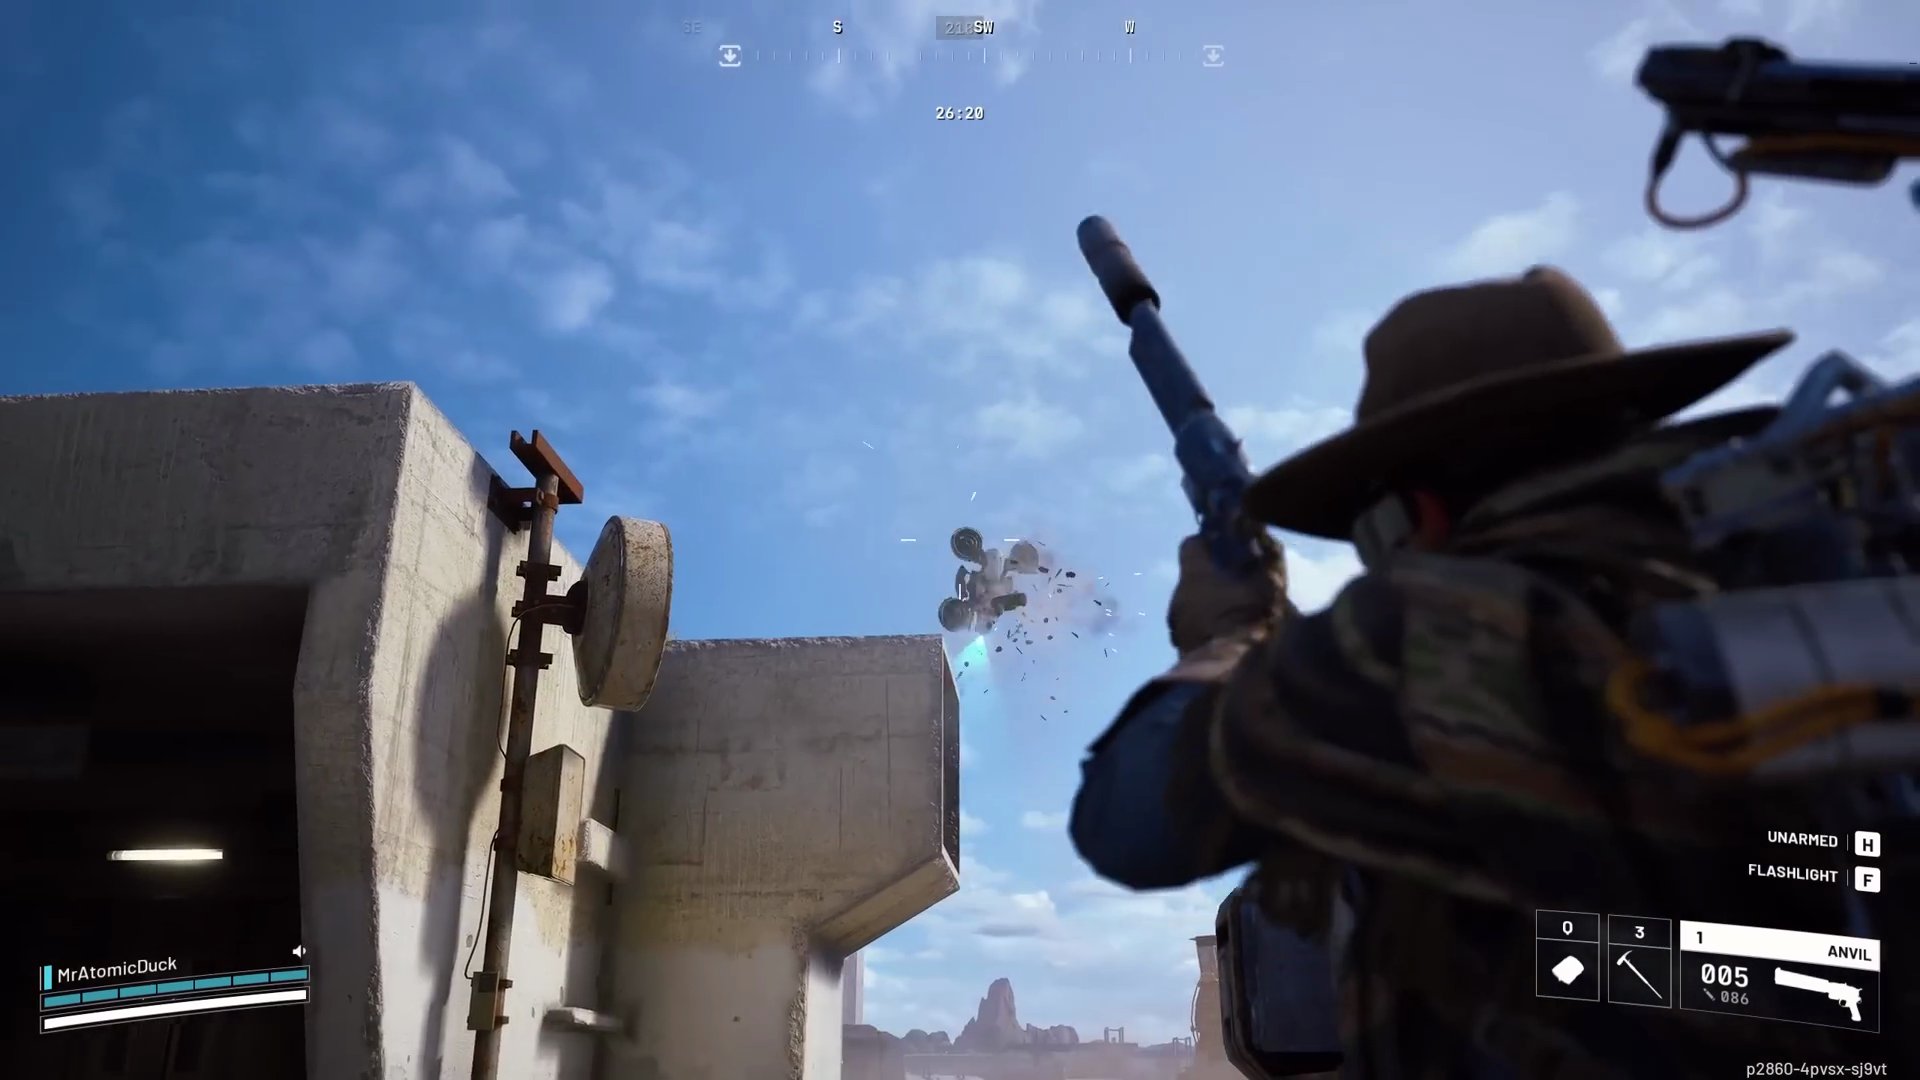
- Start your attack from as far away as possible.
- Aim for a single thruster. Taking out two thrusters will send the Rocketeer plummeting to the ground, often killing it outright if high enough.
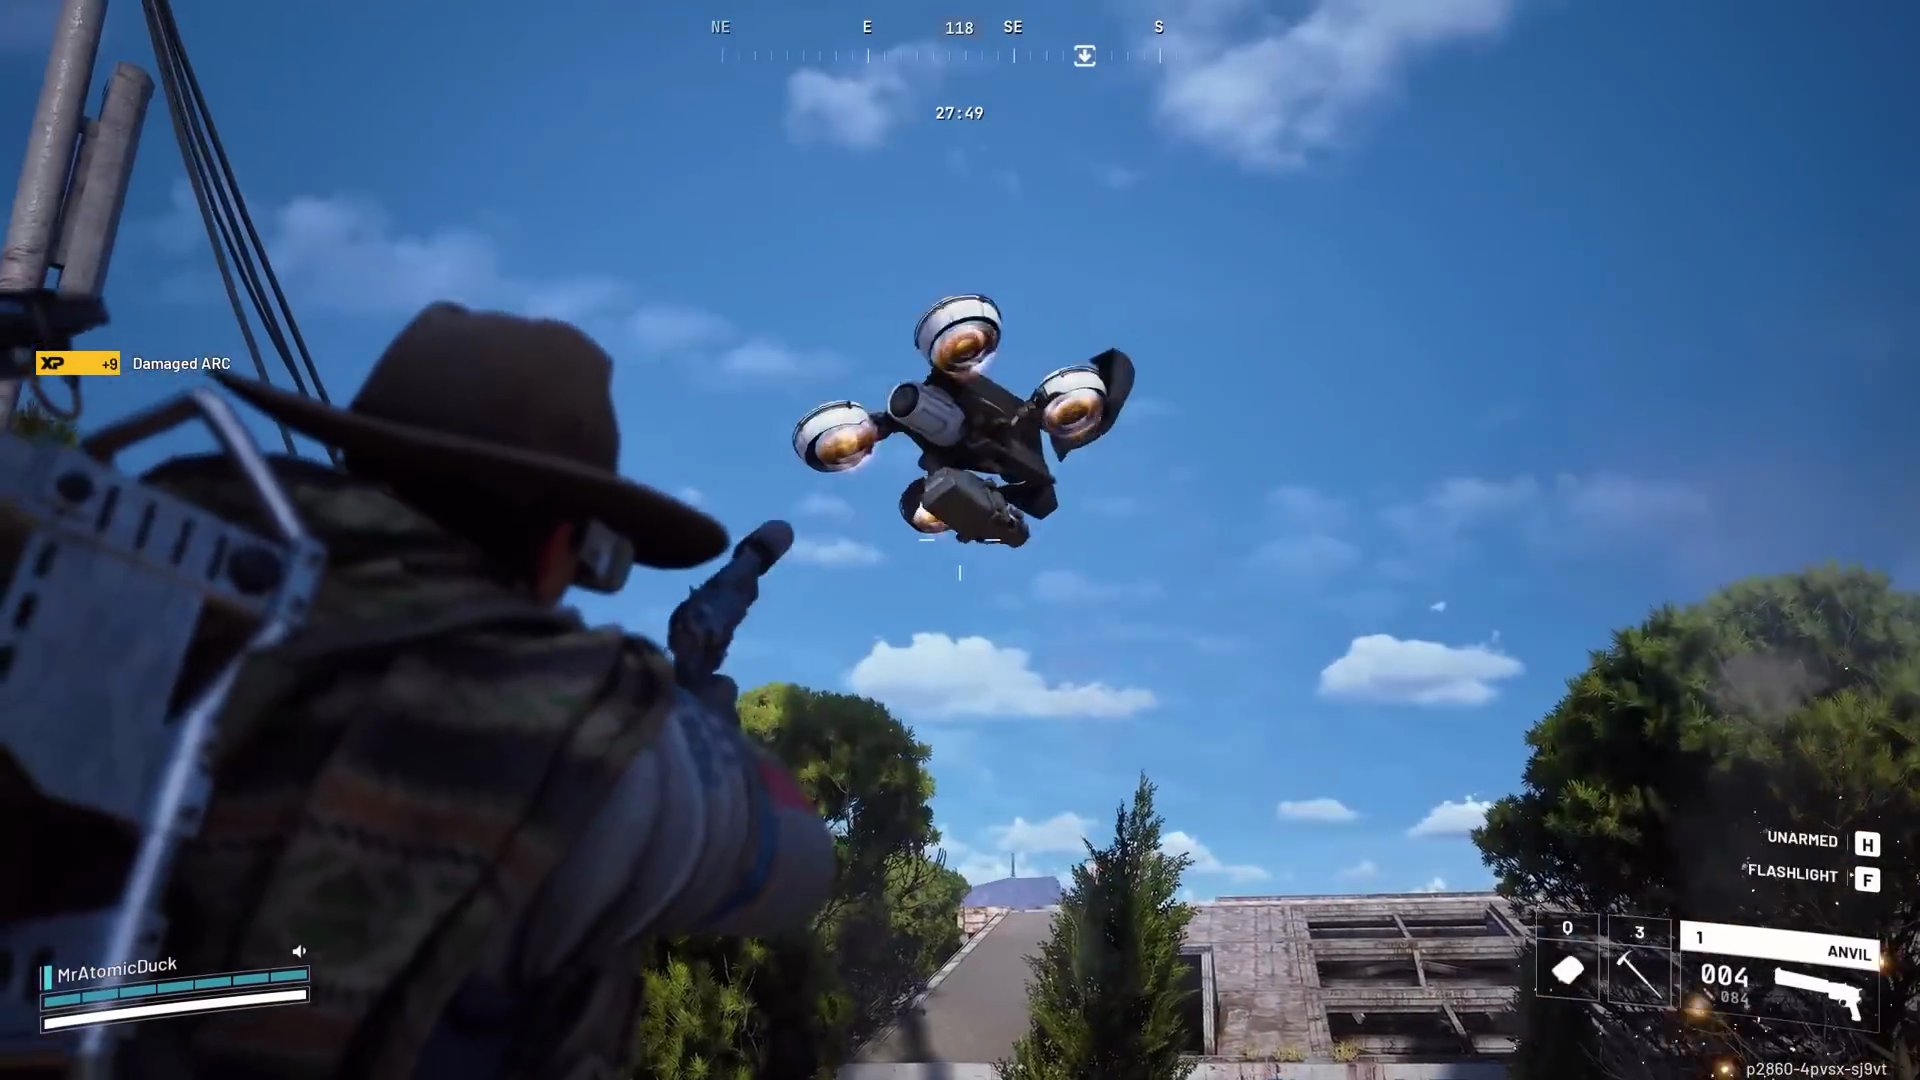
- Rocketeers are slow for a flying ARC, allowing you to kill them before they close distance.
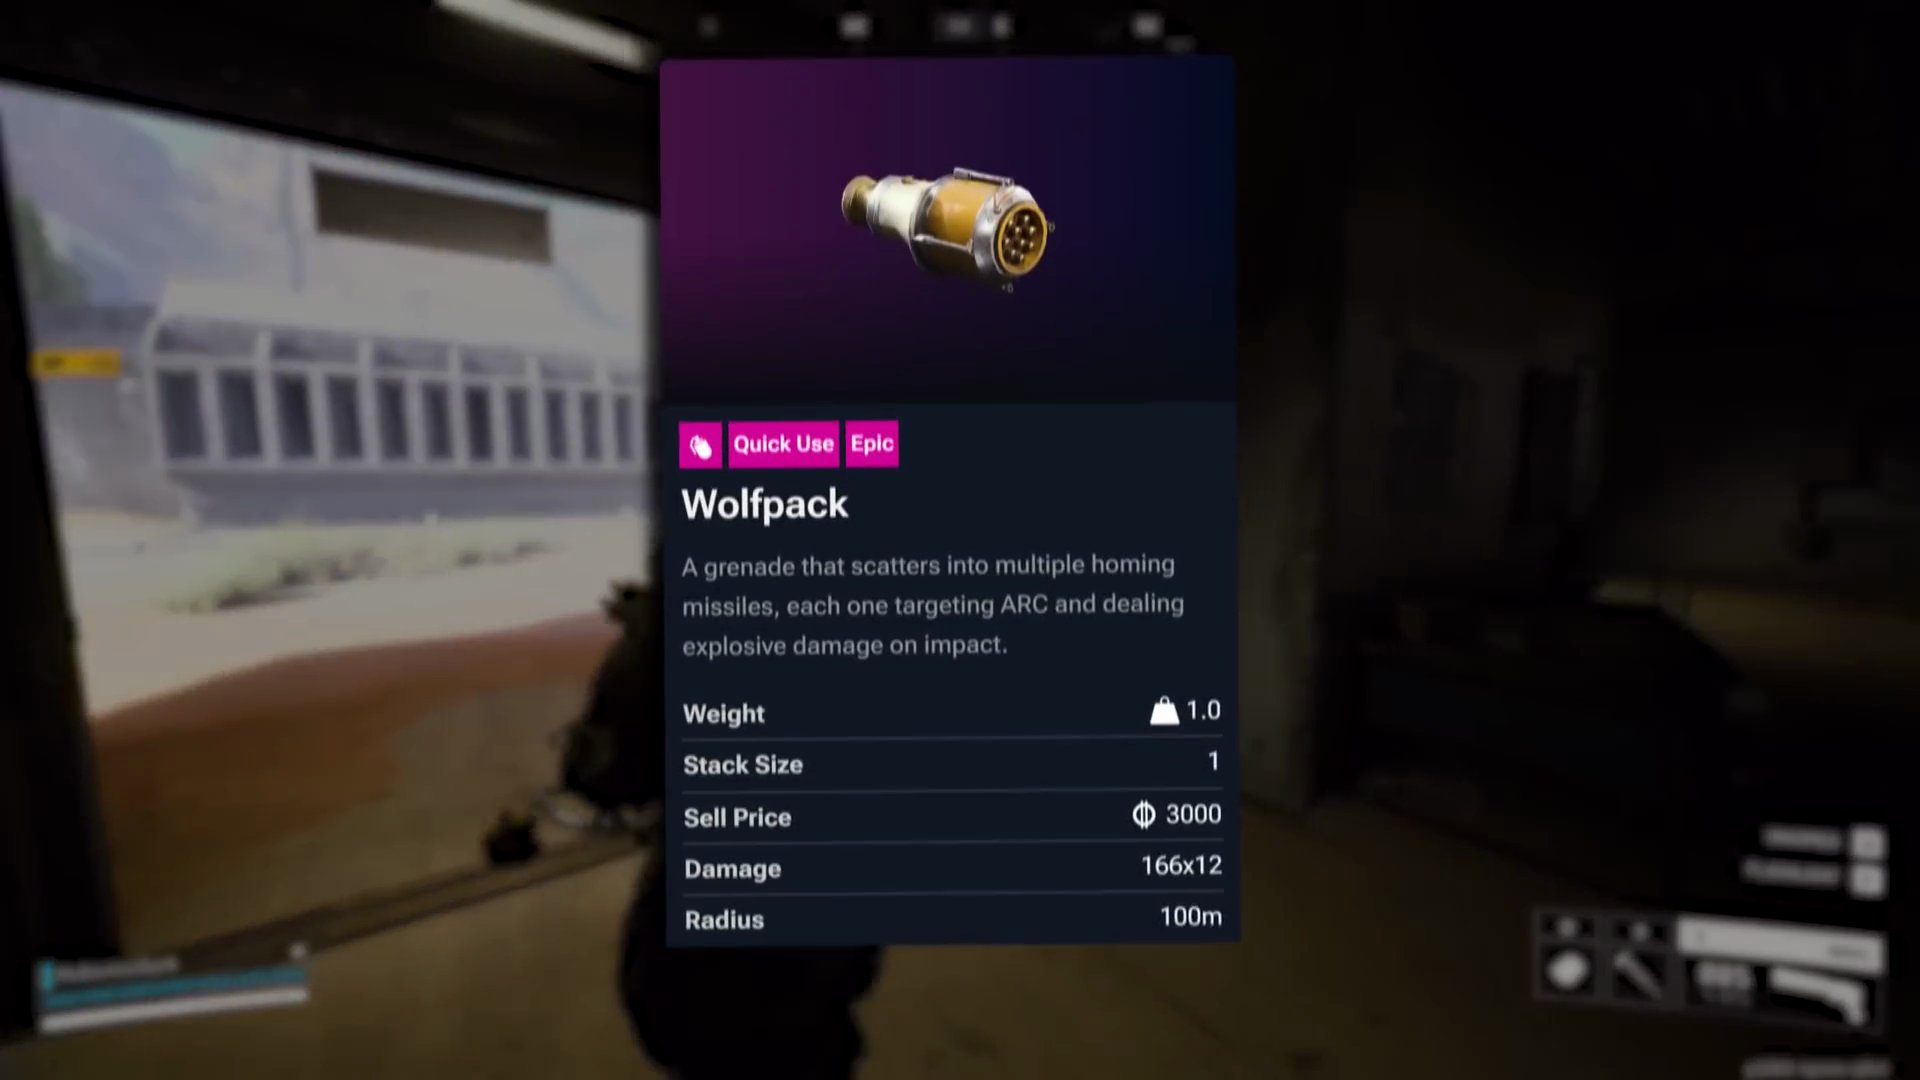
- Wolfpacks are highly effective but generally better saved for Queen fights.
Step 4: ARC Surveyor
- Threat Level: Low
- Armor Plate: Full Plated
- Primary Attack: Charges at Raider when provoked
- Weakness: Exposes its core when transmitting
- Health: Unknown
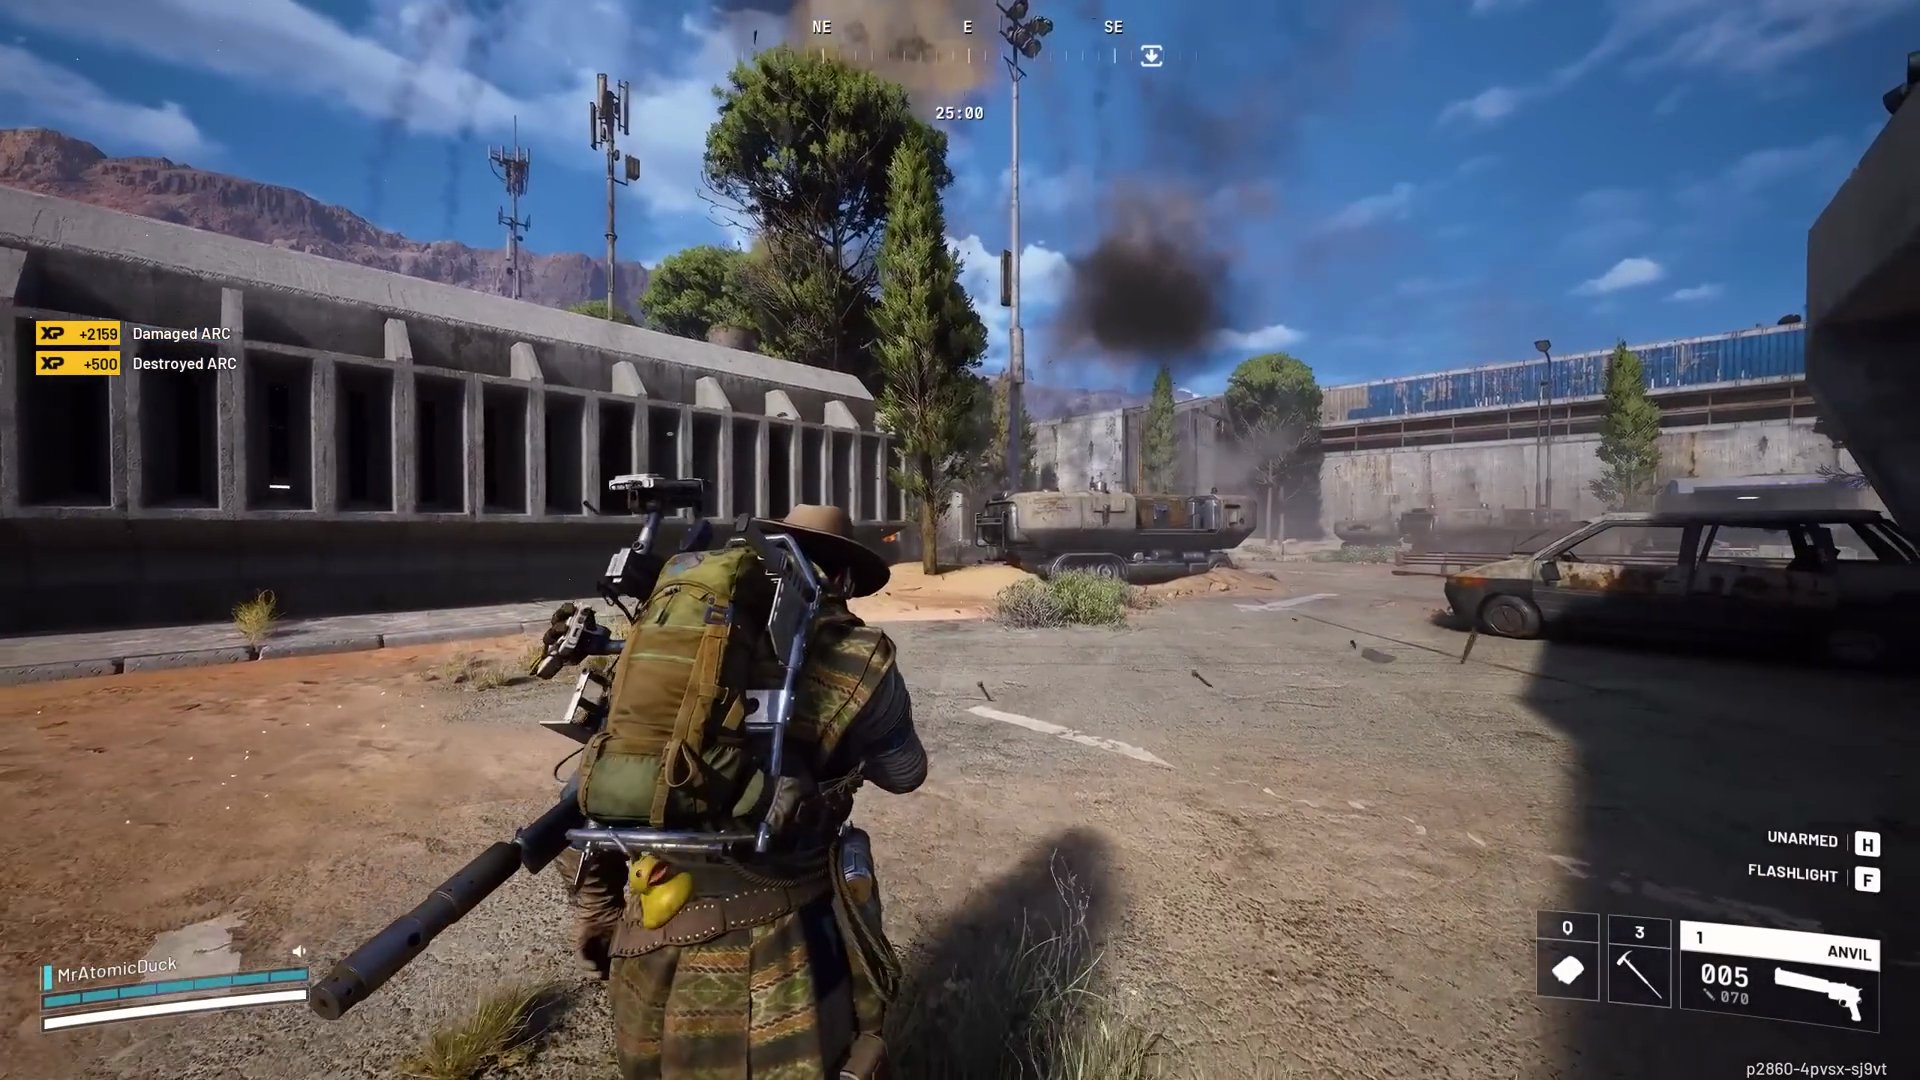
Surveyors are frustrating to chase. This method ensures a solo kill every time.
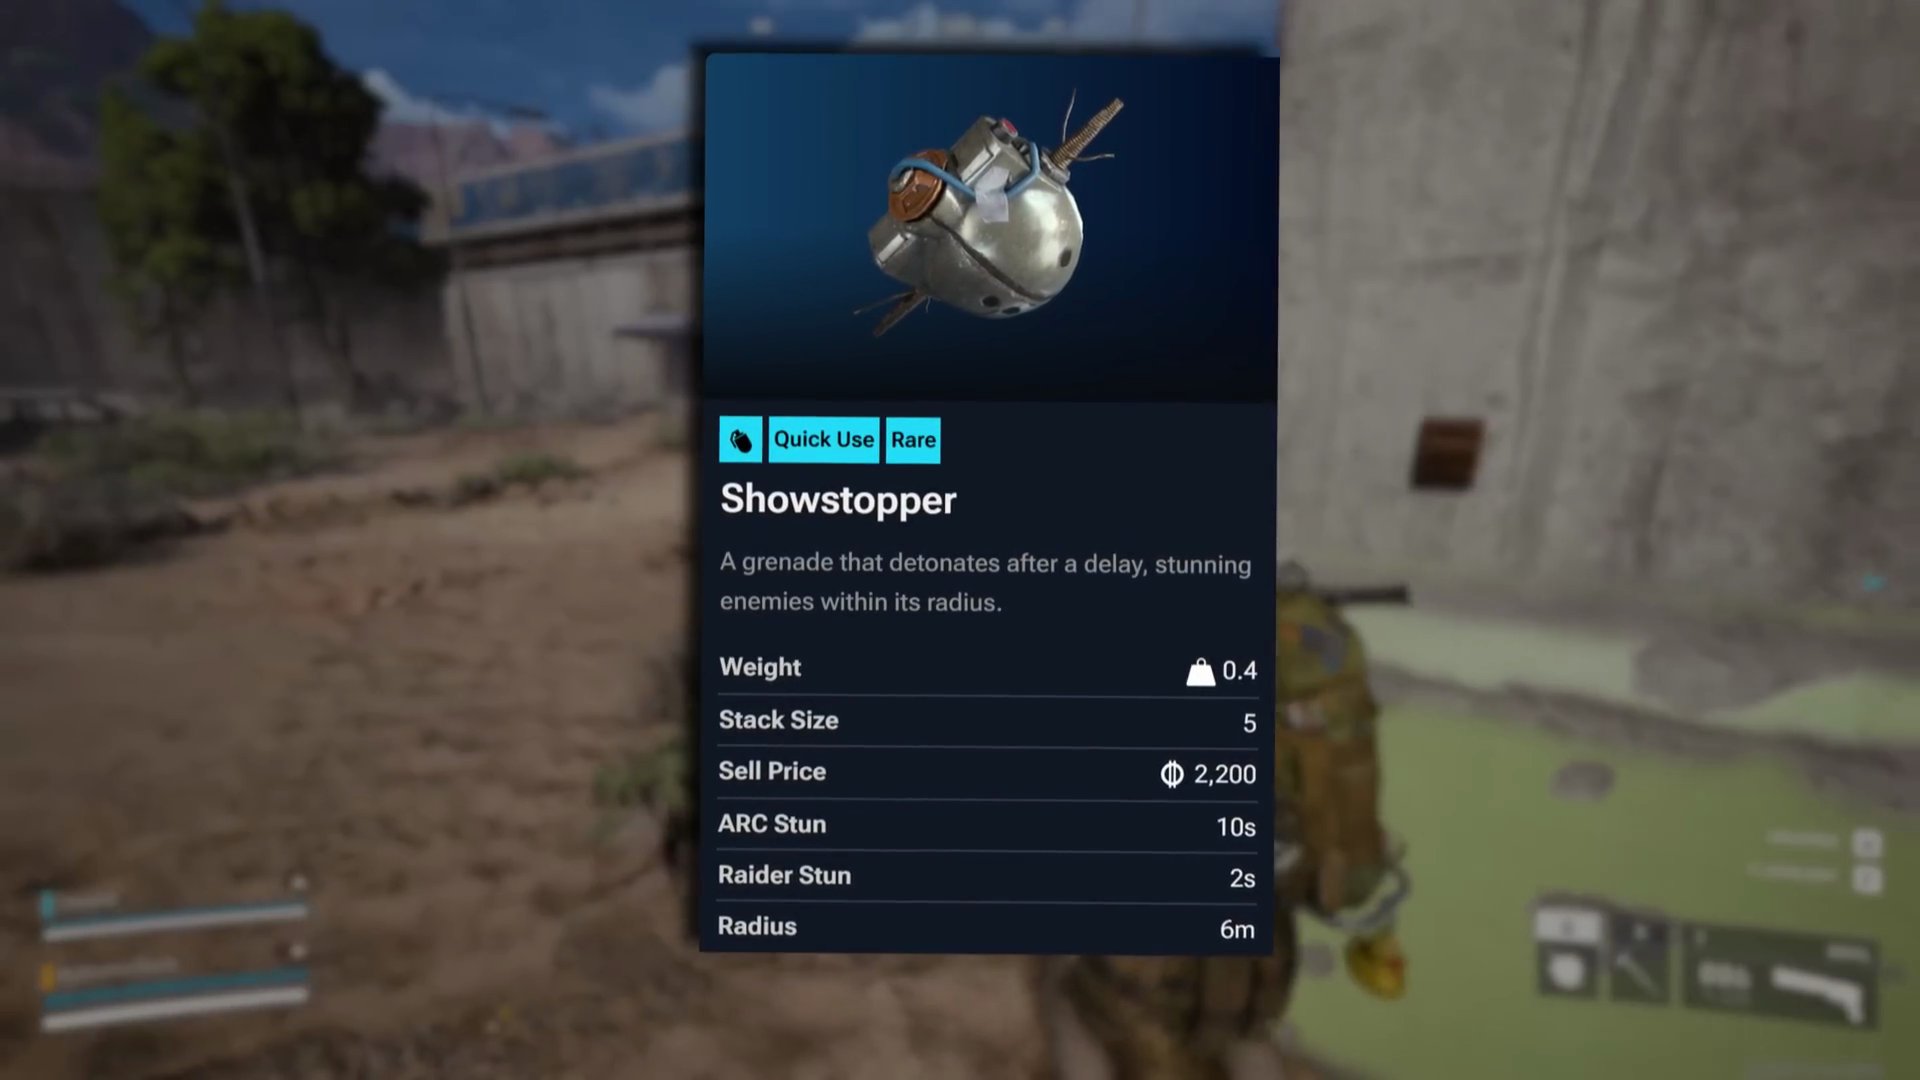
Recommended Items: Showstopper & Trigger 'Nades
- You'll need one Showstopper grenade (looted, not crafted) and three Trigger 'Nades (craftable).
Strategy: Stun and Detonate
- Sneak close enough to land a Showstopper grenade as your opening attack.
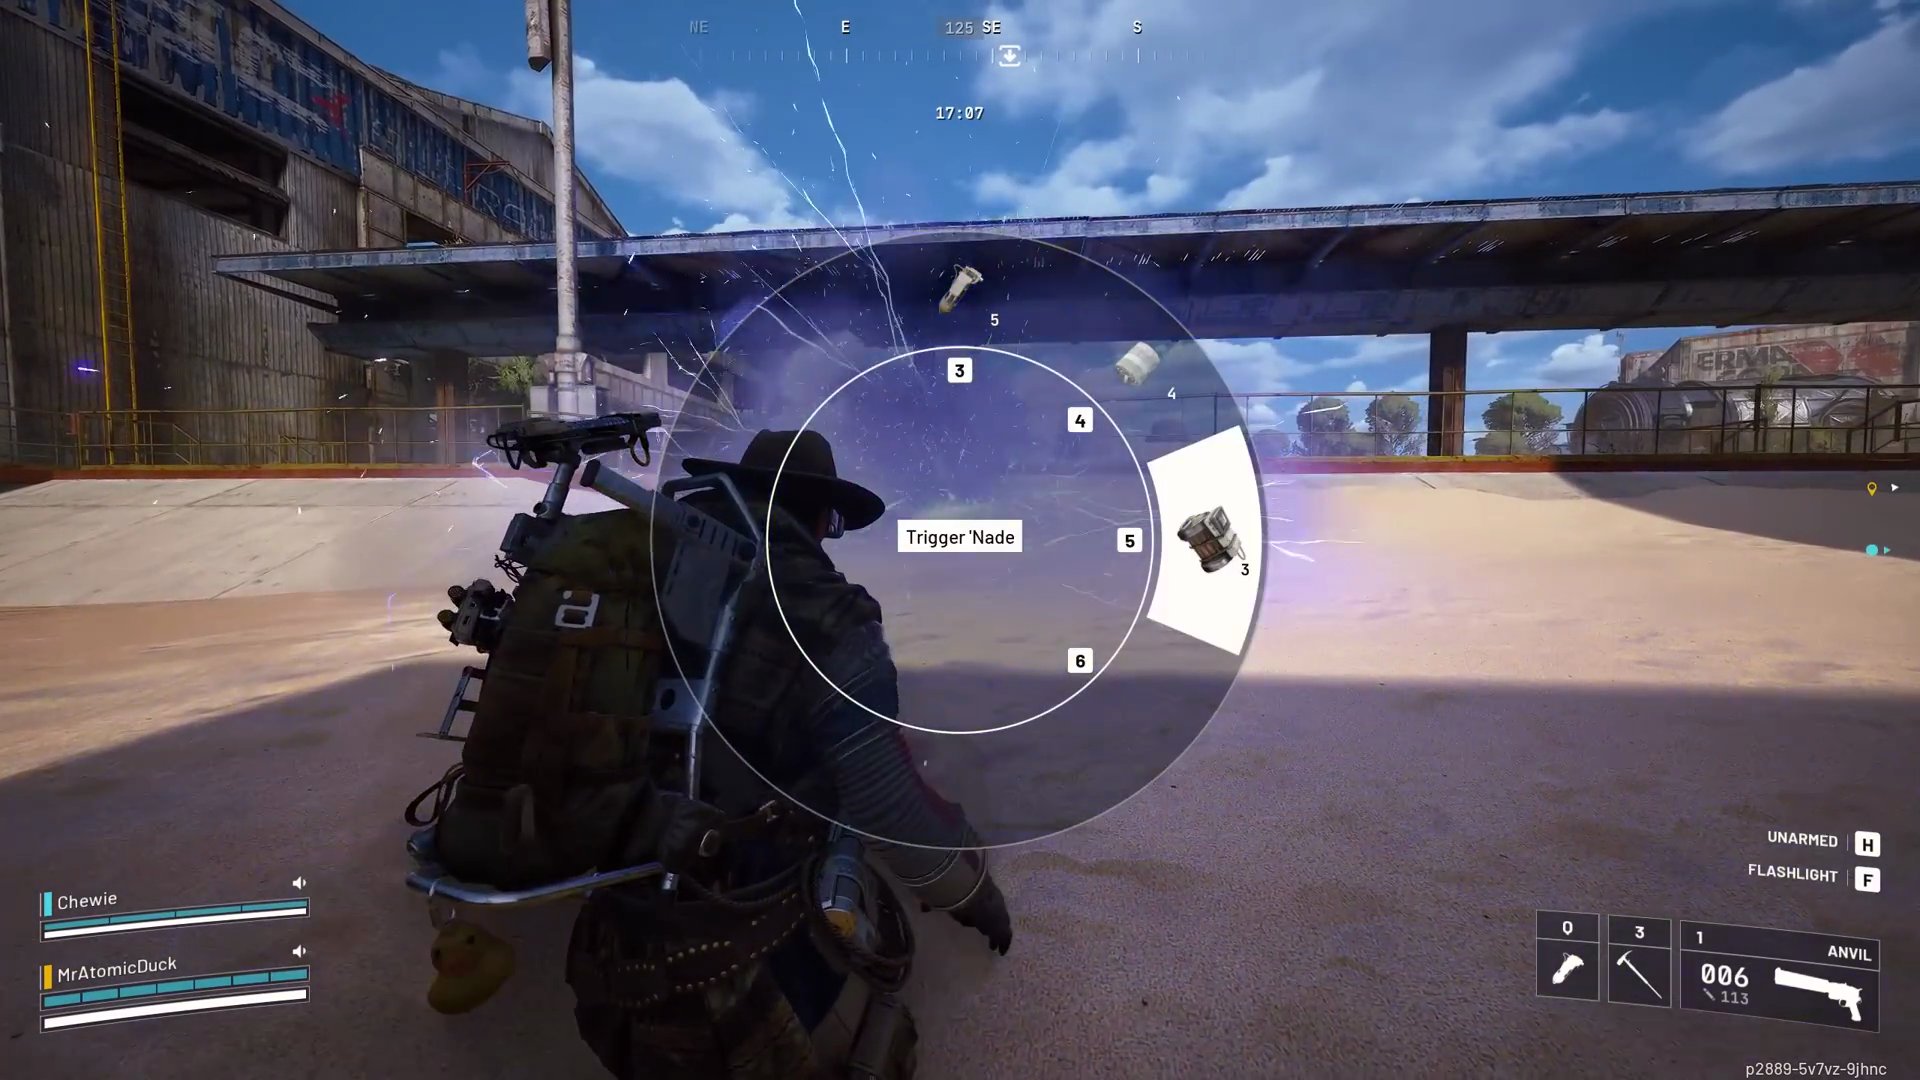
- As soon as the Surveyor is stunned, switch to Trigger 'Nades and lay them on thick. Use all grenades while it's stunned.
- Detonate all three Trigger 'Nades. This should be more than enough to destroy it.
- If no Showstoppers are available, you might still land a couple of Trigger 'Nades before it flees, then finish it off with shots.
- Bring a heavy ammo weapon like the Anvil for best impact if going without Showstoppers.
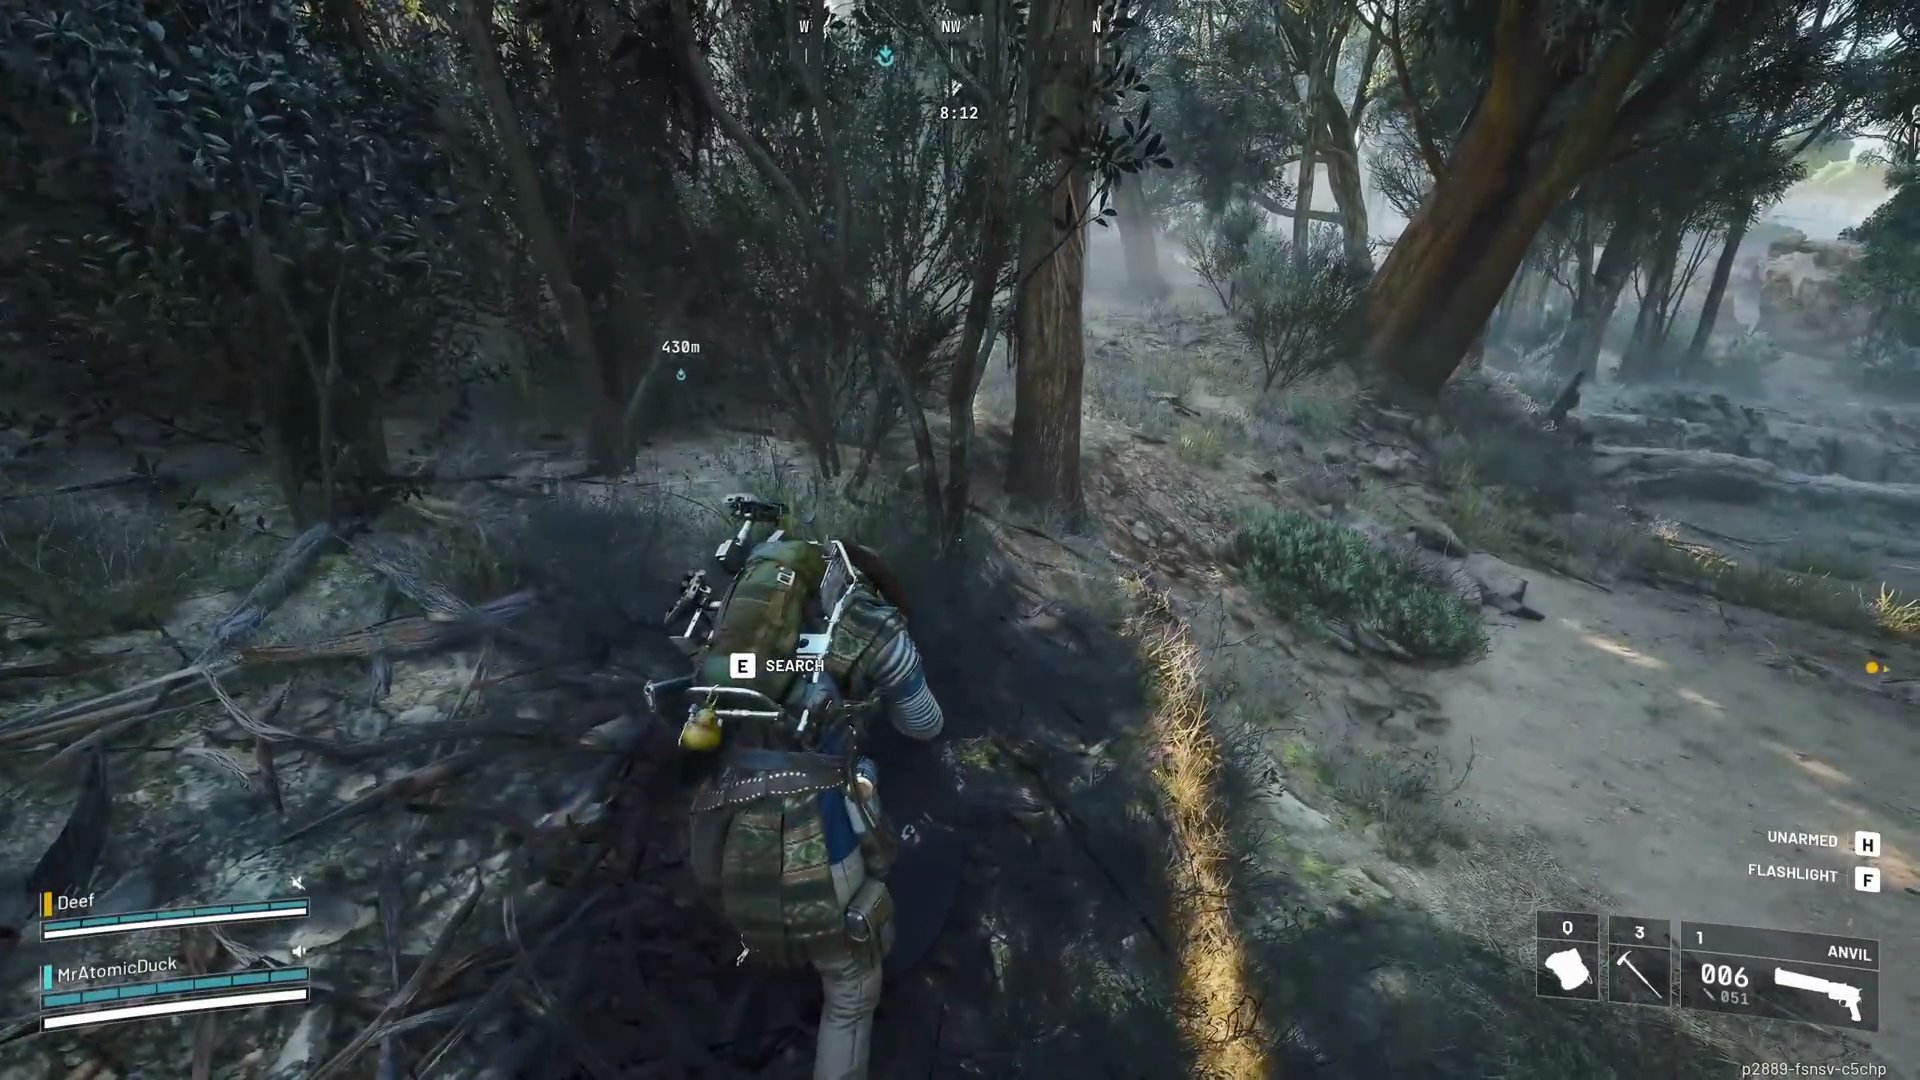
- Loot any pieces that fall off the Surveyor, as they may contain valuable ARC Notion Cores.
Step 5: Bastion
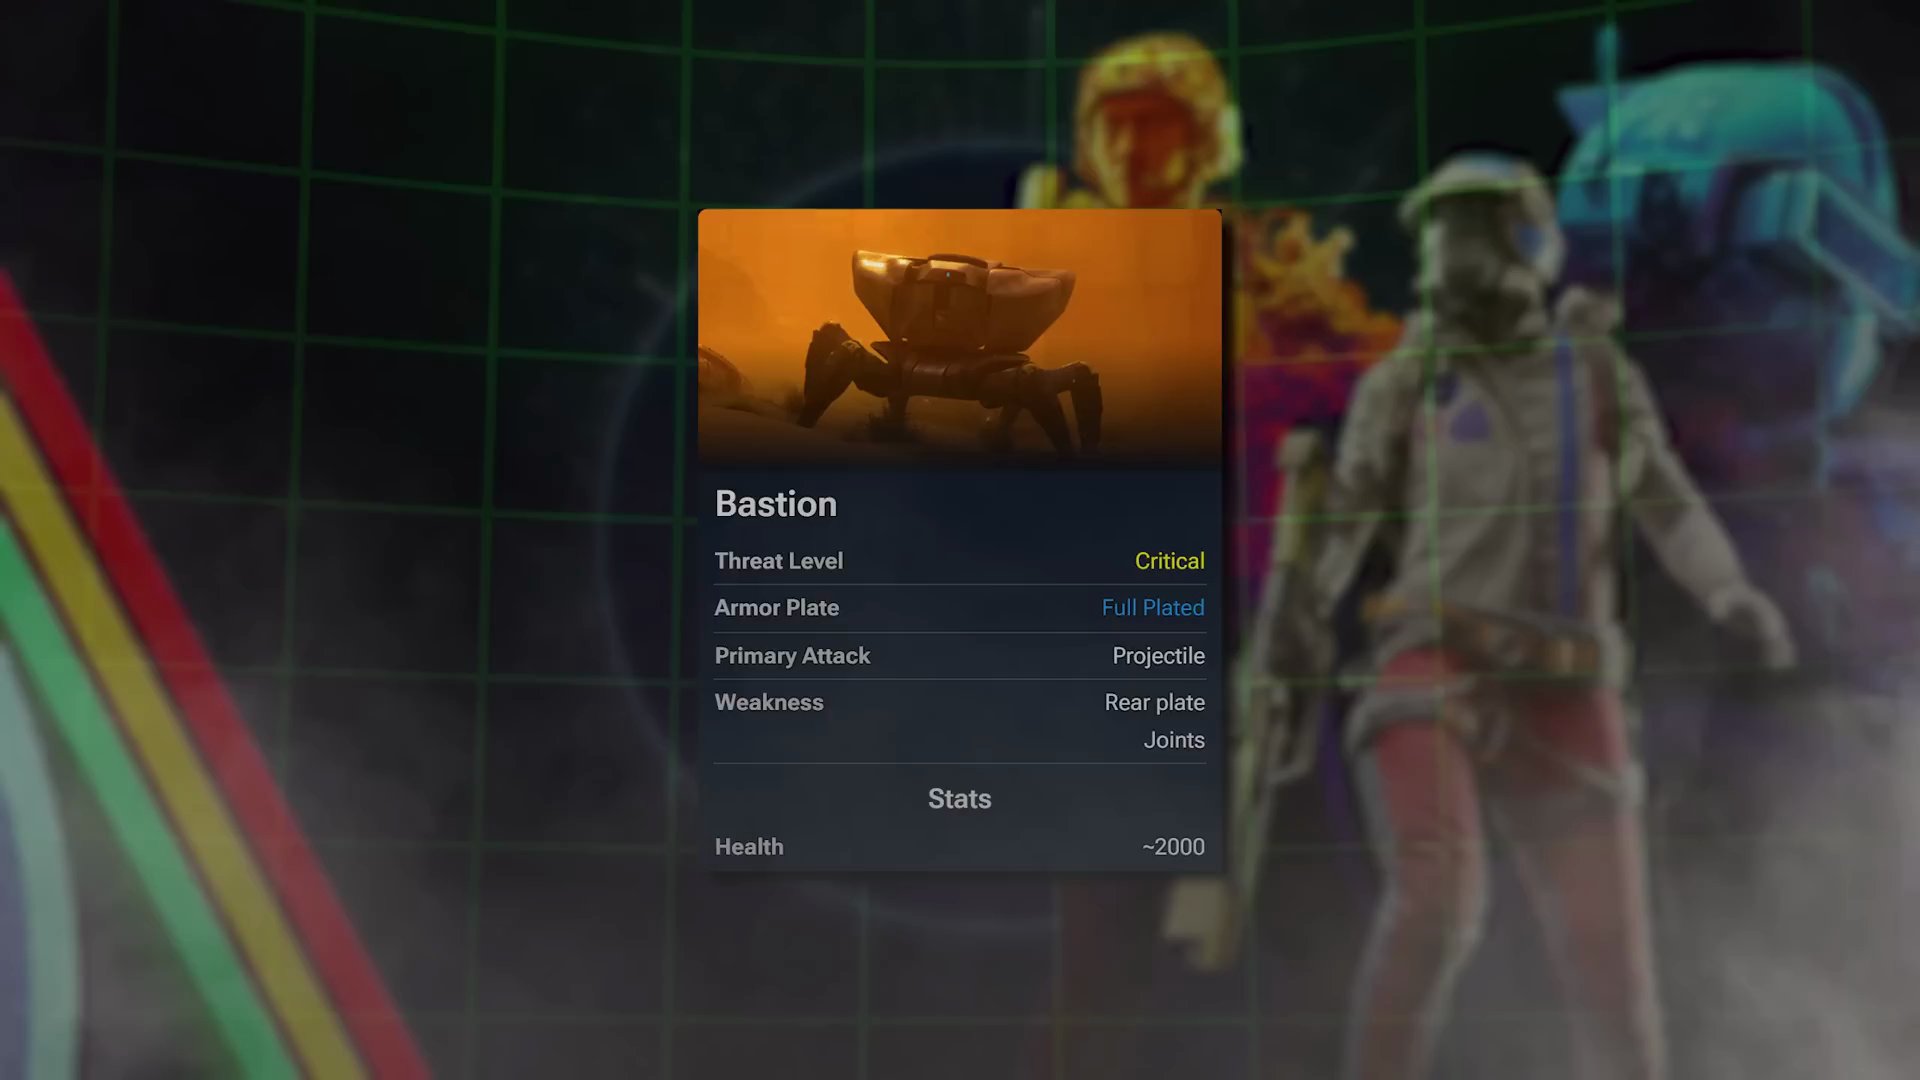
- Threat Level: Critical
- Armor Plate: Full Plated
- Primary Attack: Projectile
- Weakness: Rear plate, joints
- Health: ~2000
The easiest method for Bastion requires teamwork.
Method 1 (Preferred - Team): Torrente & Ammo
- You'll need a friend (or someone you can tolerate), a Torrente LMG, and a lot of medium ammo.
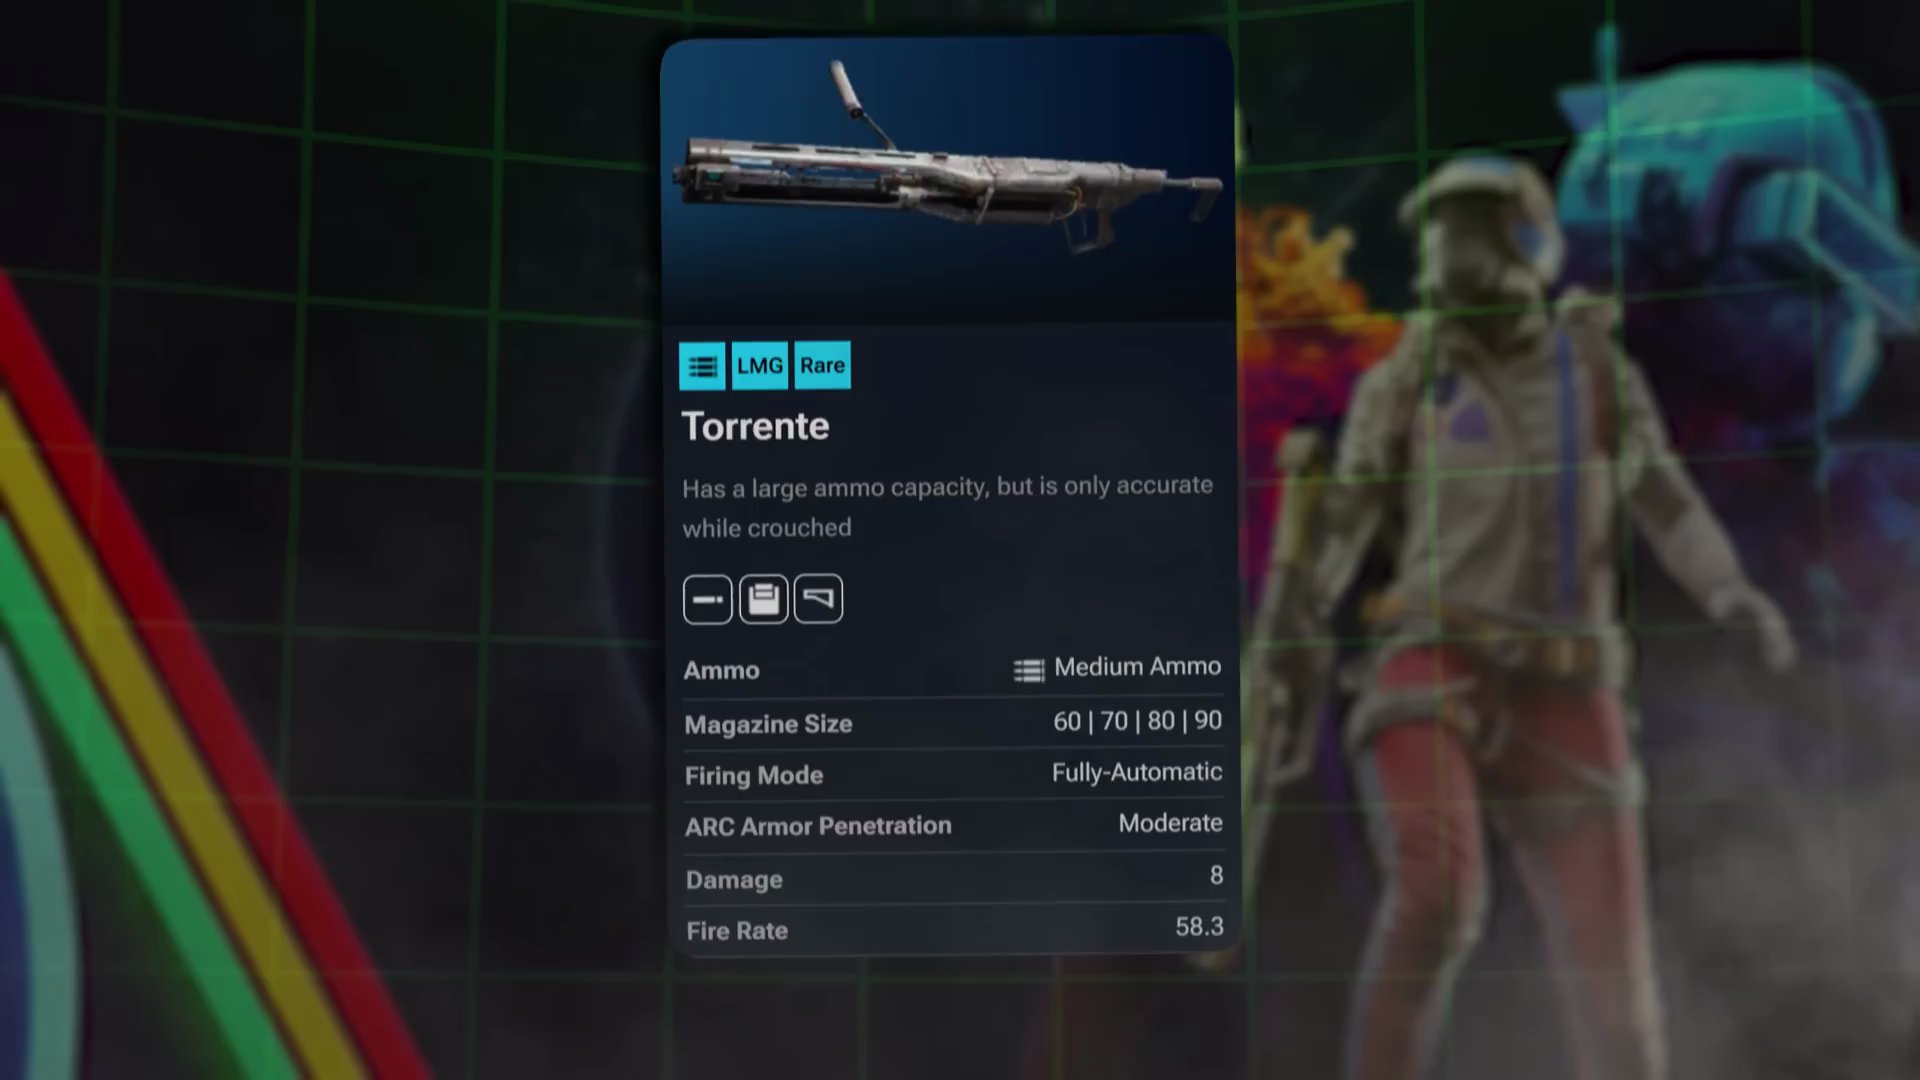
- Setup: You and your partner should be on either side of the Bastion, with ample cover, preferably on raised ground.
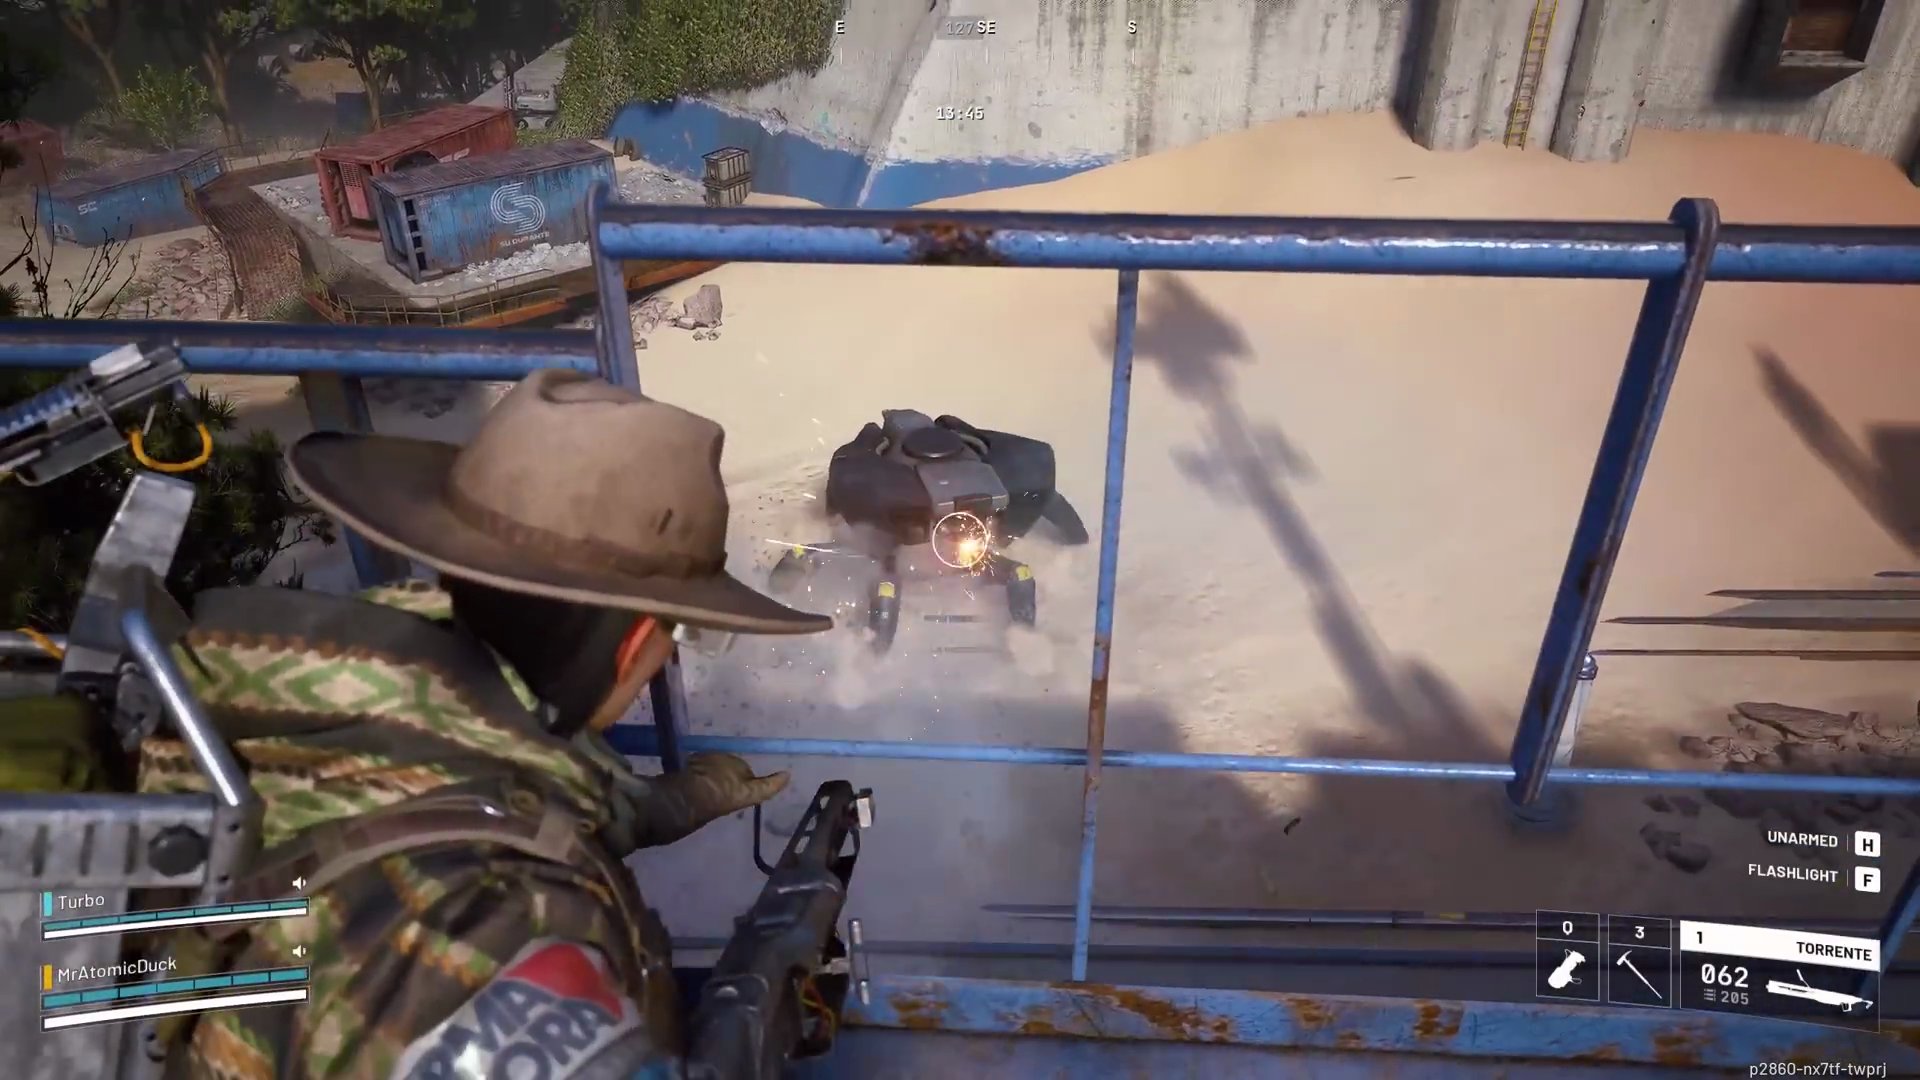
- Execution: Your friend fires the first shot to bait the Bastion's attention. Then, crouch to increase accuracy and aim for the small yellow canister on the rear armor plating.
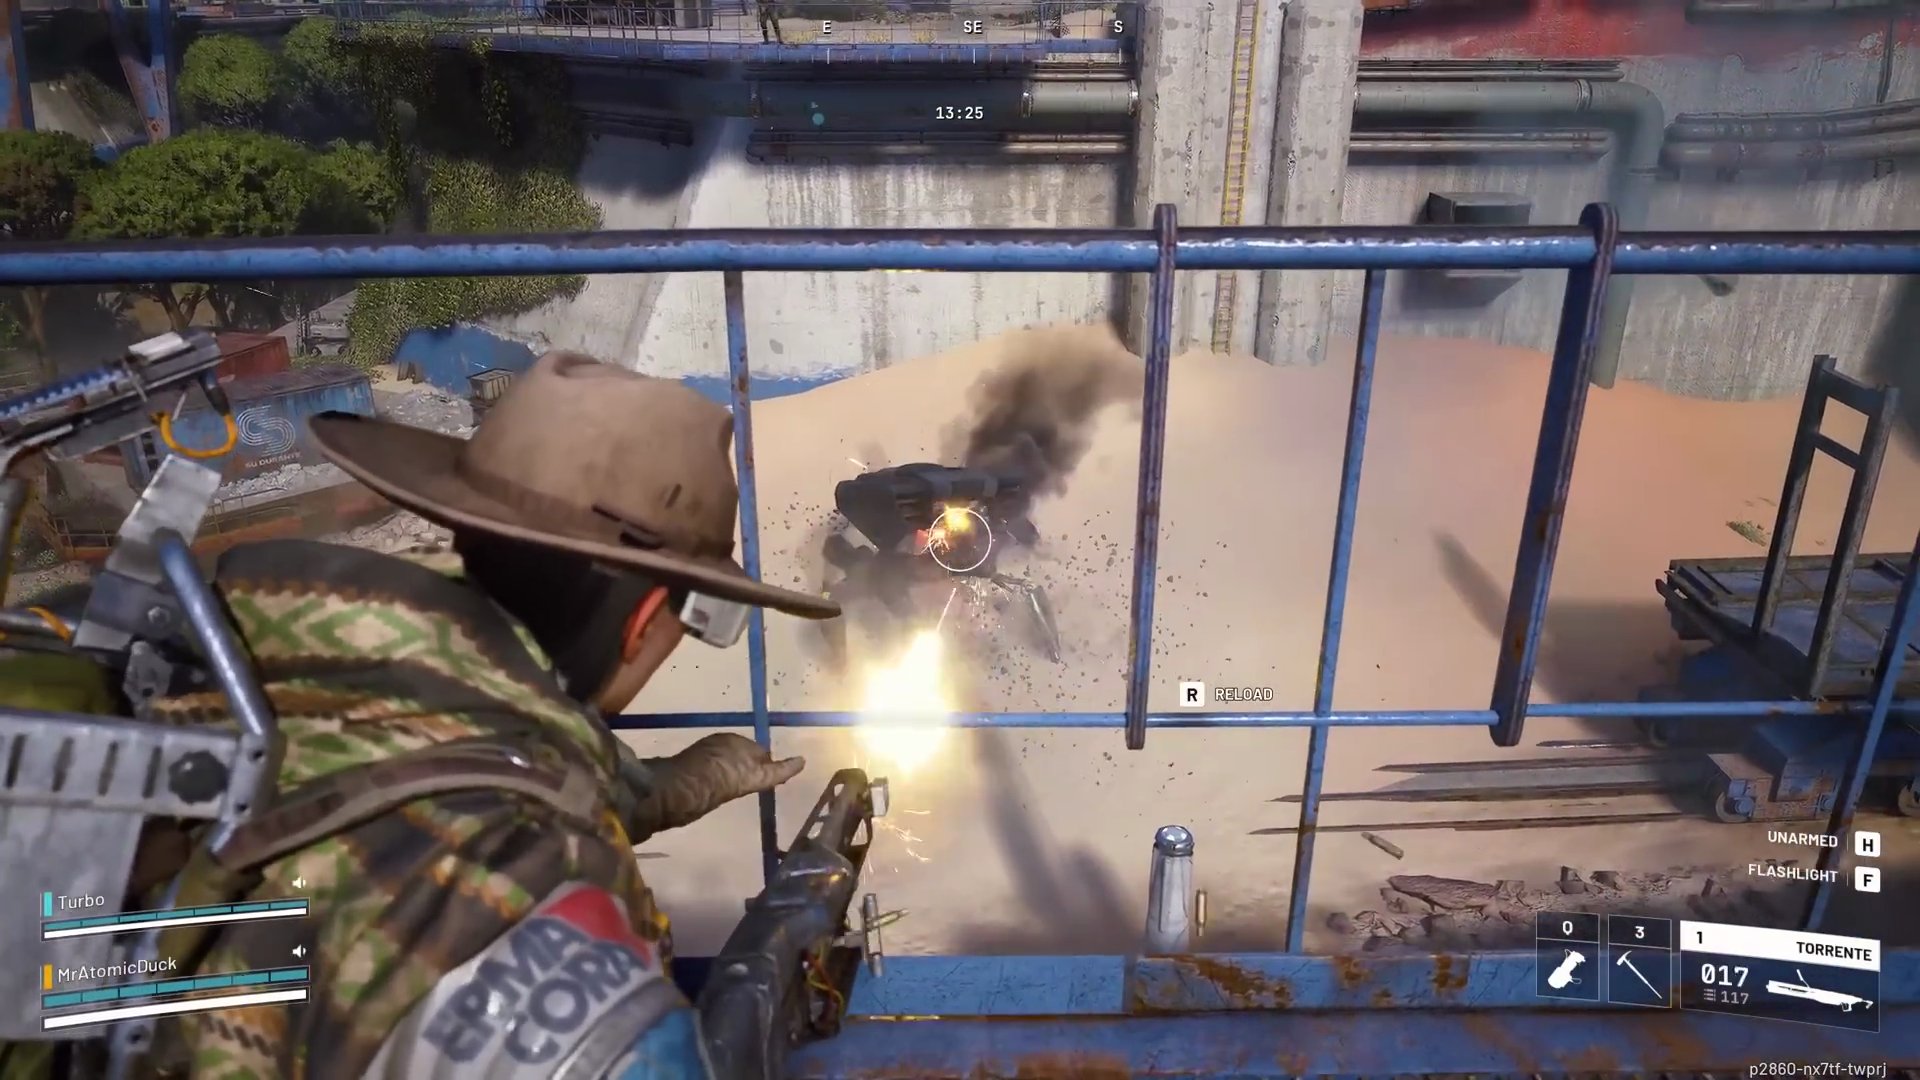
- Empty your magazine into its back while it's turned. This spot is unarmored.
- Step back, reload, and wait for your friend to pull its attention again, then repeat.
- You should kill it within three reloads of a Torrente.
Method 2 (Solo): Explosives
- If solo, bring five or six Trigger 'Nades, Snap Blasts, or Heavy Fuse grenades.
- Stick them to the Bastion itself each time its aim resets.
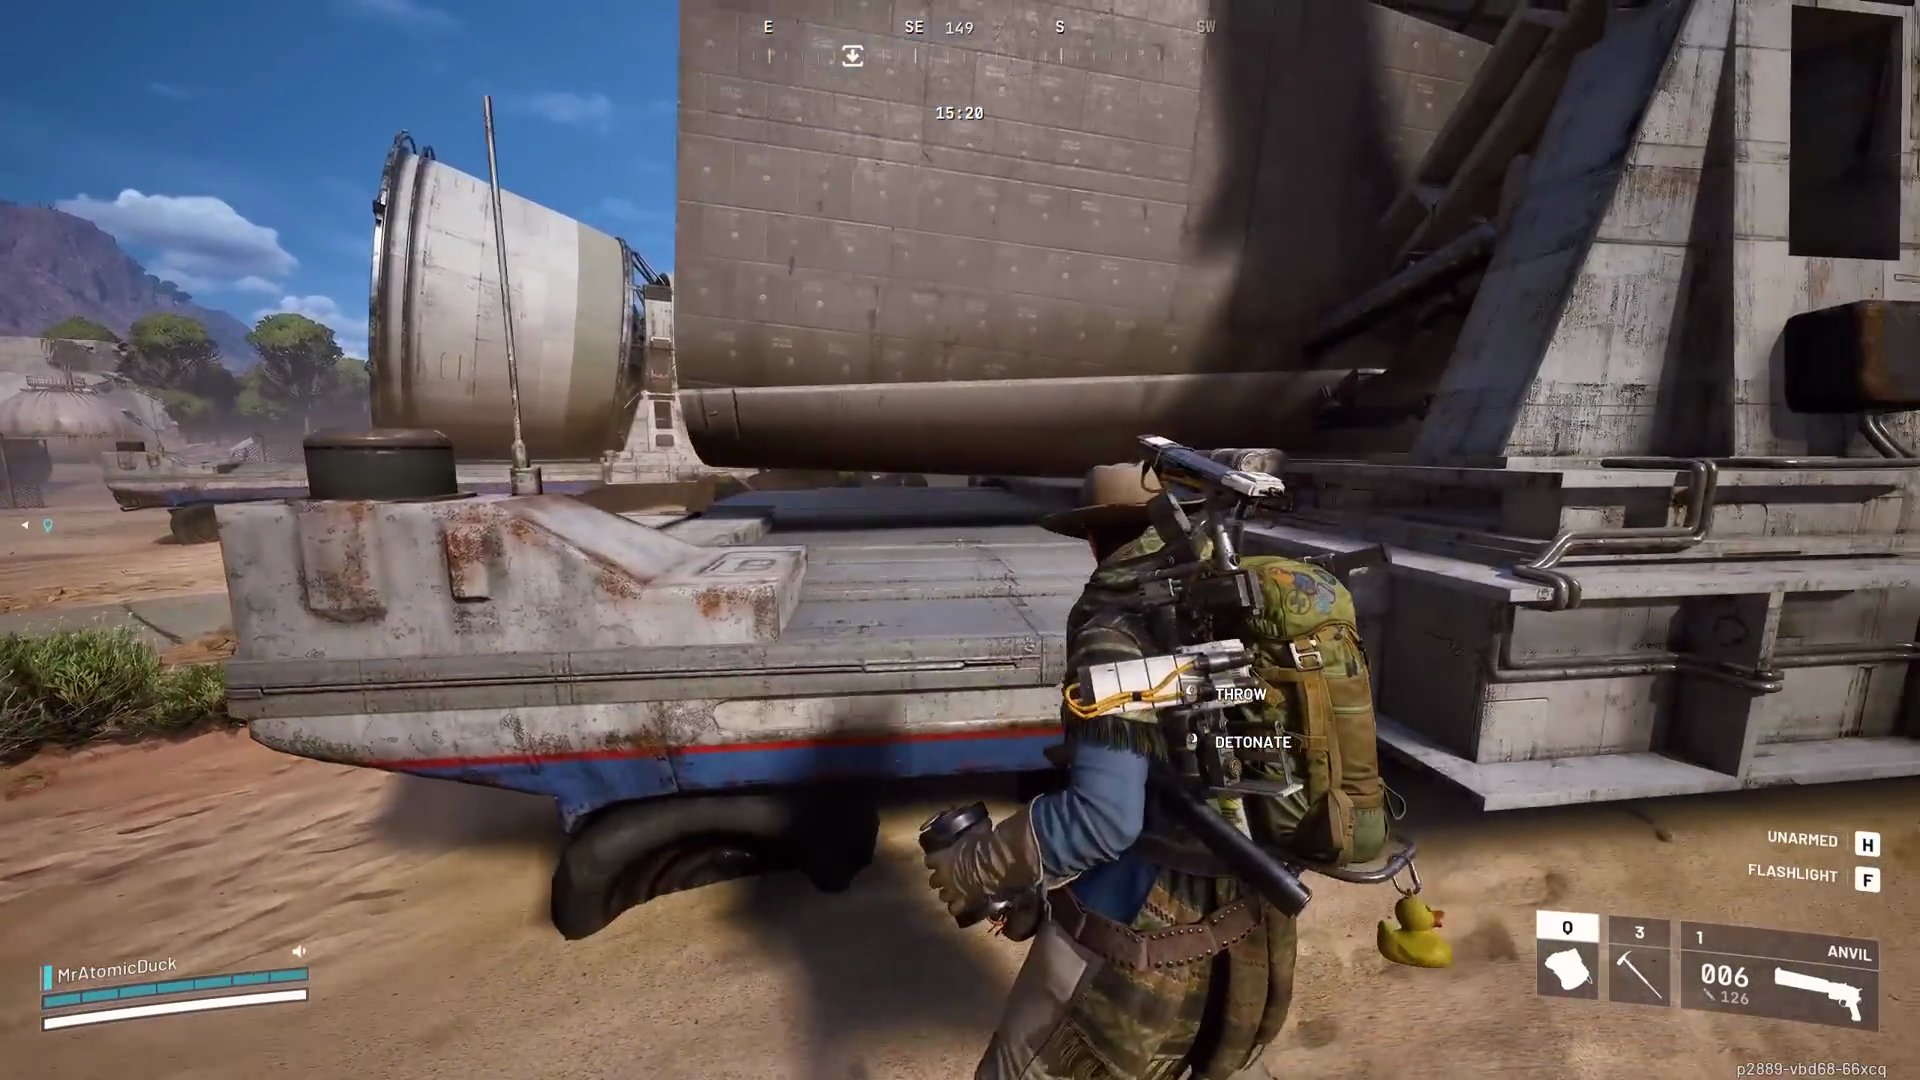
- Trying to take down a Bastion solo with basic weaponry by shooting its knee joints is very risky and time-consuming, likely drawing hostile Raiders. Investing in explosives is better.
Step 6: Bombardier
- Threat Level: Critical
- Armor Plate: None
- Primary Attack: Mortar Round
- Special Abilities: Releases Kinetic Energy
- Weakness: Rear plate, joints
- Health: Unknown
The Bombardier is lethal, with no armor plating on its main body, but its mortar fire is devastating.
Method 1 (Preferred - Solo): Trigger 'Nades & Shelter
- You'll need five or six Trigger 'Nades.
- Find a position to start throwing these grenades from while having a roof over your head. This makes it harder for the Bombardier to land shots.
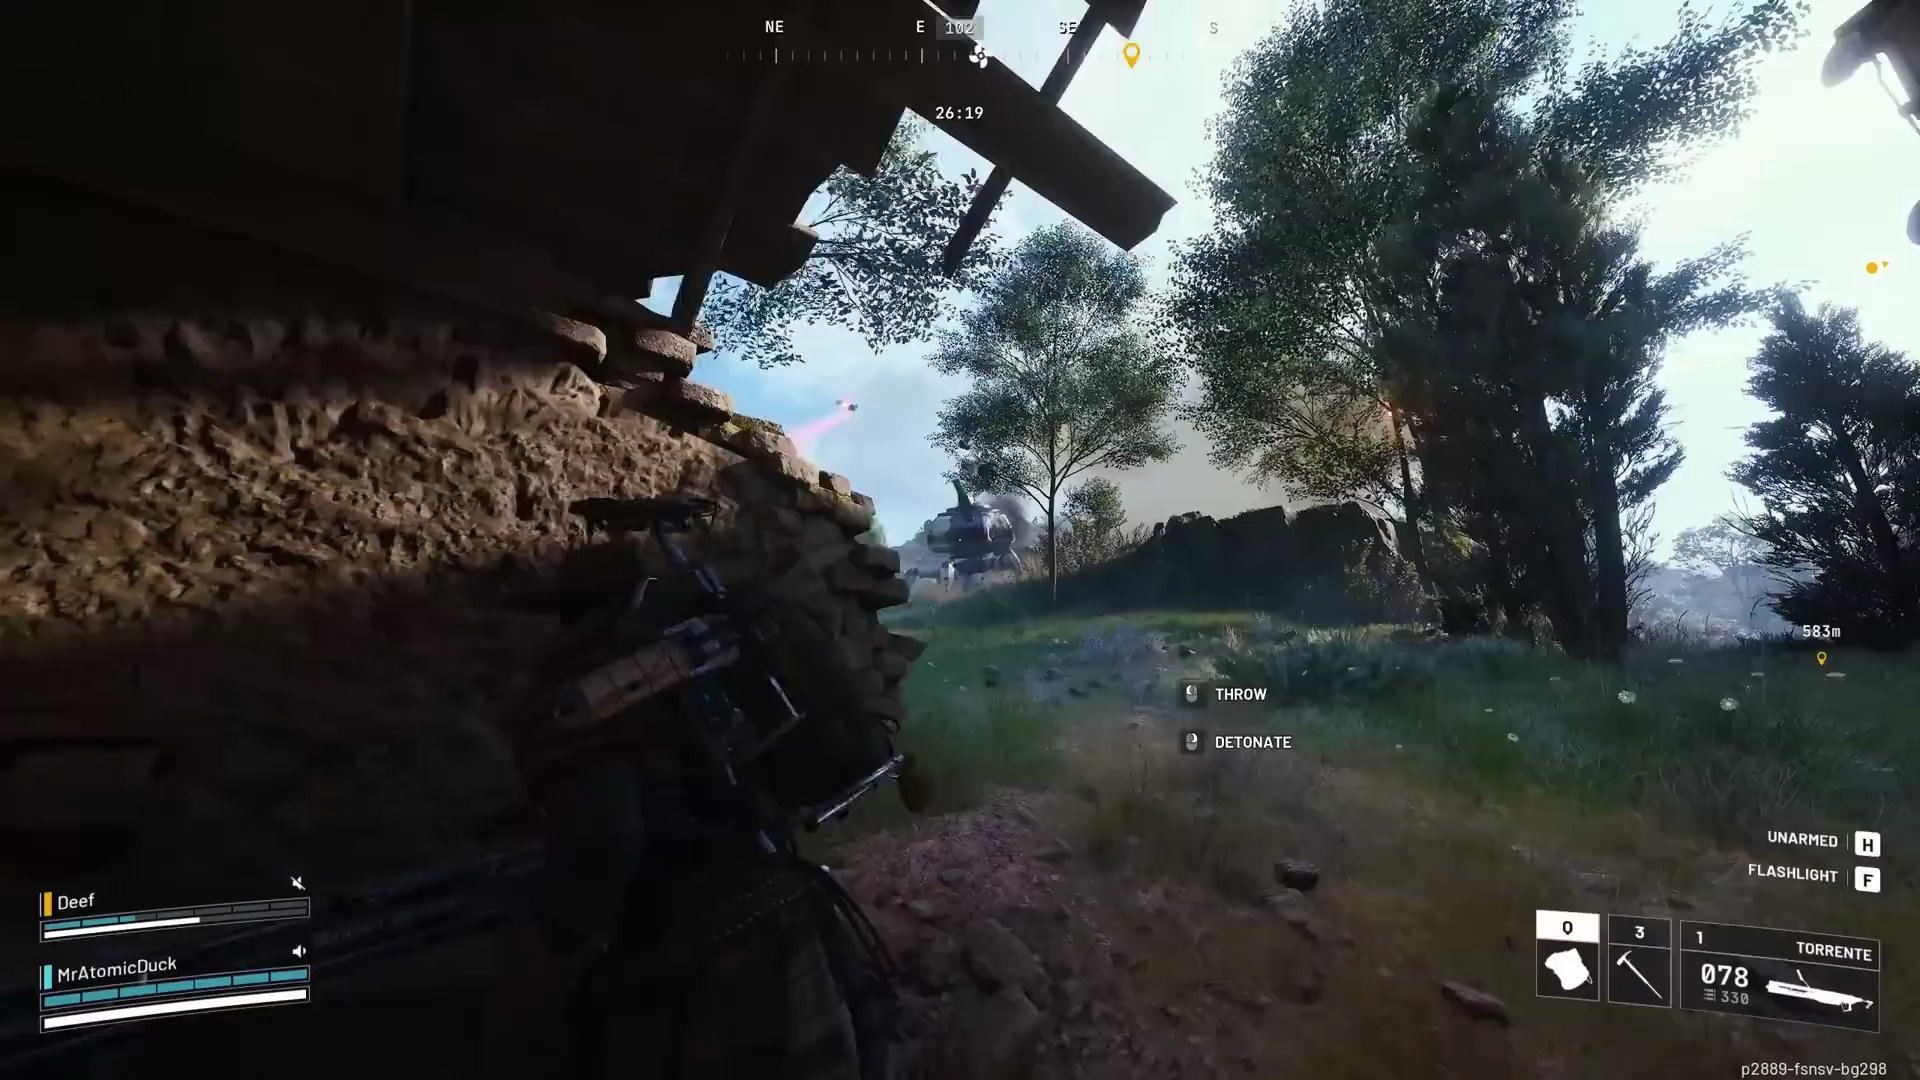
- Stick as many grenades as possible before it starts opening fire on you.
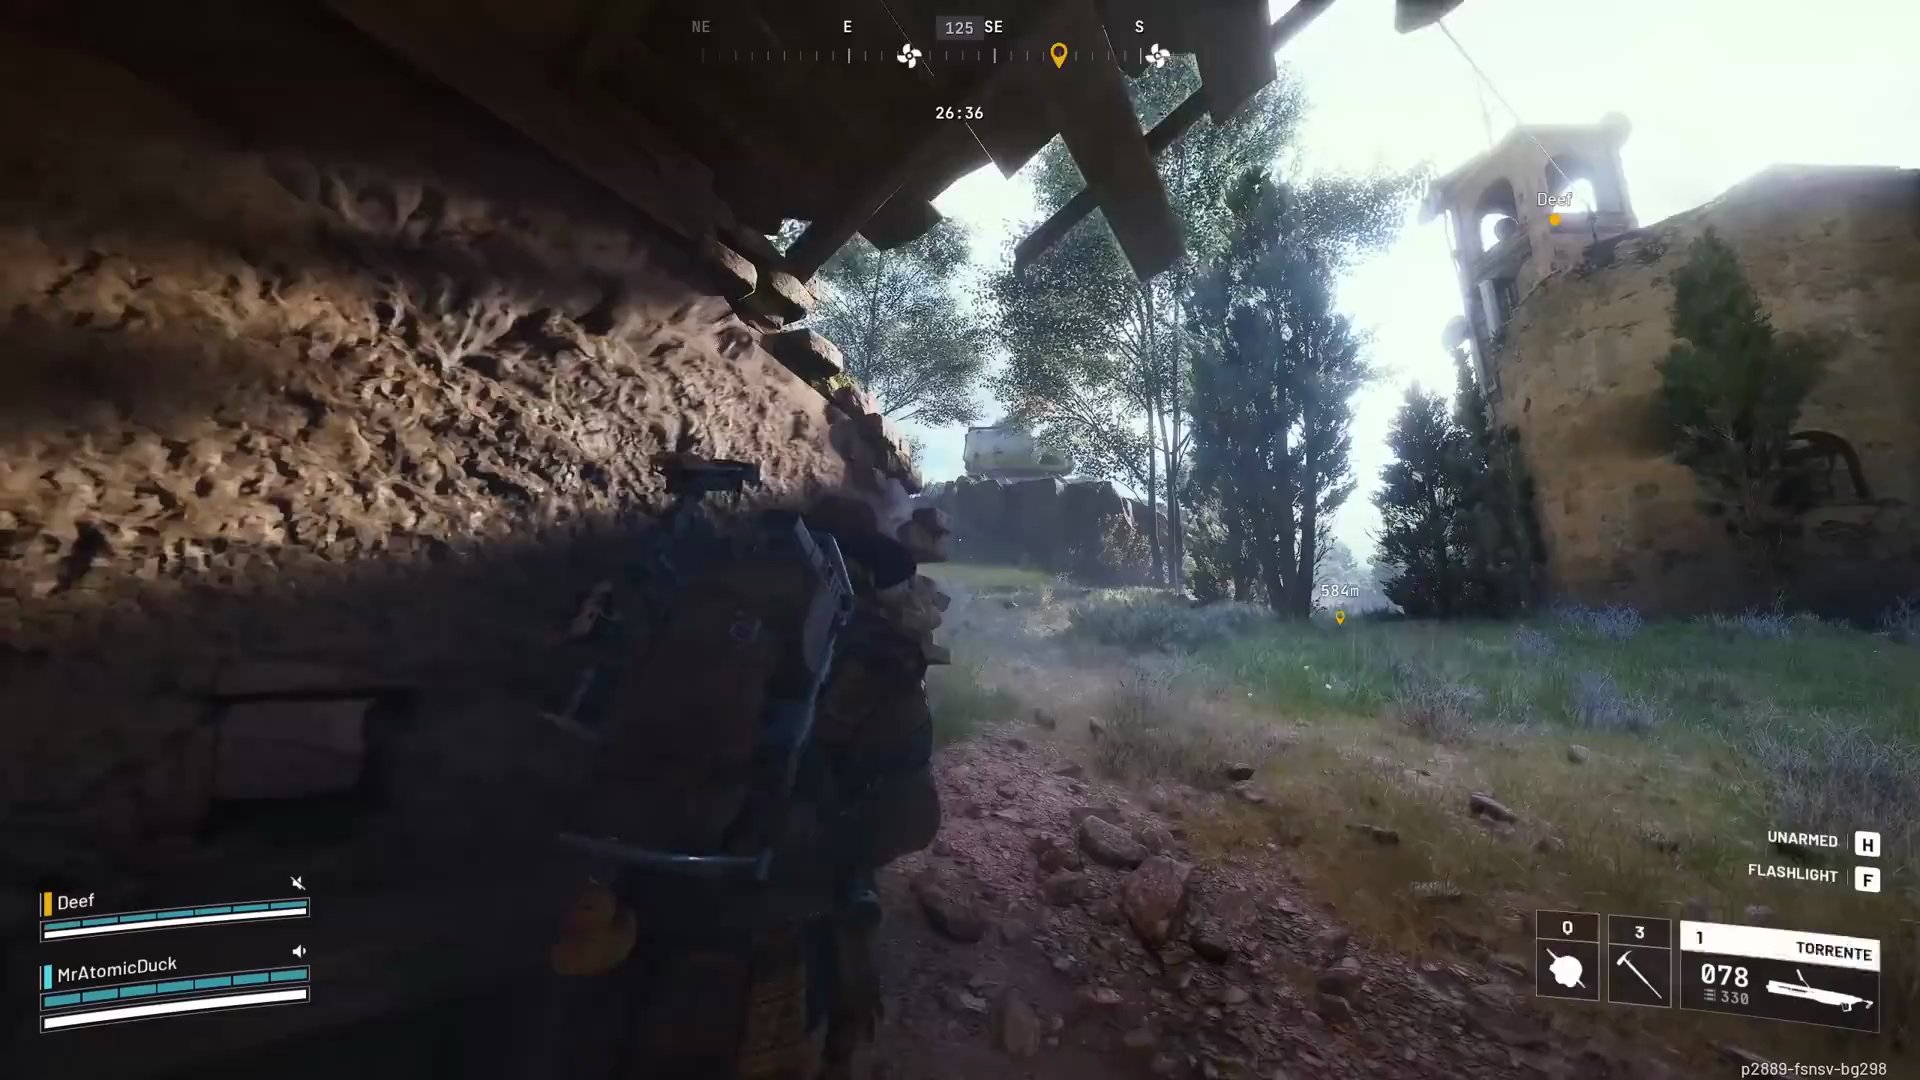
- You can ignore the Spotter drones if you have overhead shelter.
- Optionally, bring a Showstopper grenade to lock them in place for easier hits with Trigger 'Nades.
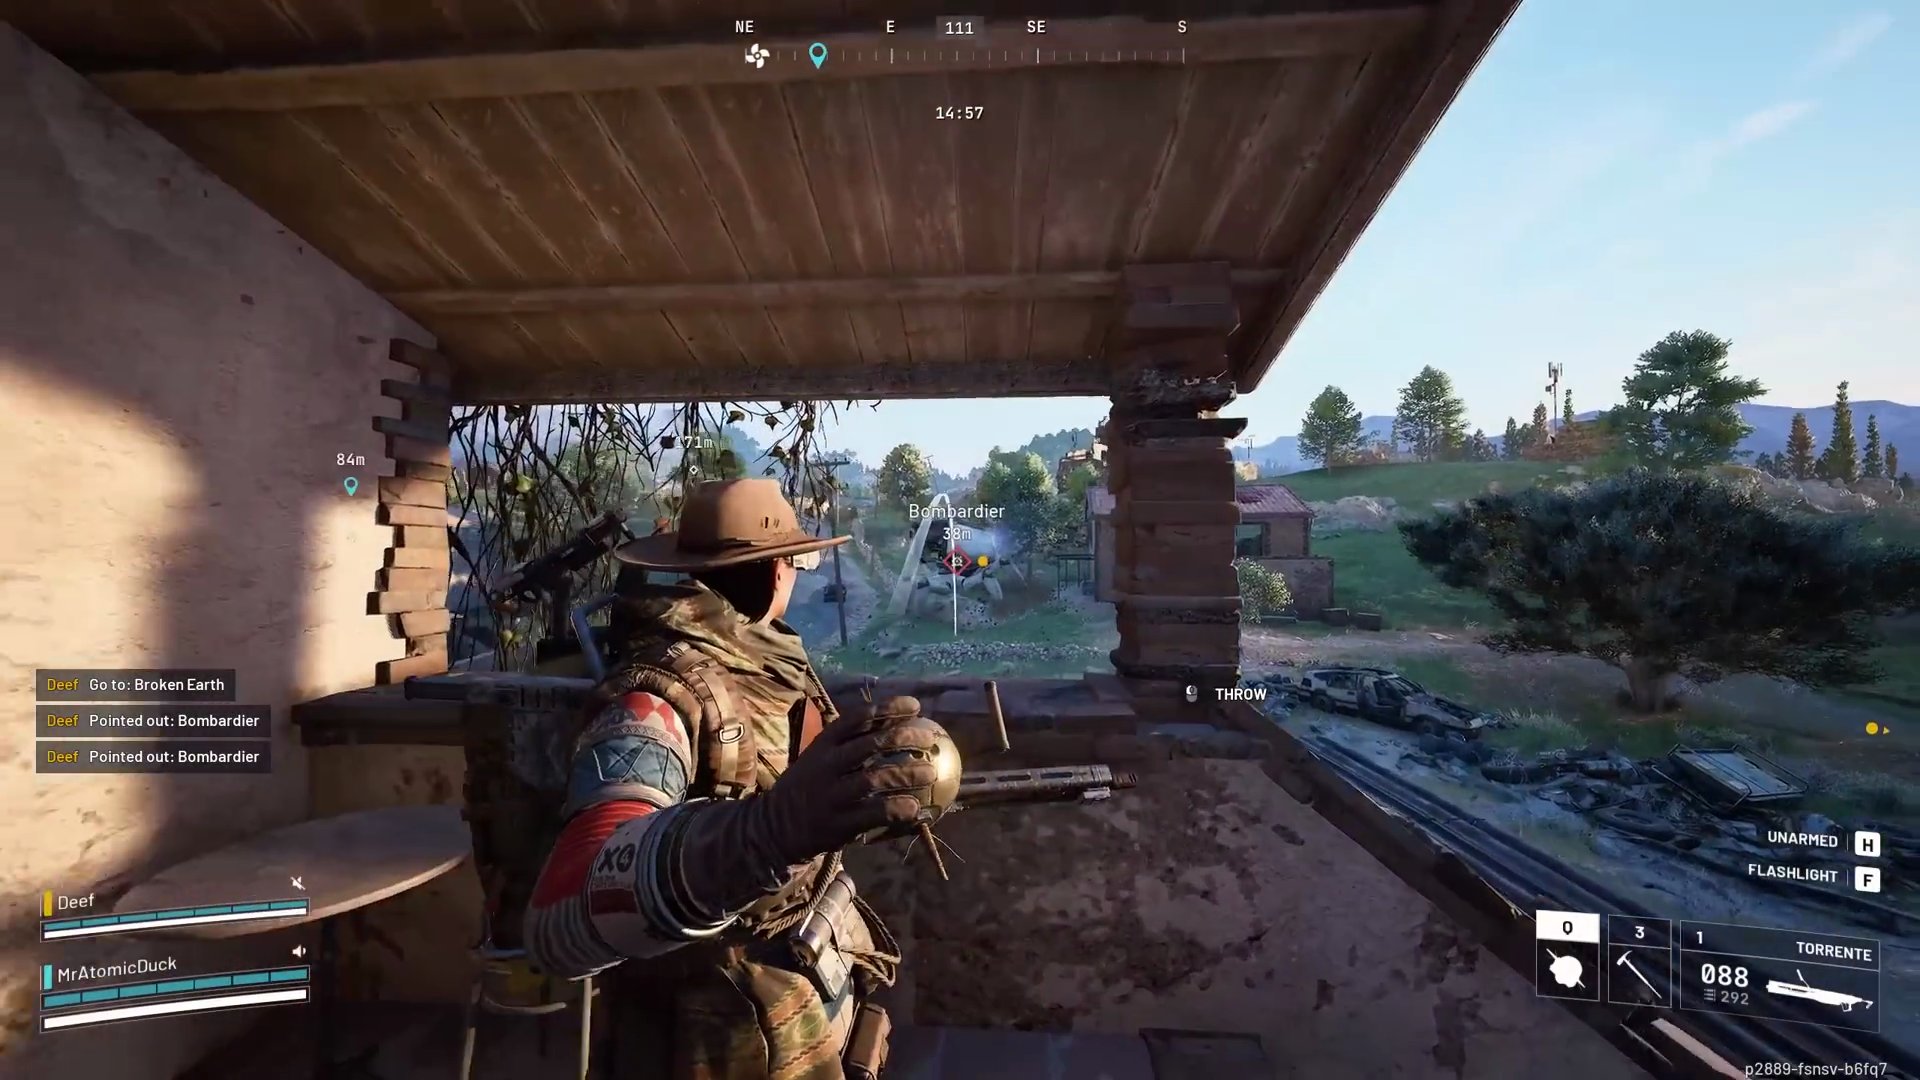
- Investing in explosives is highly recommended for a quick solo kill.
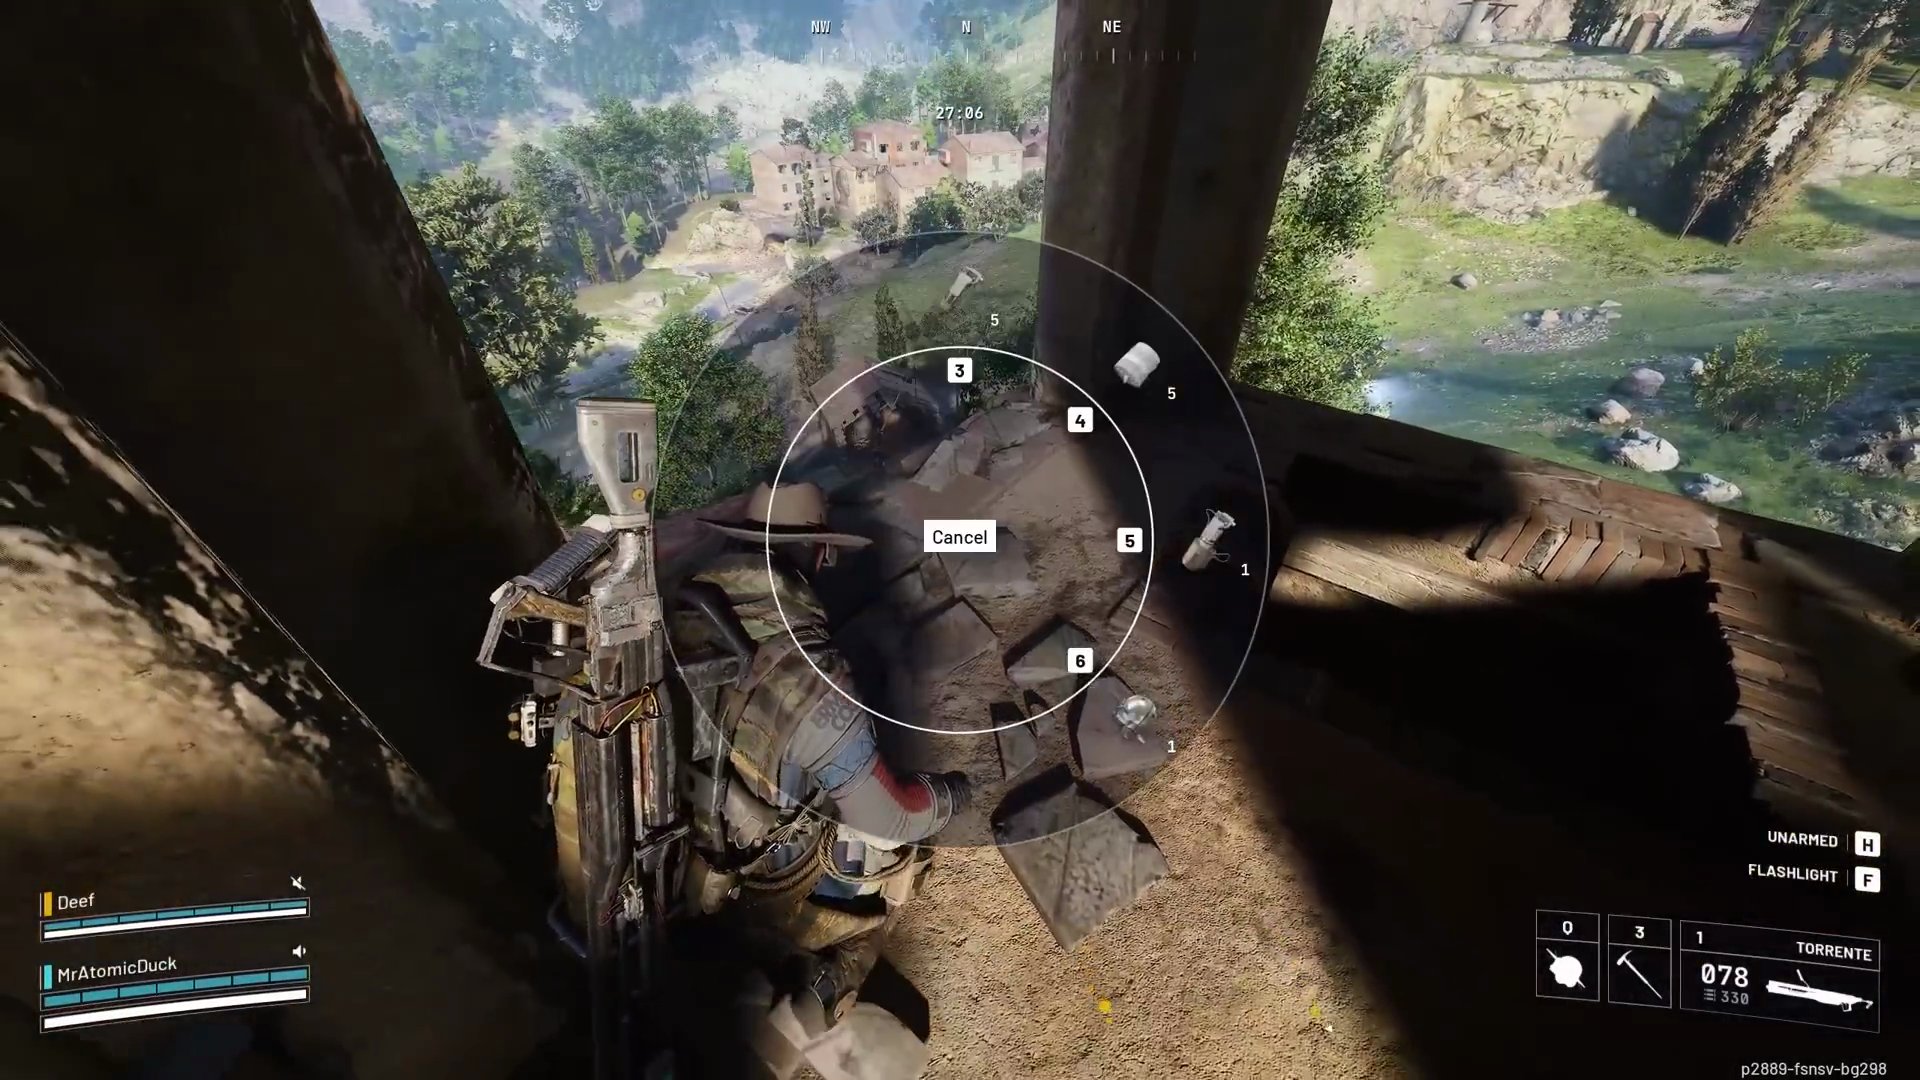
Method 2 (Team): Distraction & Damage
- Similar to the Bastion strategy, you need a friend willing to take its attention.
- While your friend distracts, focus your damage on the unarmored rear canister.
- Both players will need a sheltered building on either side of the Bombardier to make this work, which can be very specific and awkward to pull off.
- [SCREENSHOT:10:47]