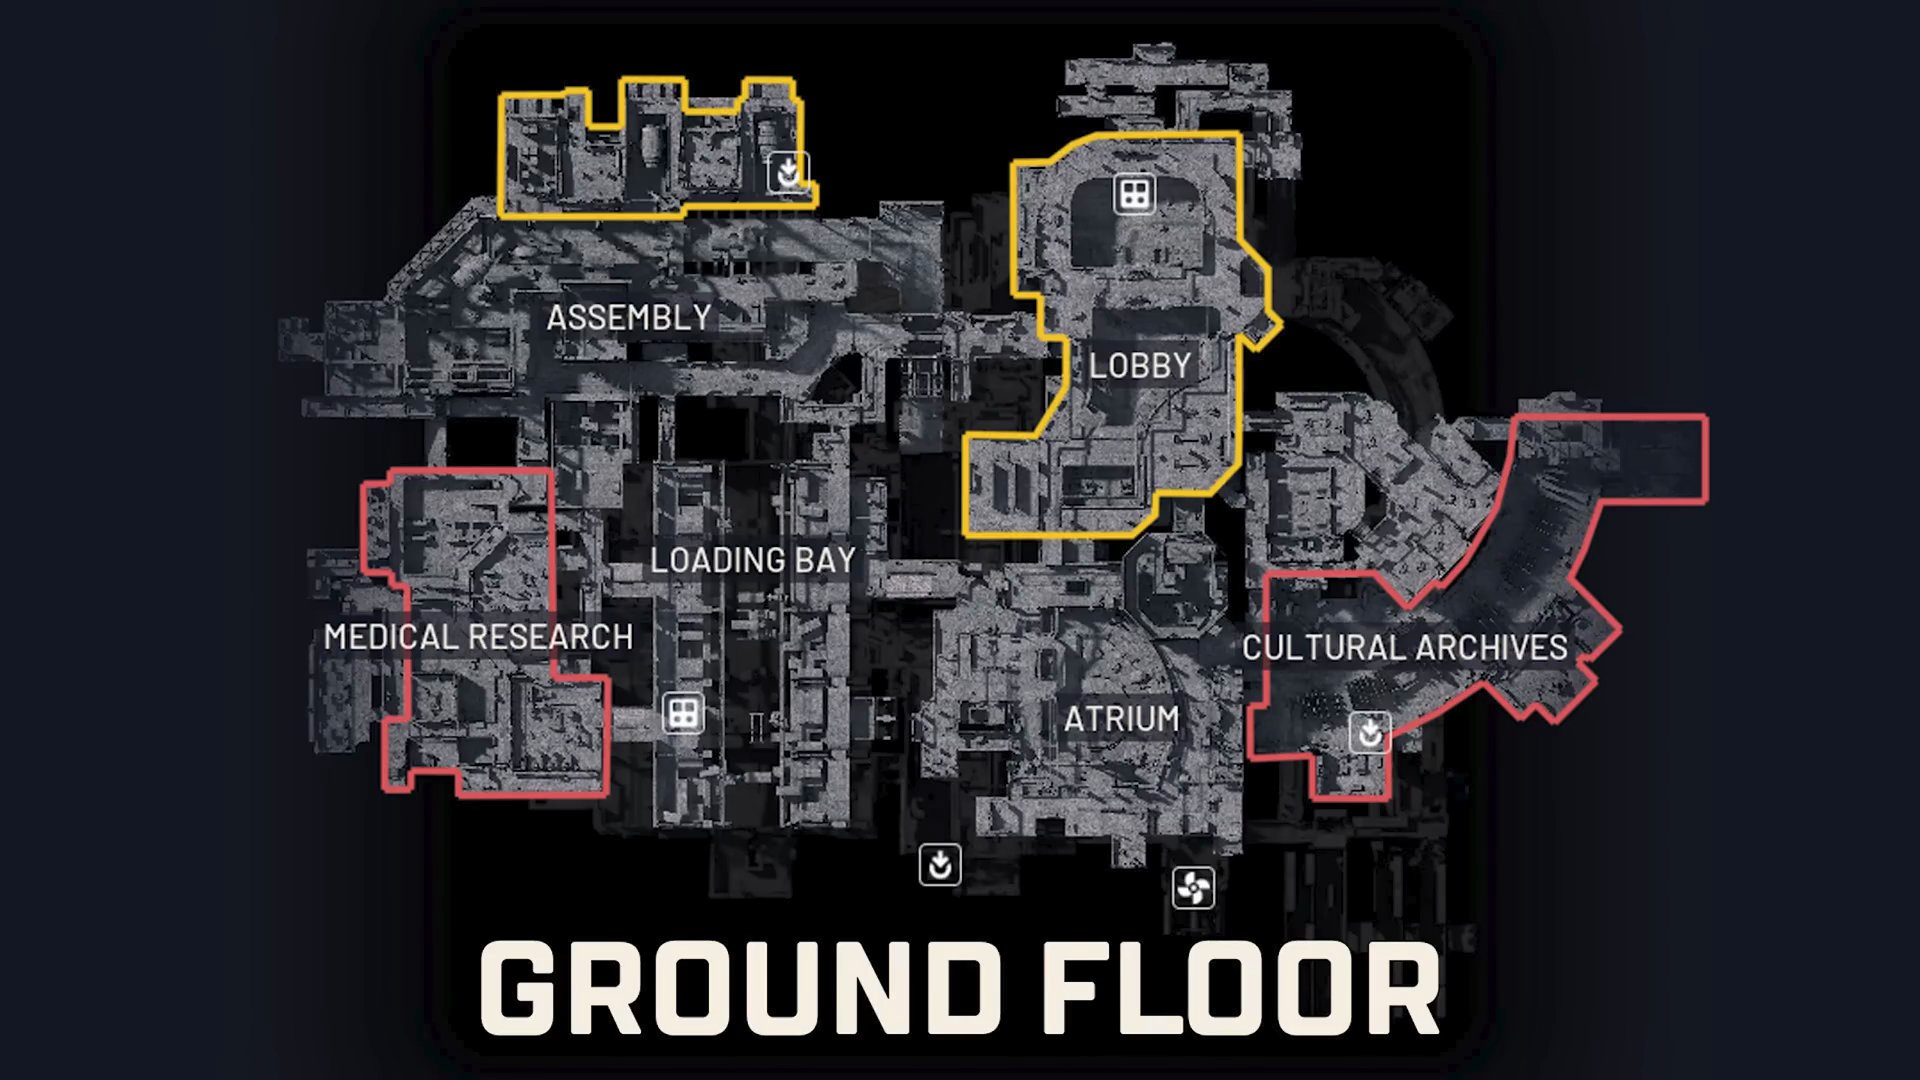
Stella Montis Overview and Looting Guide
This guide identifies the most profitable looting zones and key strategies for survival and wealth accumulation on the Stella Montis map in Arc Raiders.
Overview: Stella Montis Map
Stella Montis is a new, high-risk, high-reward map in Arc Raiders
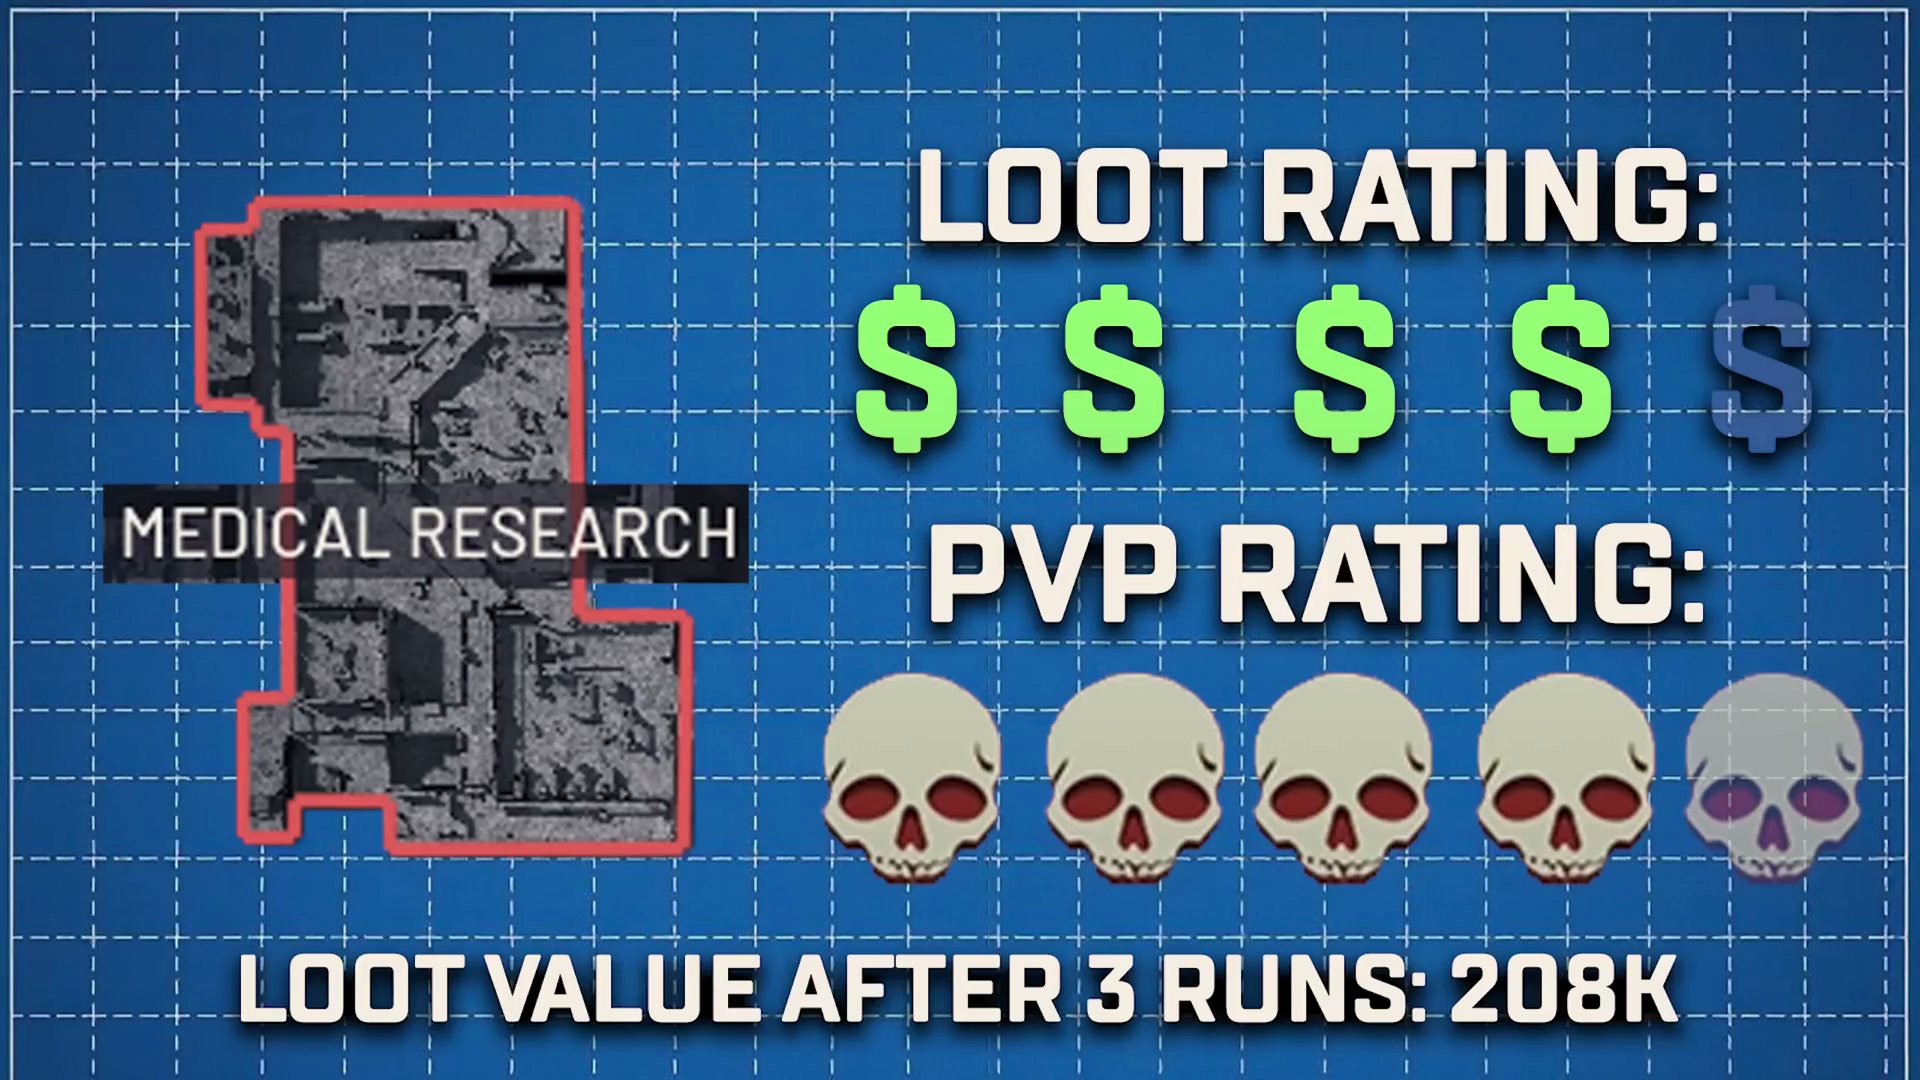
Medical Research (Red Tier)
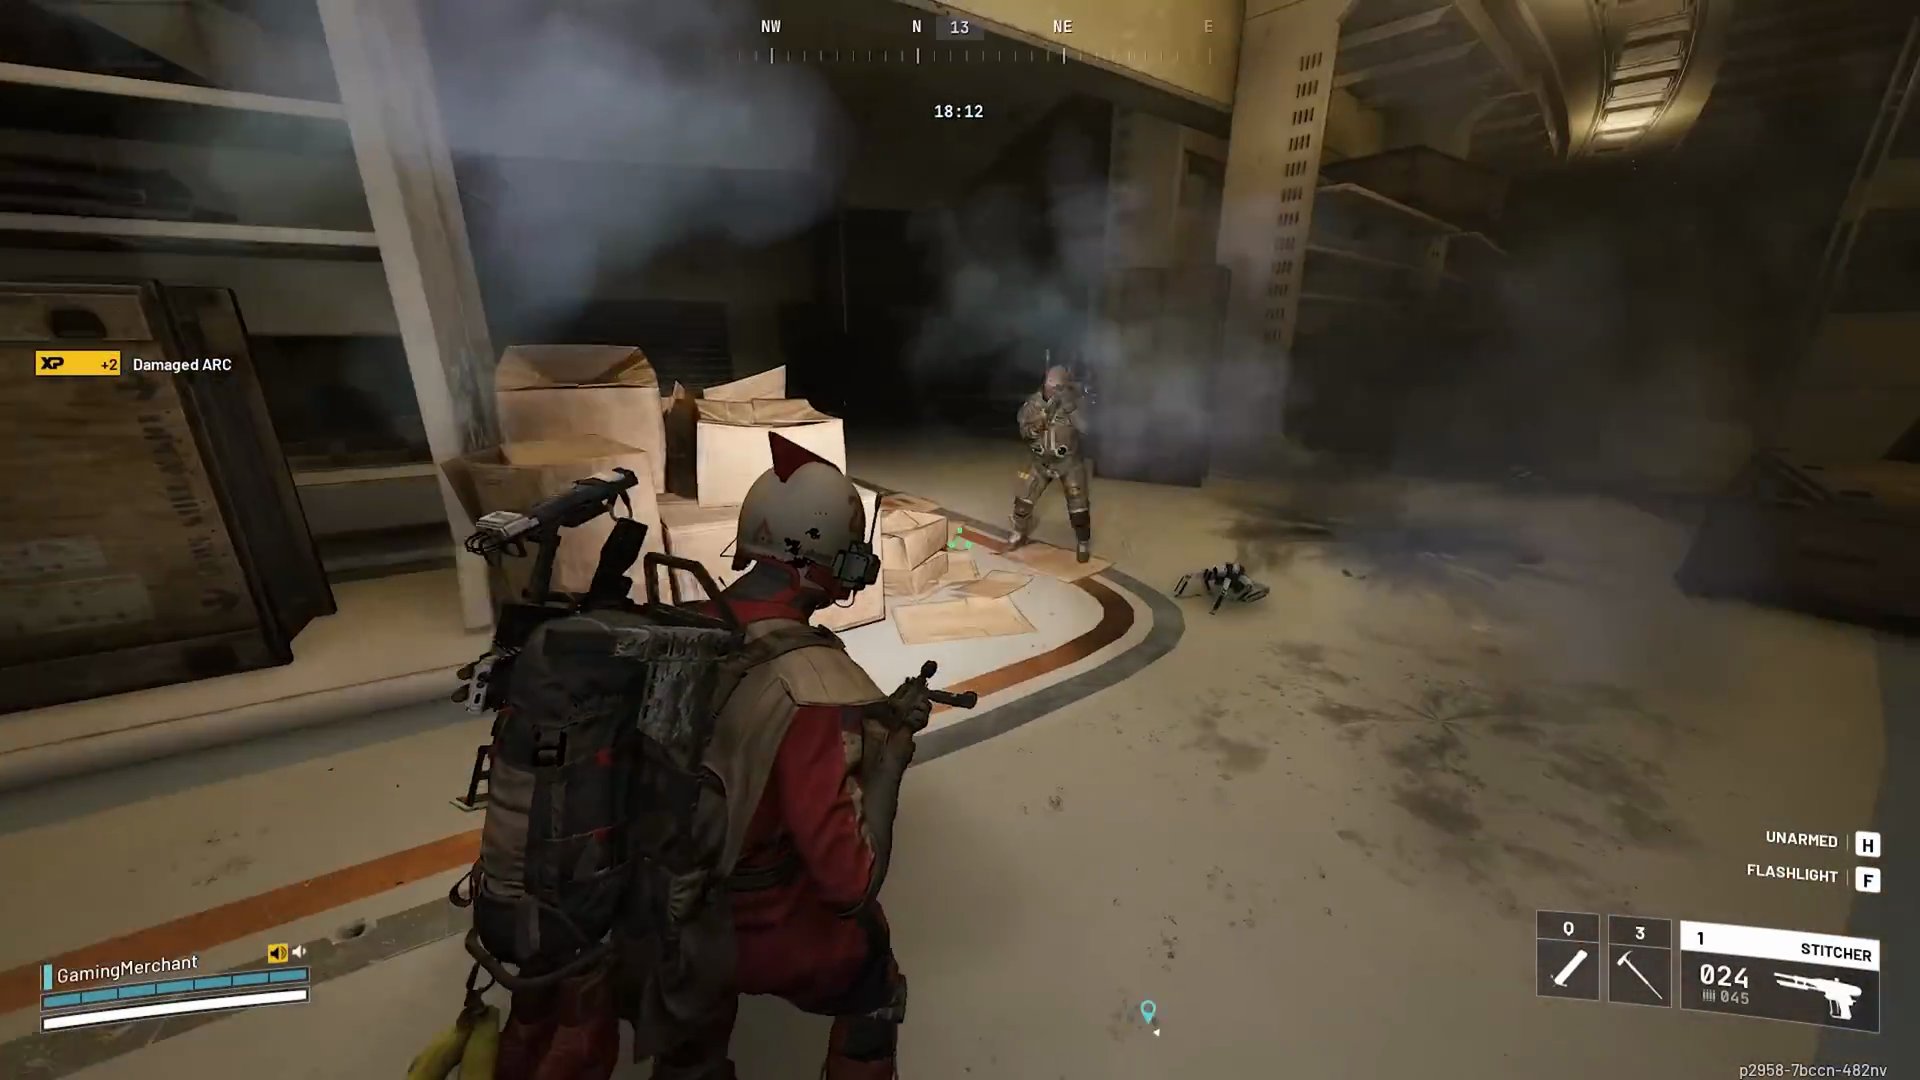
The Medical Research area is a Red Tier zone offering significant loot but also high PvP action. Expect frequent player encounters and challenging enemies.
- High PvP Encounters: You will face aggressive players. Be ready for combat at all times.
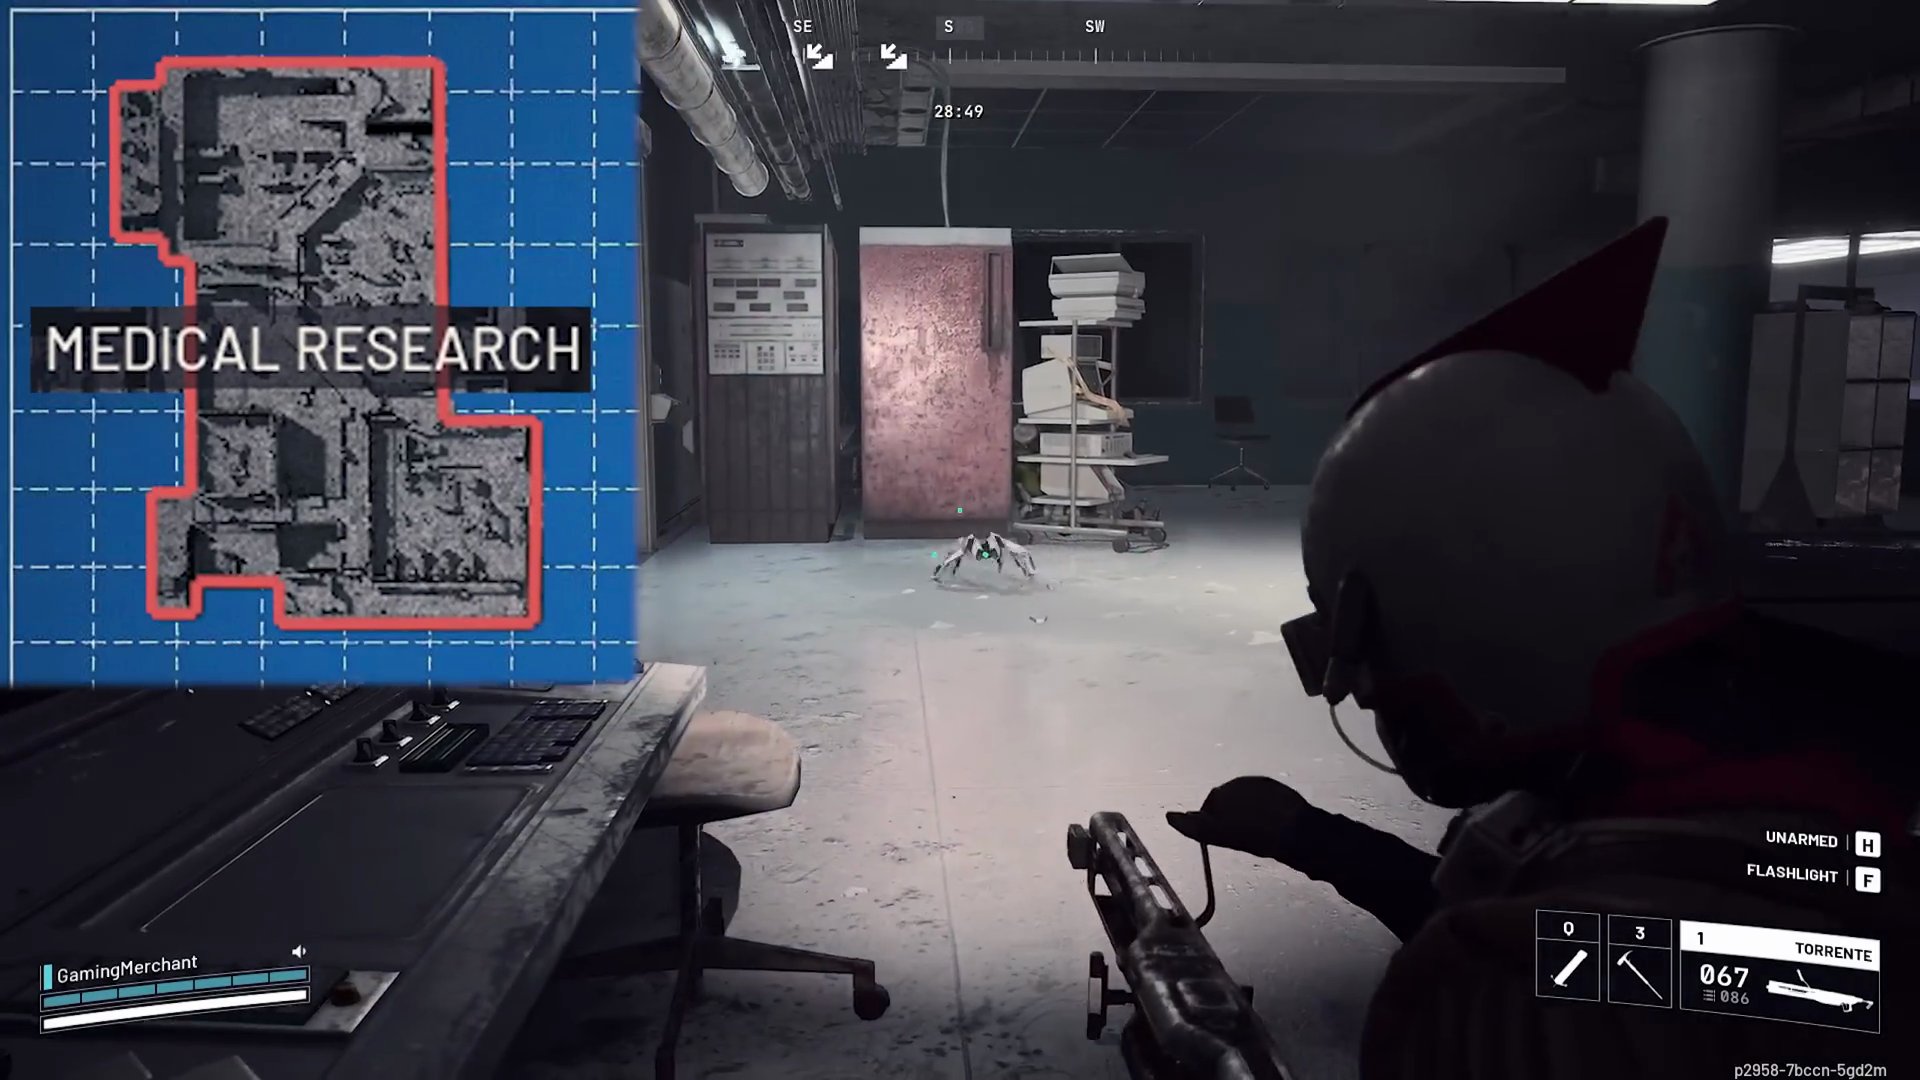
- New ARC: Shredders: This area introduces new ARC enemies called Shredders. They are dangerous and can quickly deplete your health. Aim for their blue thrusters for critical damage.
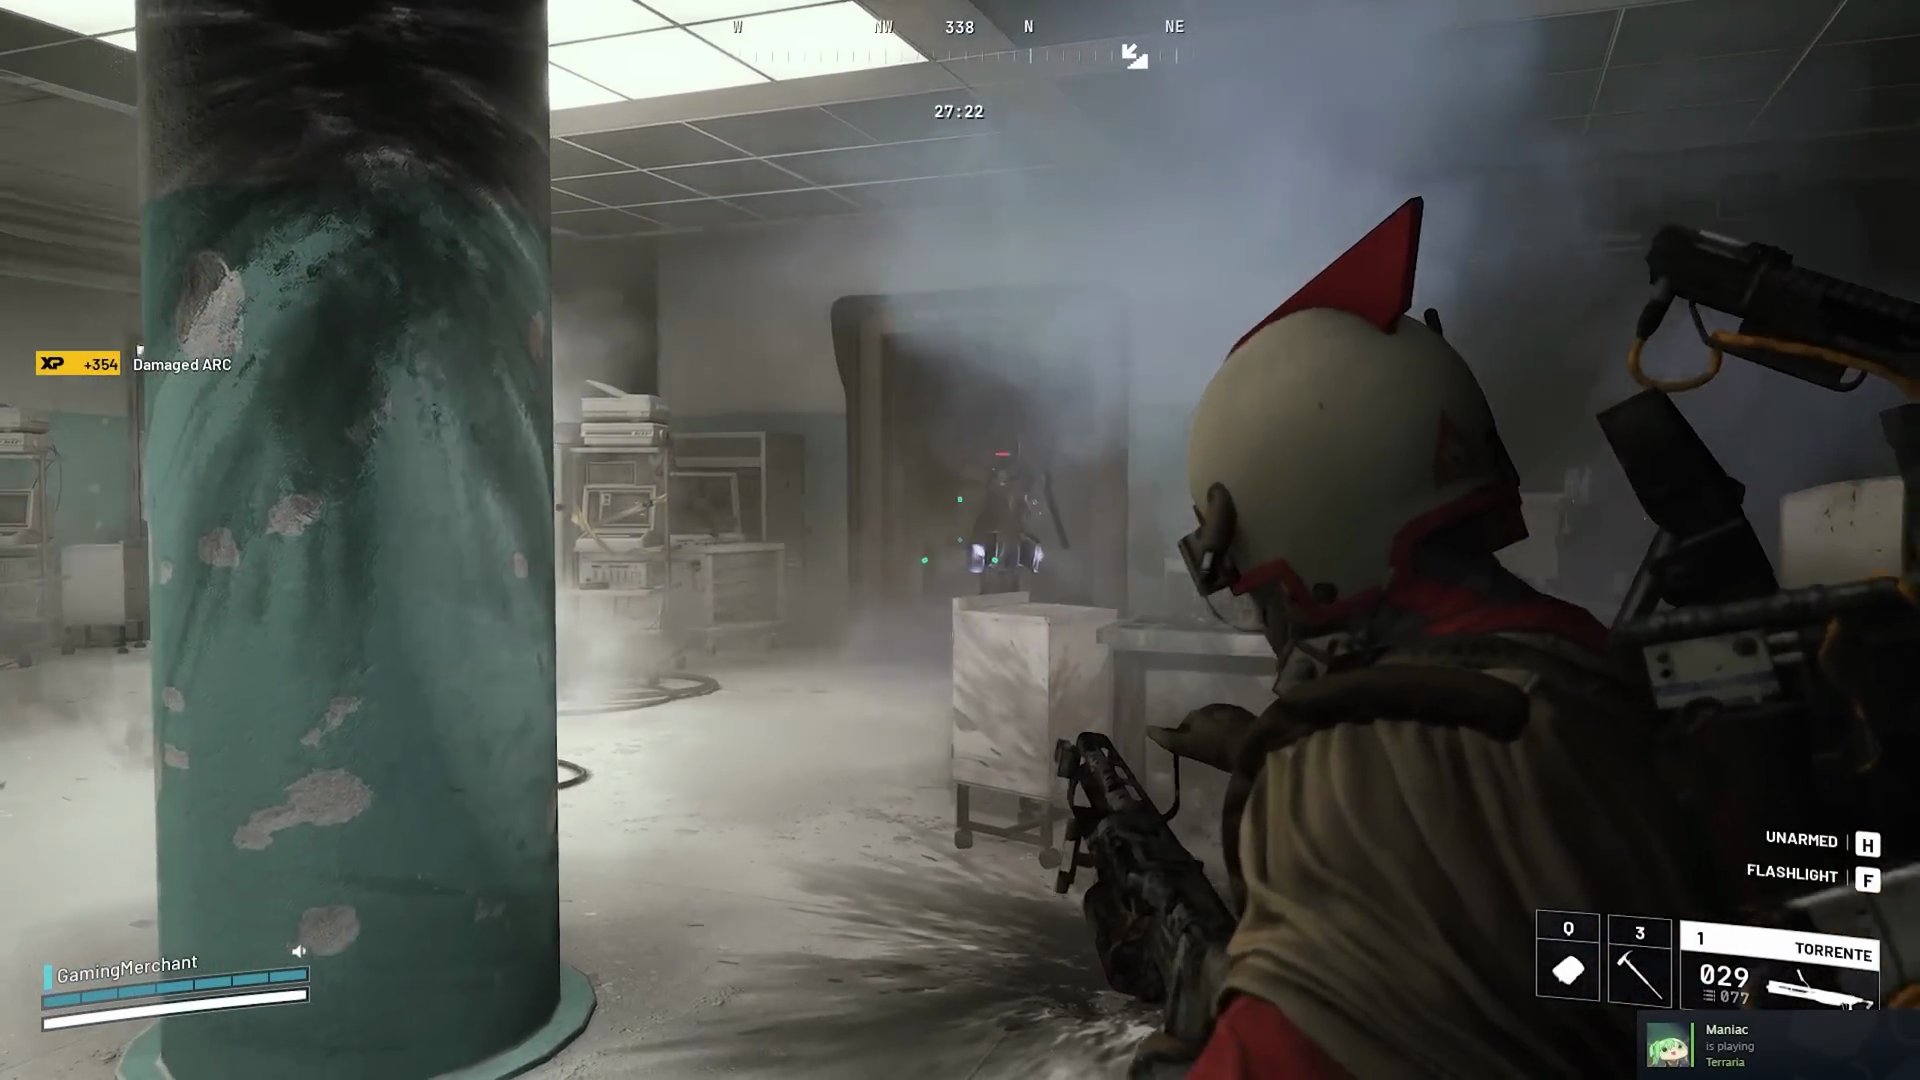
- Looting Valuable Items: Look out for trash cans and other containers. They often contain high-value crafting materials and keys, like the Buried City Town Hall Key.
- Always be Cautious: Even if players call out as friendly, be wary. Many will attack without warning.
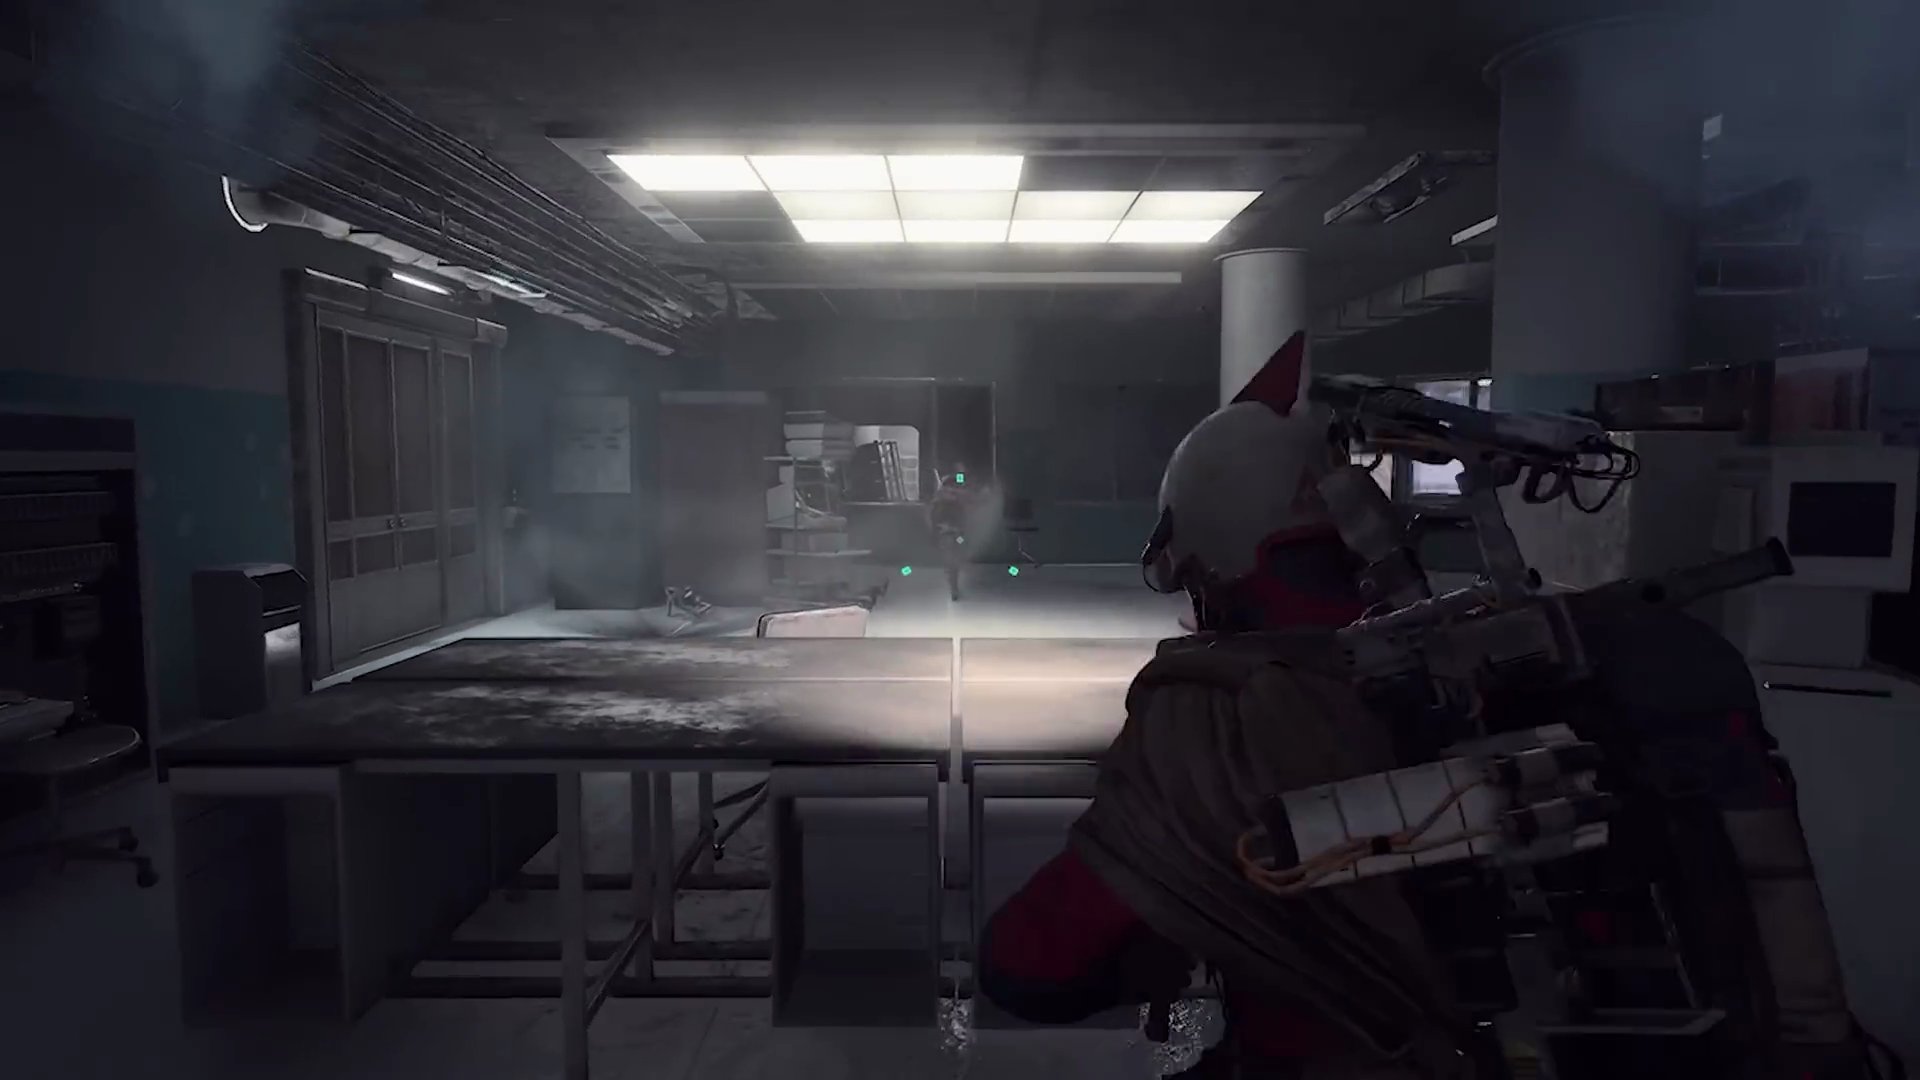
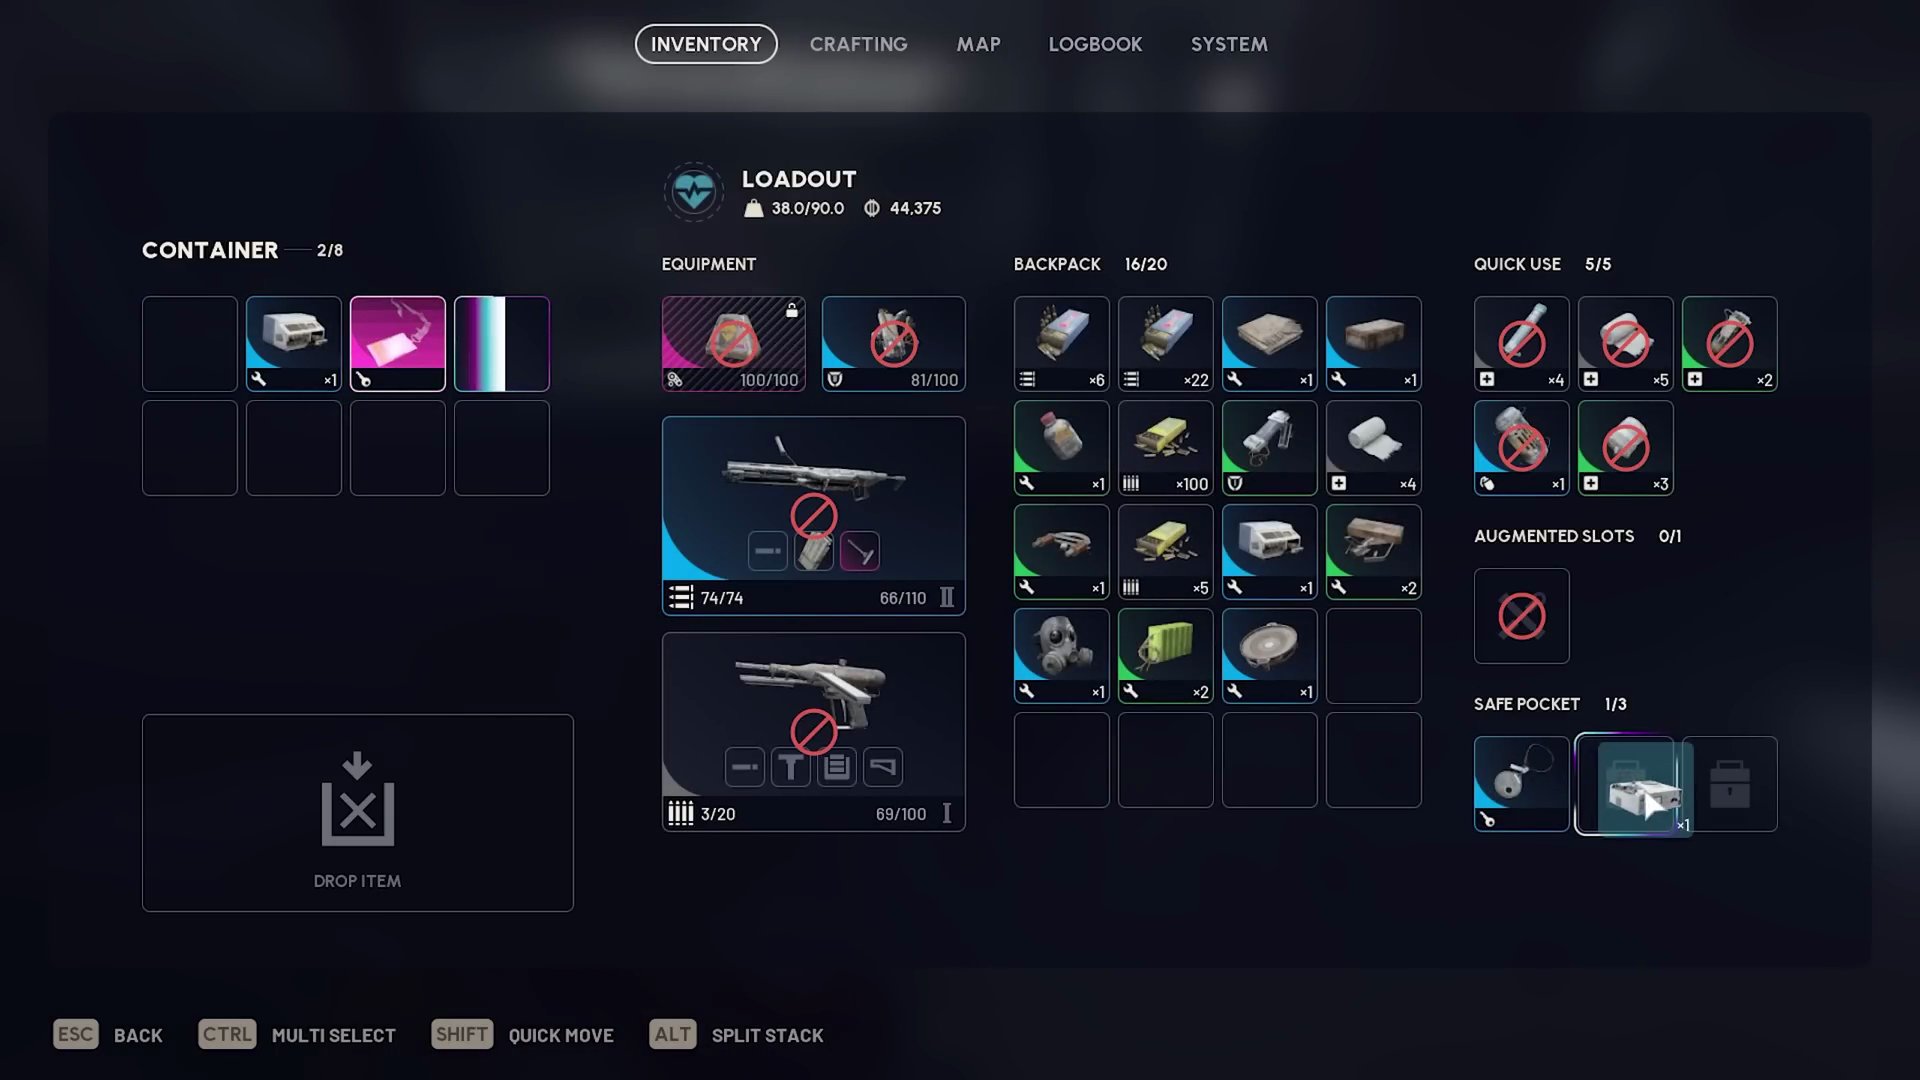
- Loot Value: After 3 successful runs, the total loot value was approximately 208K credits.
Assembly Workshops (Yellow Tier)
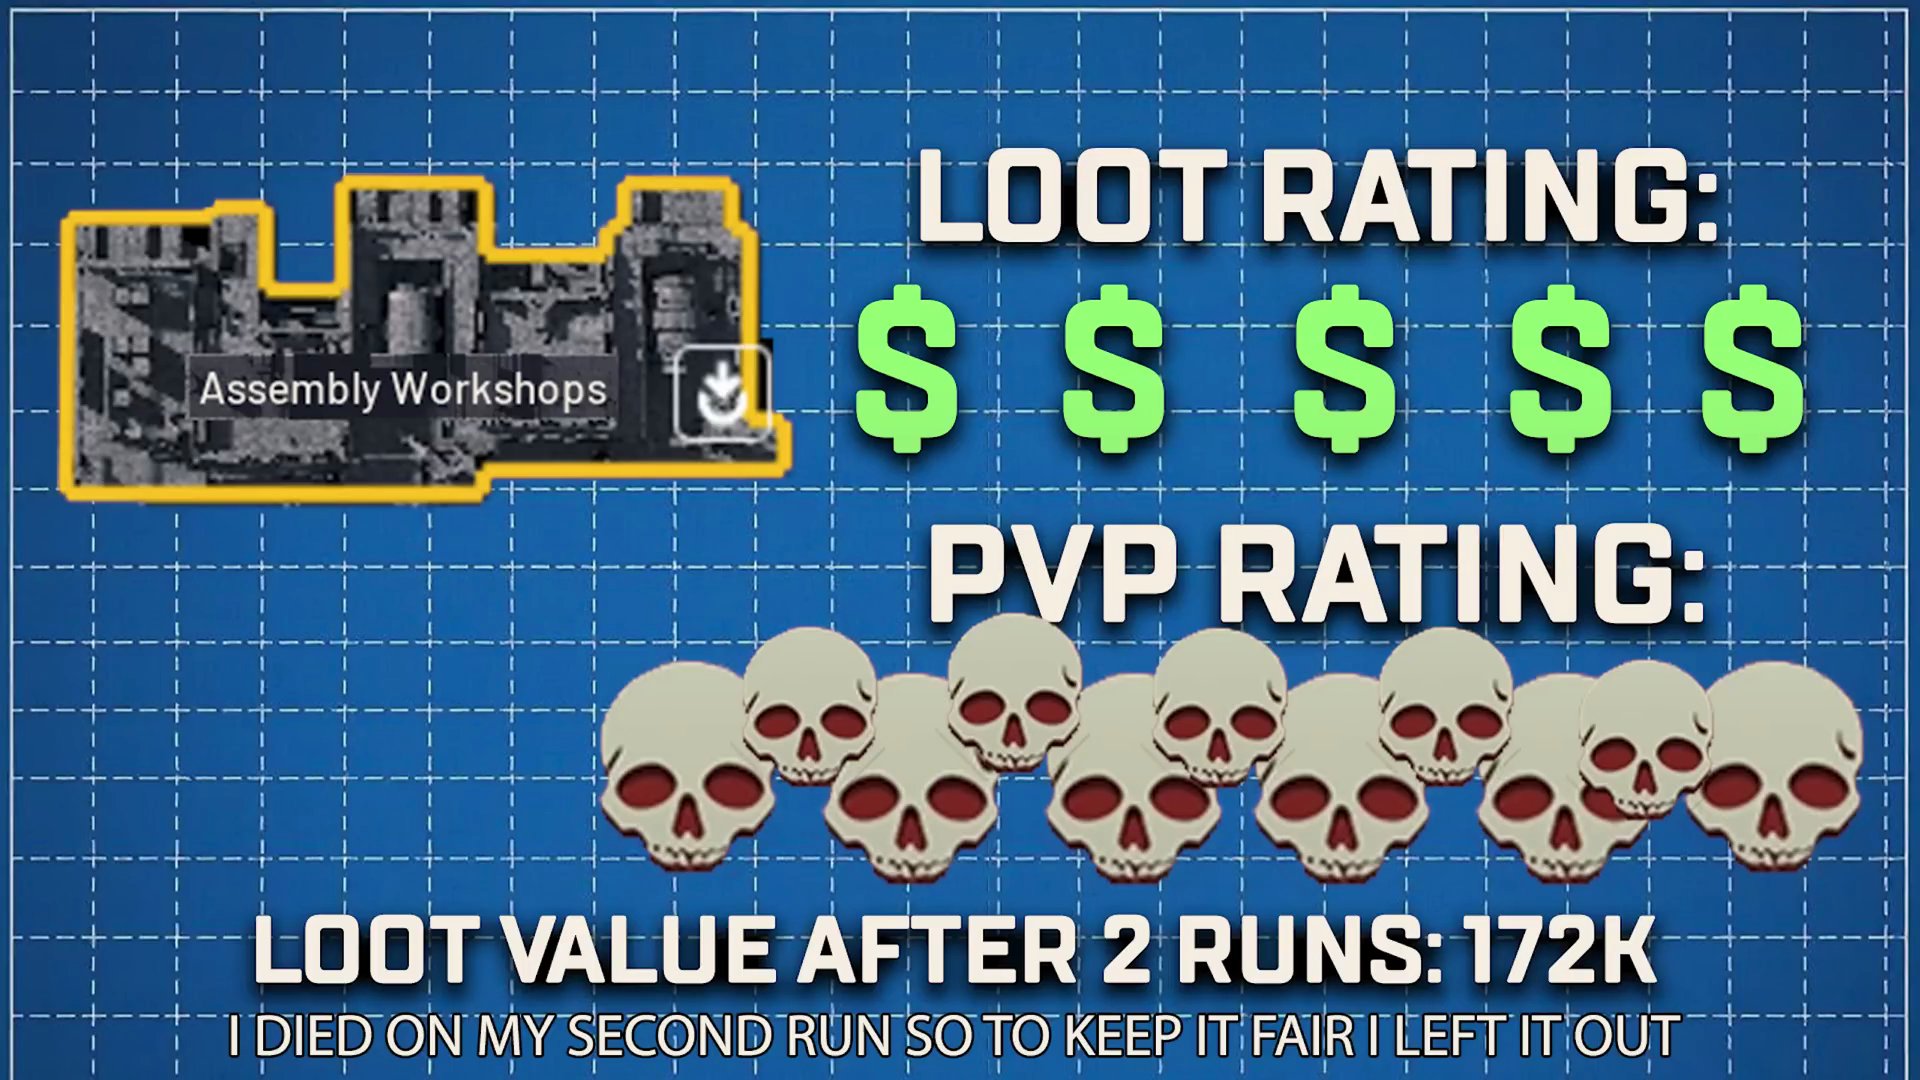
Despite being a Yellow Tier area, Assembly Workshops offer surprisingly high-quality loot, making it a very lucrative spot, but also highly contested.
- Epic Rarity Loot: Expect to find many epic rarity crafting materials and good weapons.
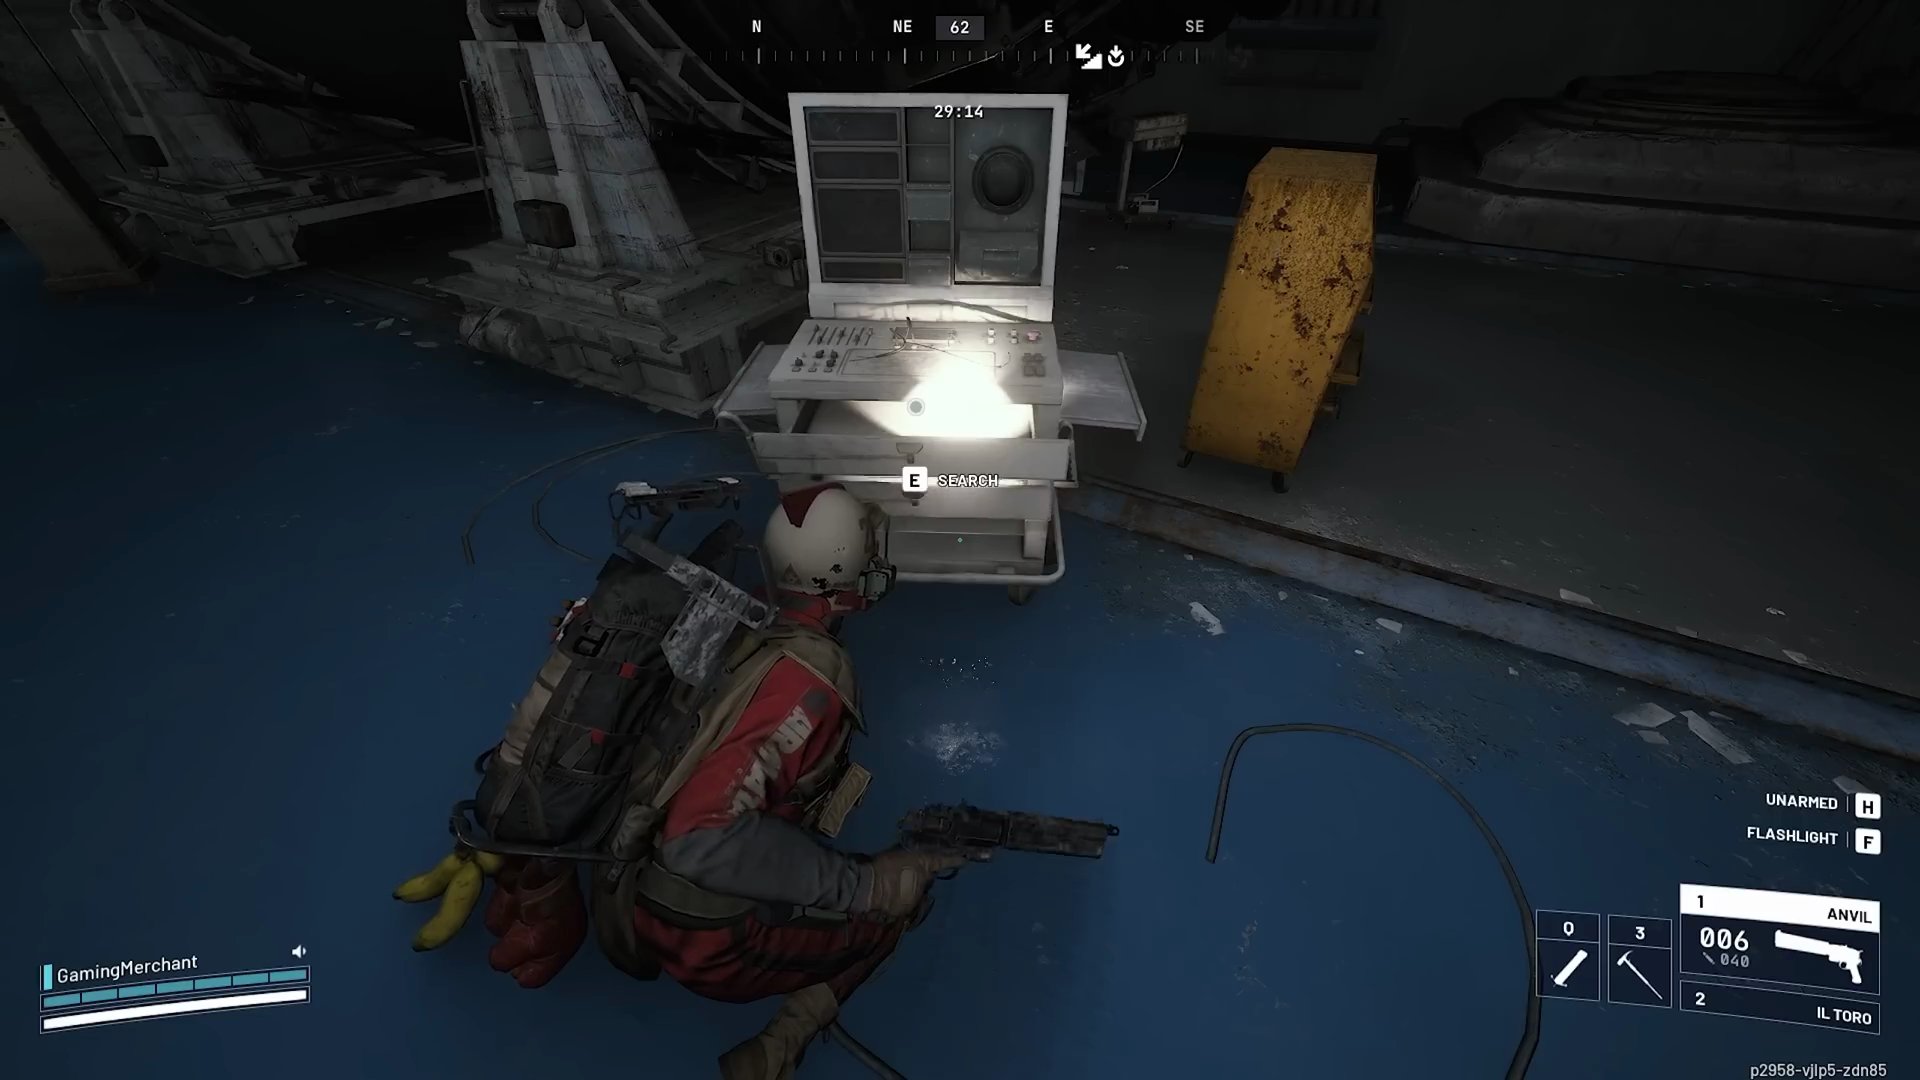
- Intense PvP: This area is a hotspot for player-versus-player combat. Be prepared for constant engagements.
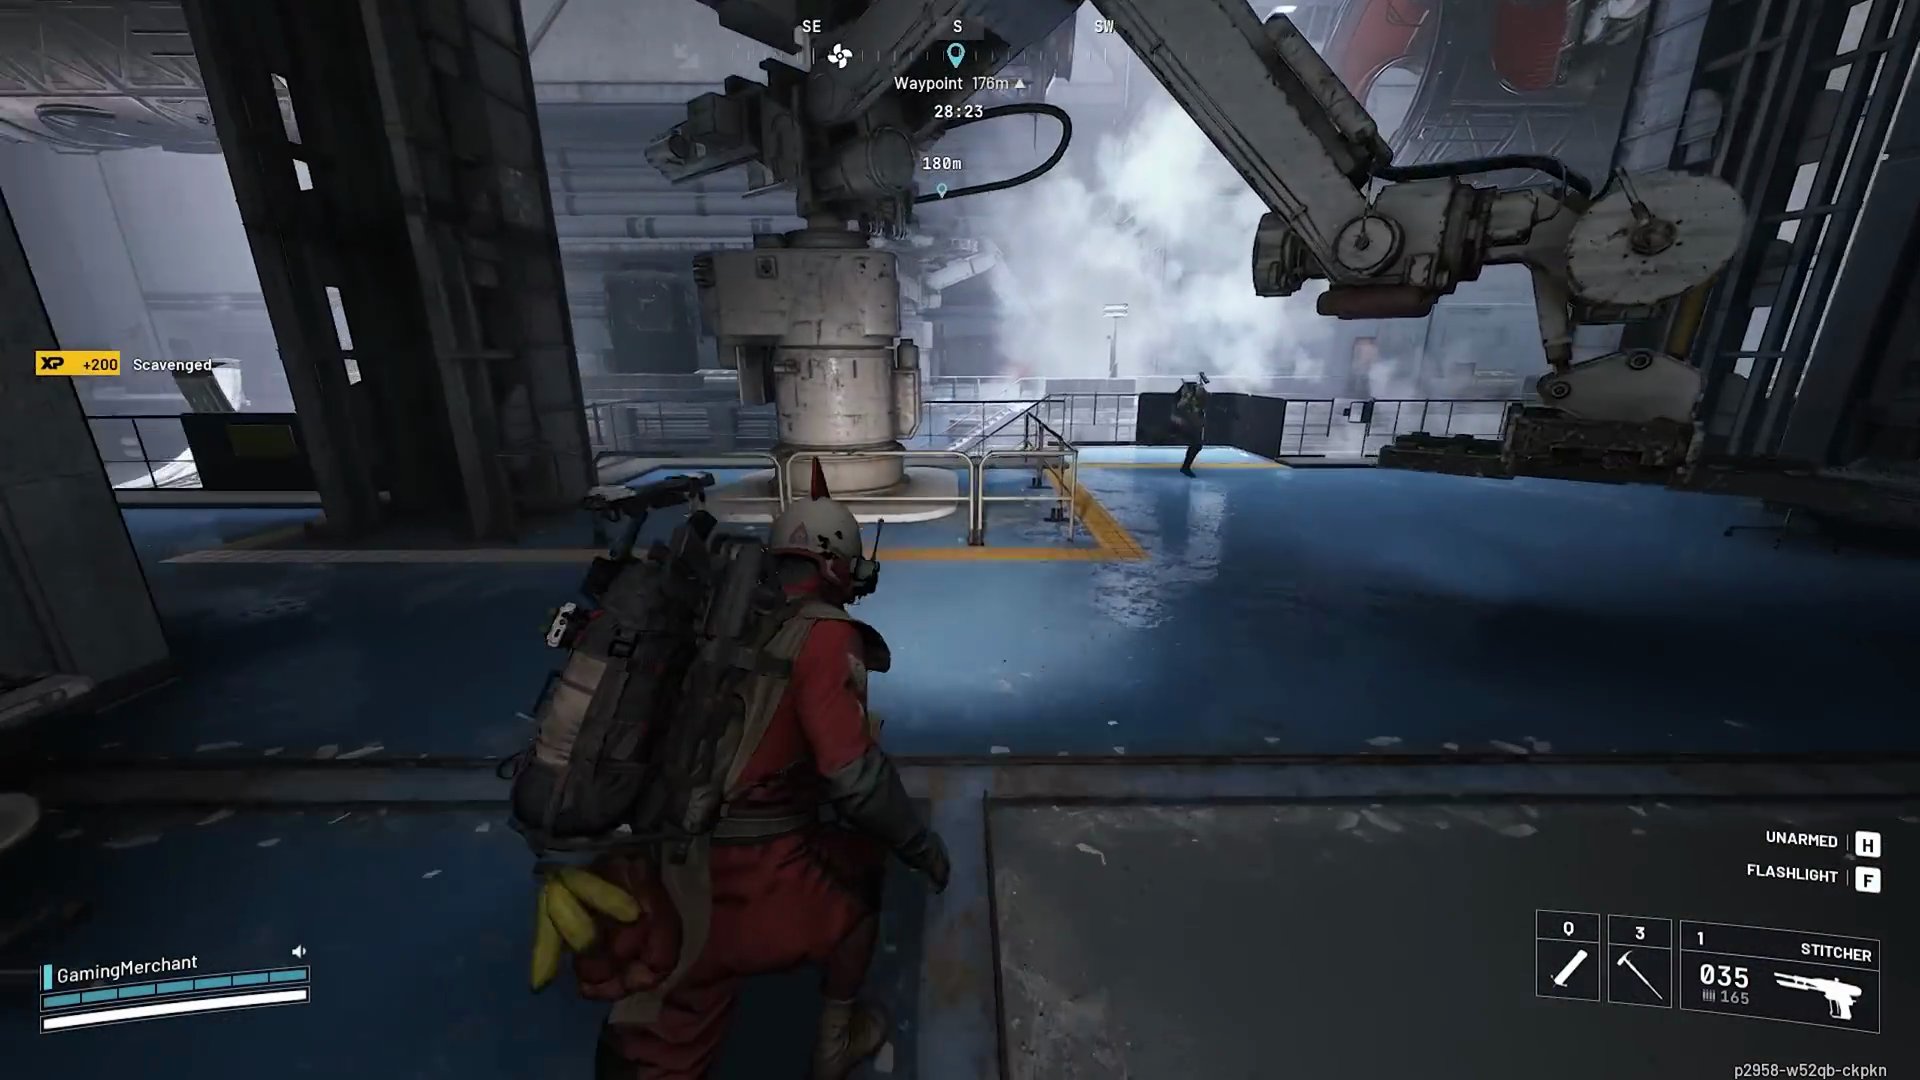
- Speeding Up Runs: Bringing a Radar Hatch key can help you quickly access certain areas and extract faster.
- Loot Value: After 2 successful runs (before an unfortunate death), the loot value was 172K credits.
Seed Vault (Red Tier)
The Seed Vault is a Red Tier area, but it's unique in its offerings and playstyle.
- Only Seeds: This area is primarily for collecting seeds, a crafting material for the seed vendor.
- Time-Consuming: There are over 500 containers, each yielding only a few seeds. It's a slow and tedious process.
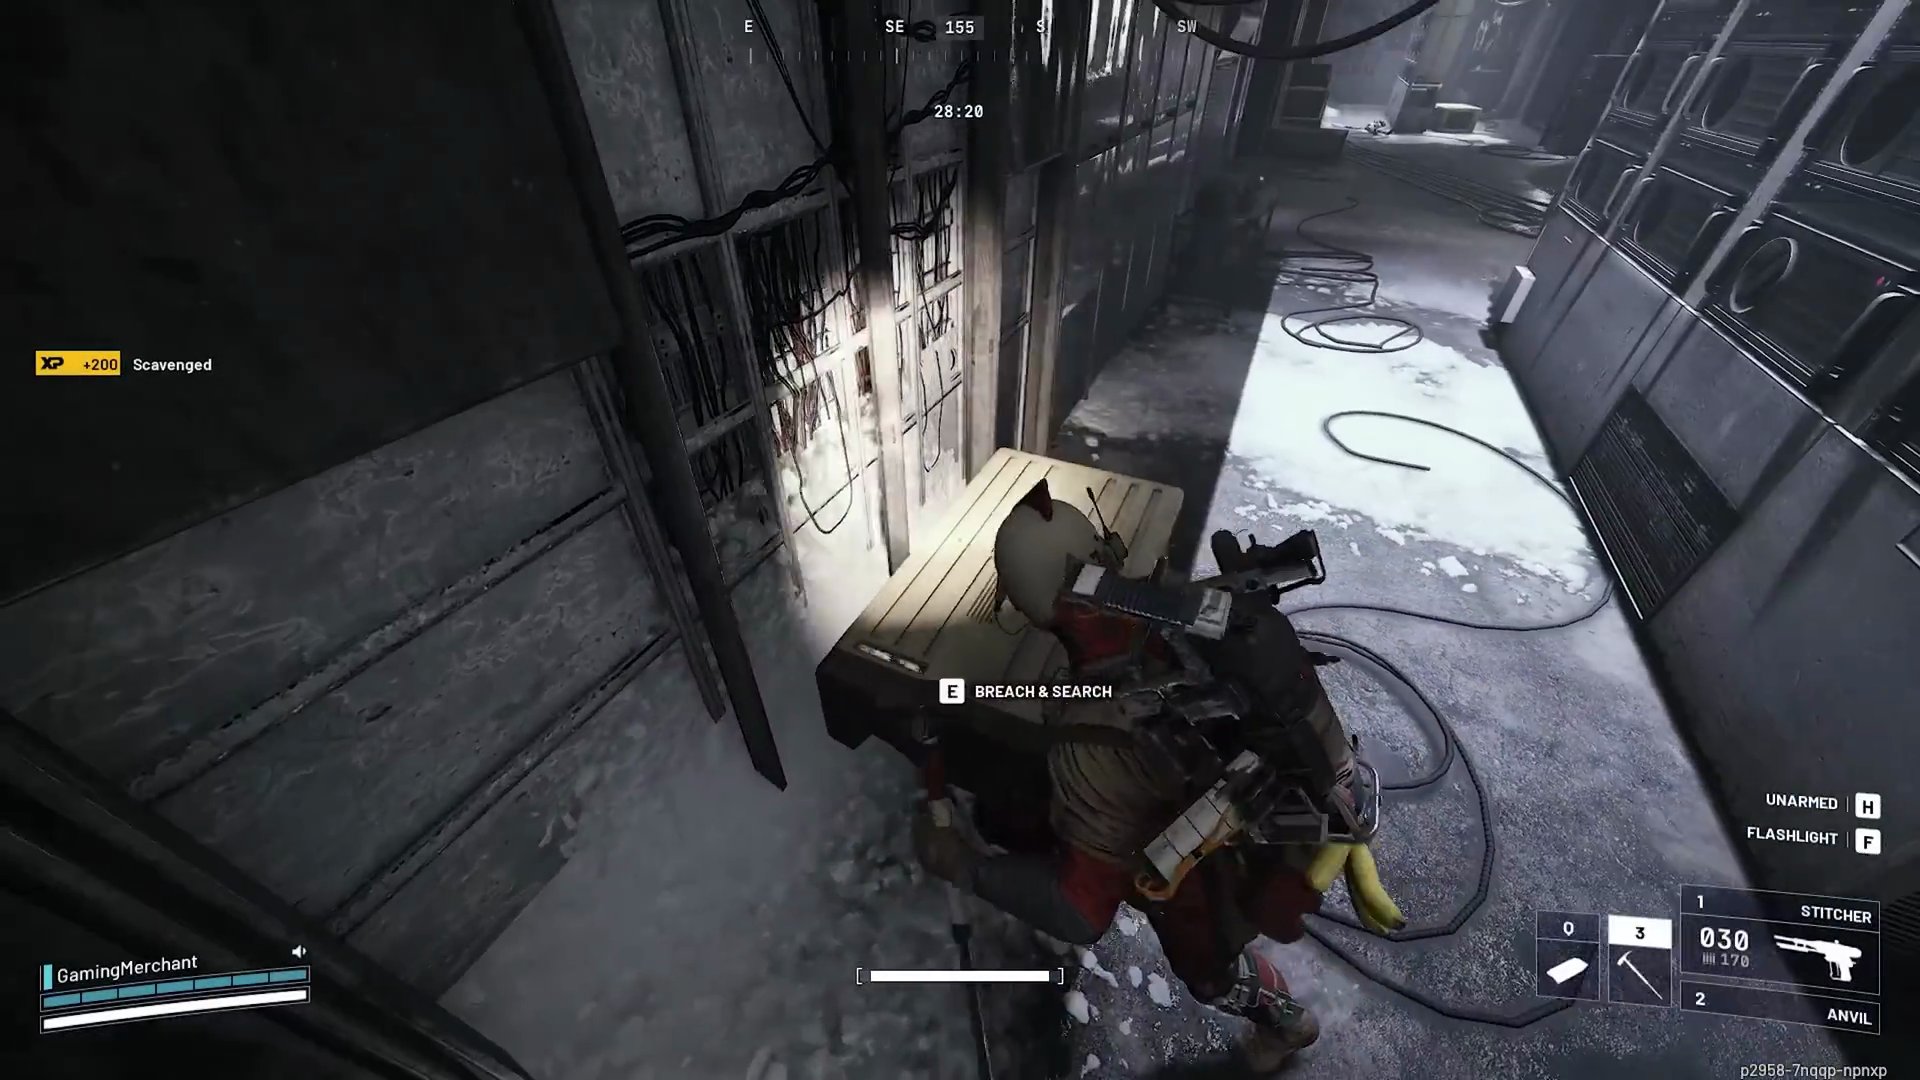
- Low PvP: Due to the low-value, high-effort loot, players are generally more friendly here, making it a calmer experience. [SCREENSHOT:11:00]
- Overall Assessment: Not recommended for quick money making. It's more for specific crafting needs or a relaxed vibe.
Cultural Archives (Red Tier)
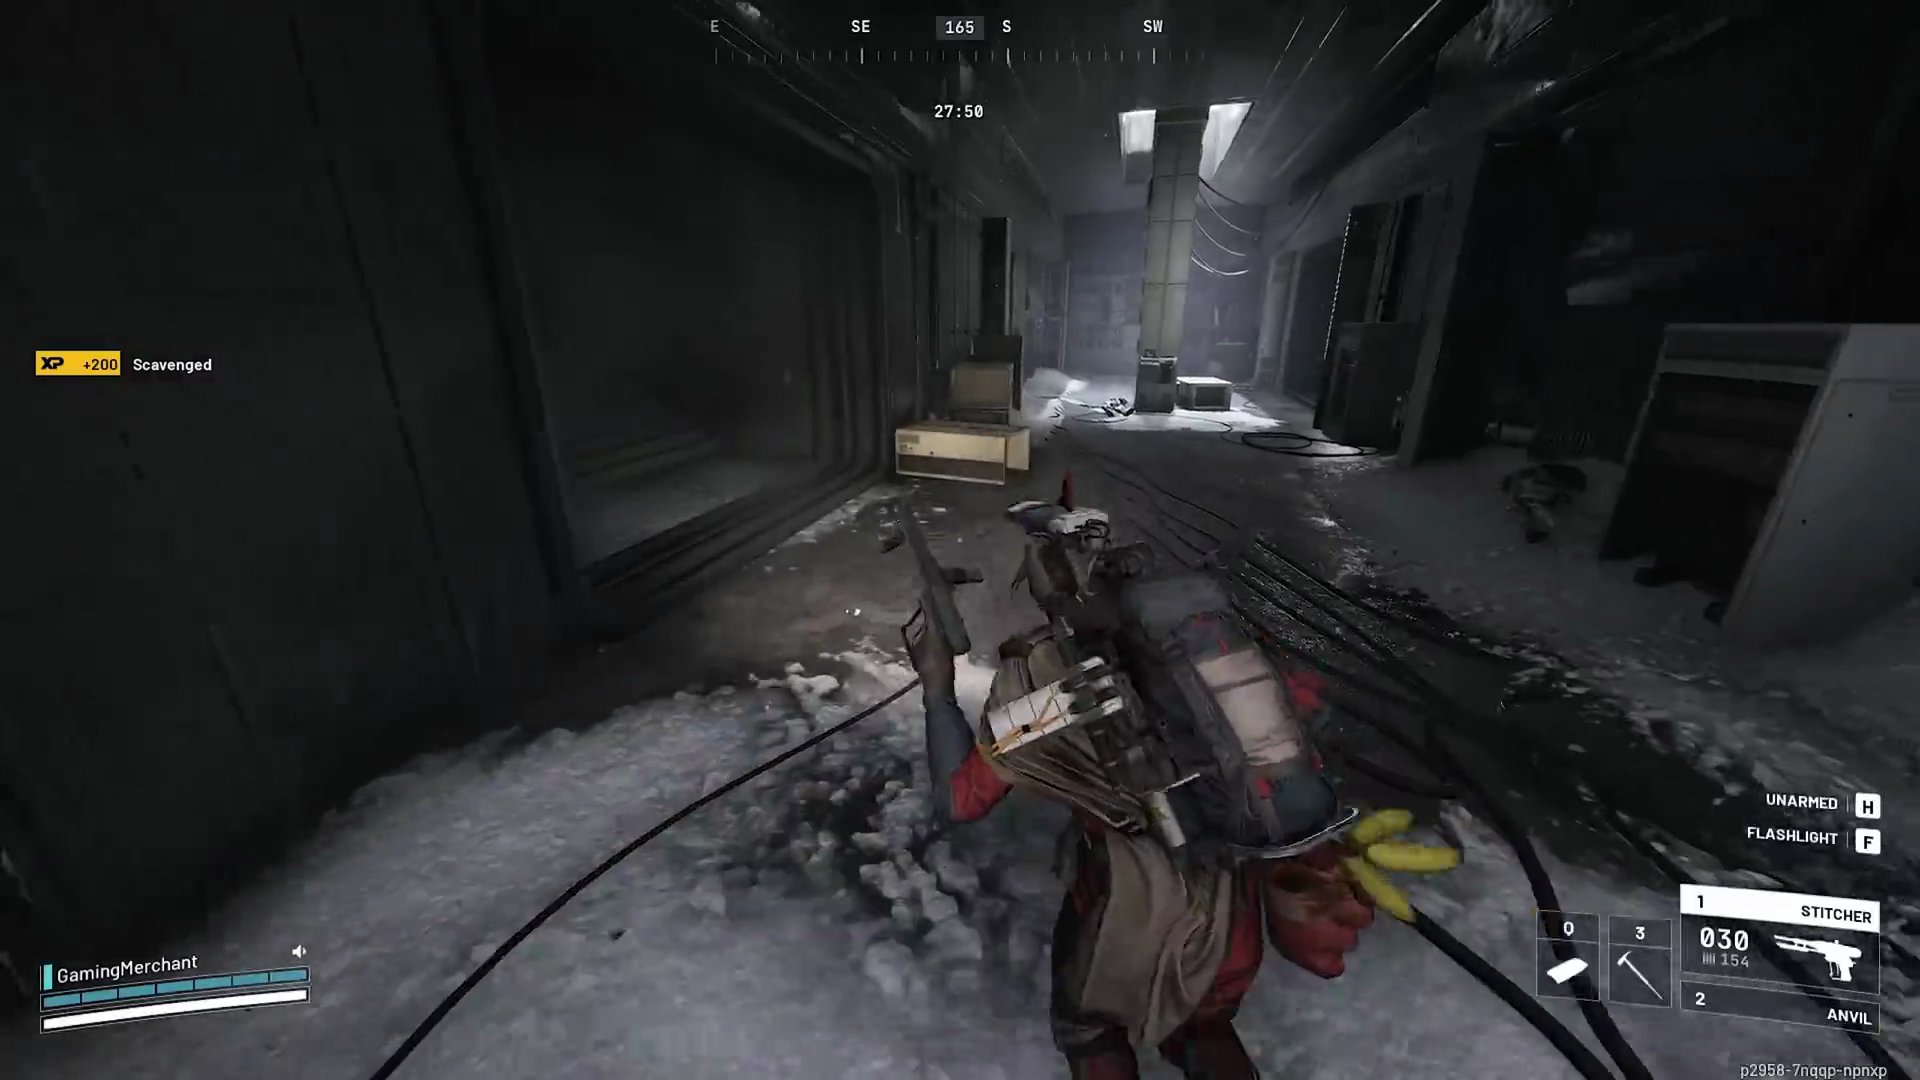
Cultural Archives is another Red Tier zone, but its loot profile differs from Medical Research.
- Trinkets and Blueprints: This area mainly offers trinkets and a small chance for blueprints.
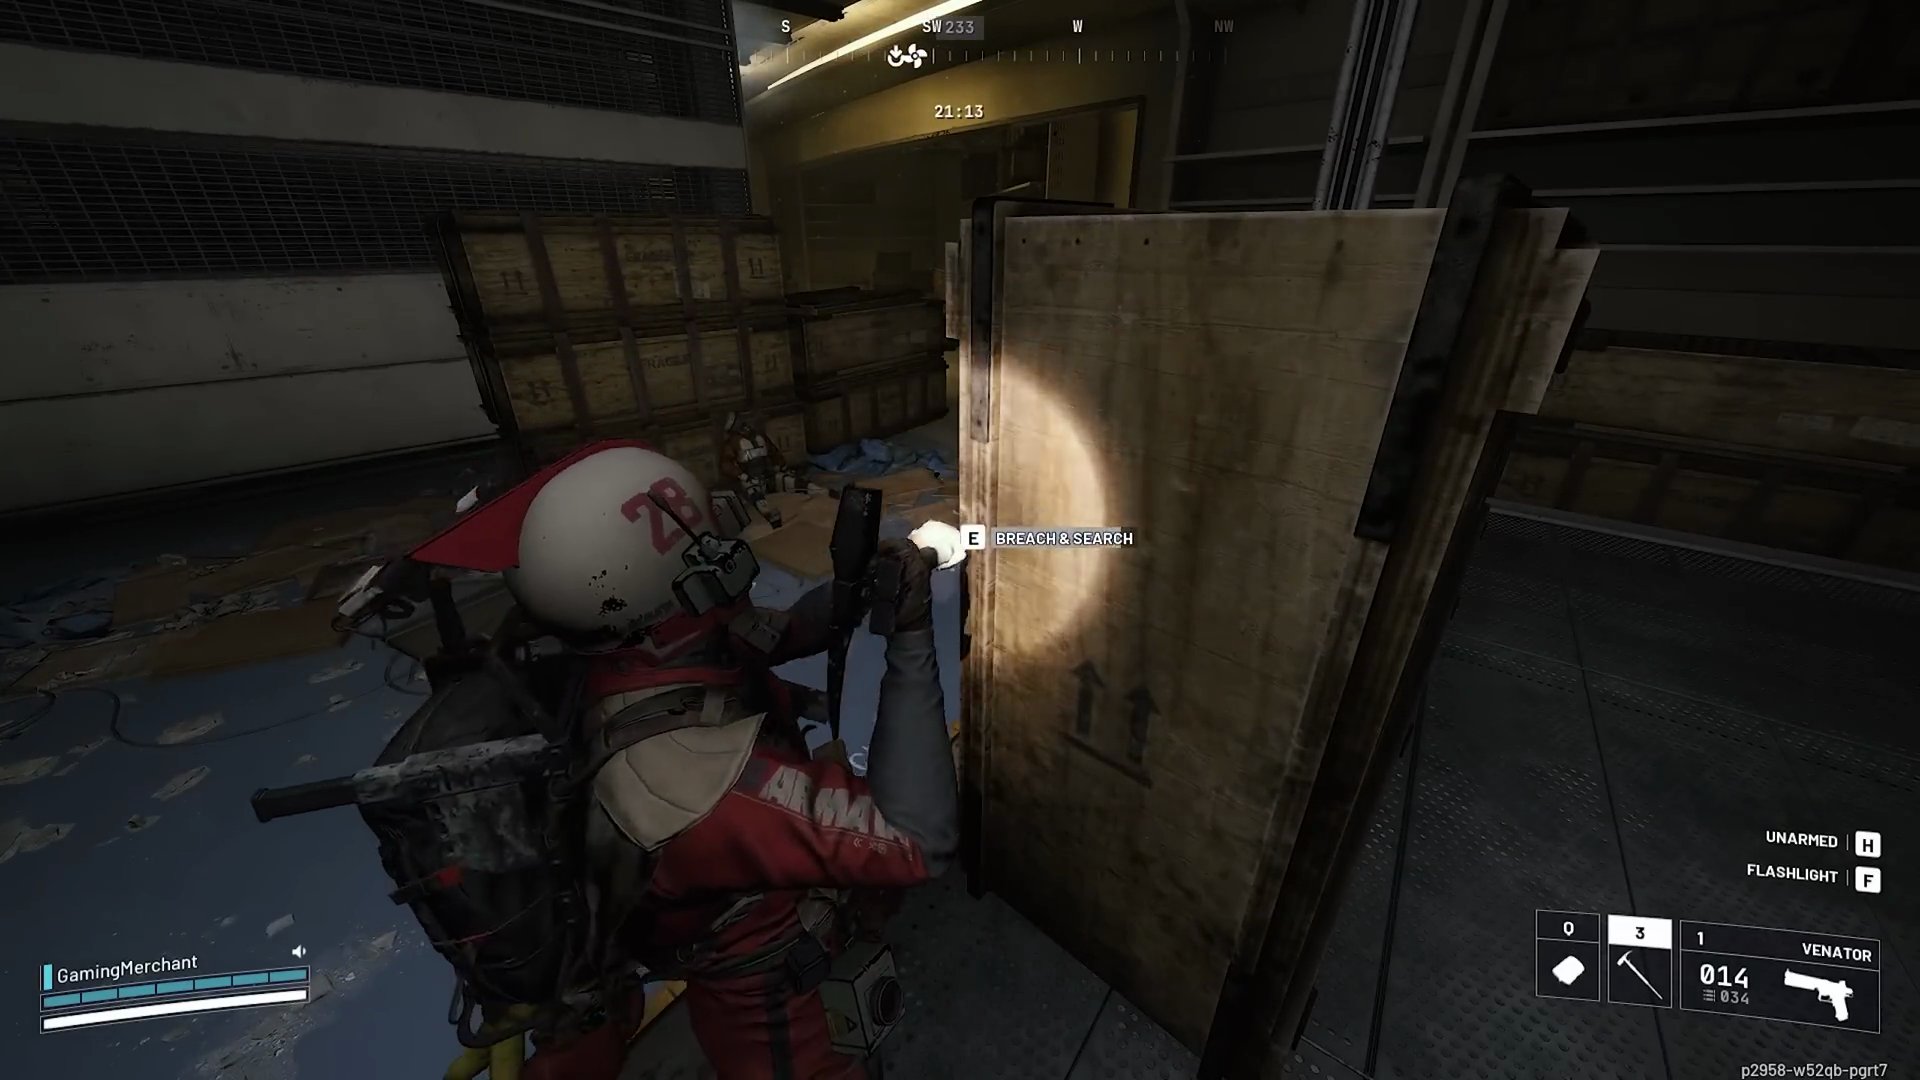
- Low Value Loot: Most containers will yield only fabric and plastic parts, making it less profitable than other Red Tier zones.
- Friendly Encounters: Similar to the Seed Vault, the low-value loot means less competition, often leading to friendly player interactions.
Lobby (Yellow Tier)
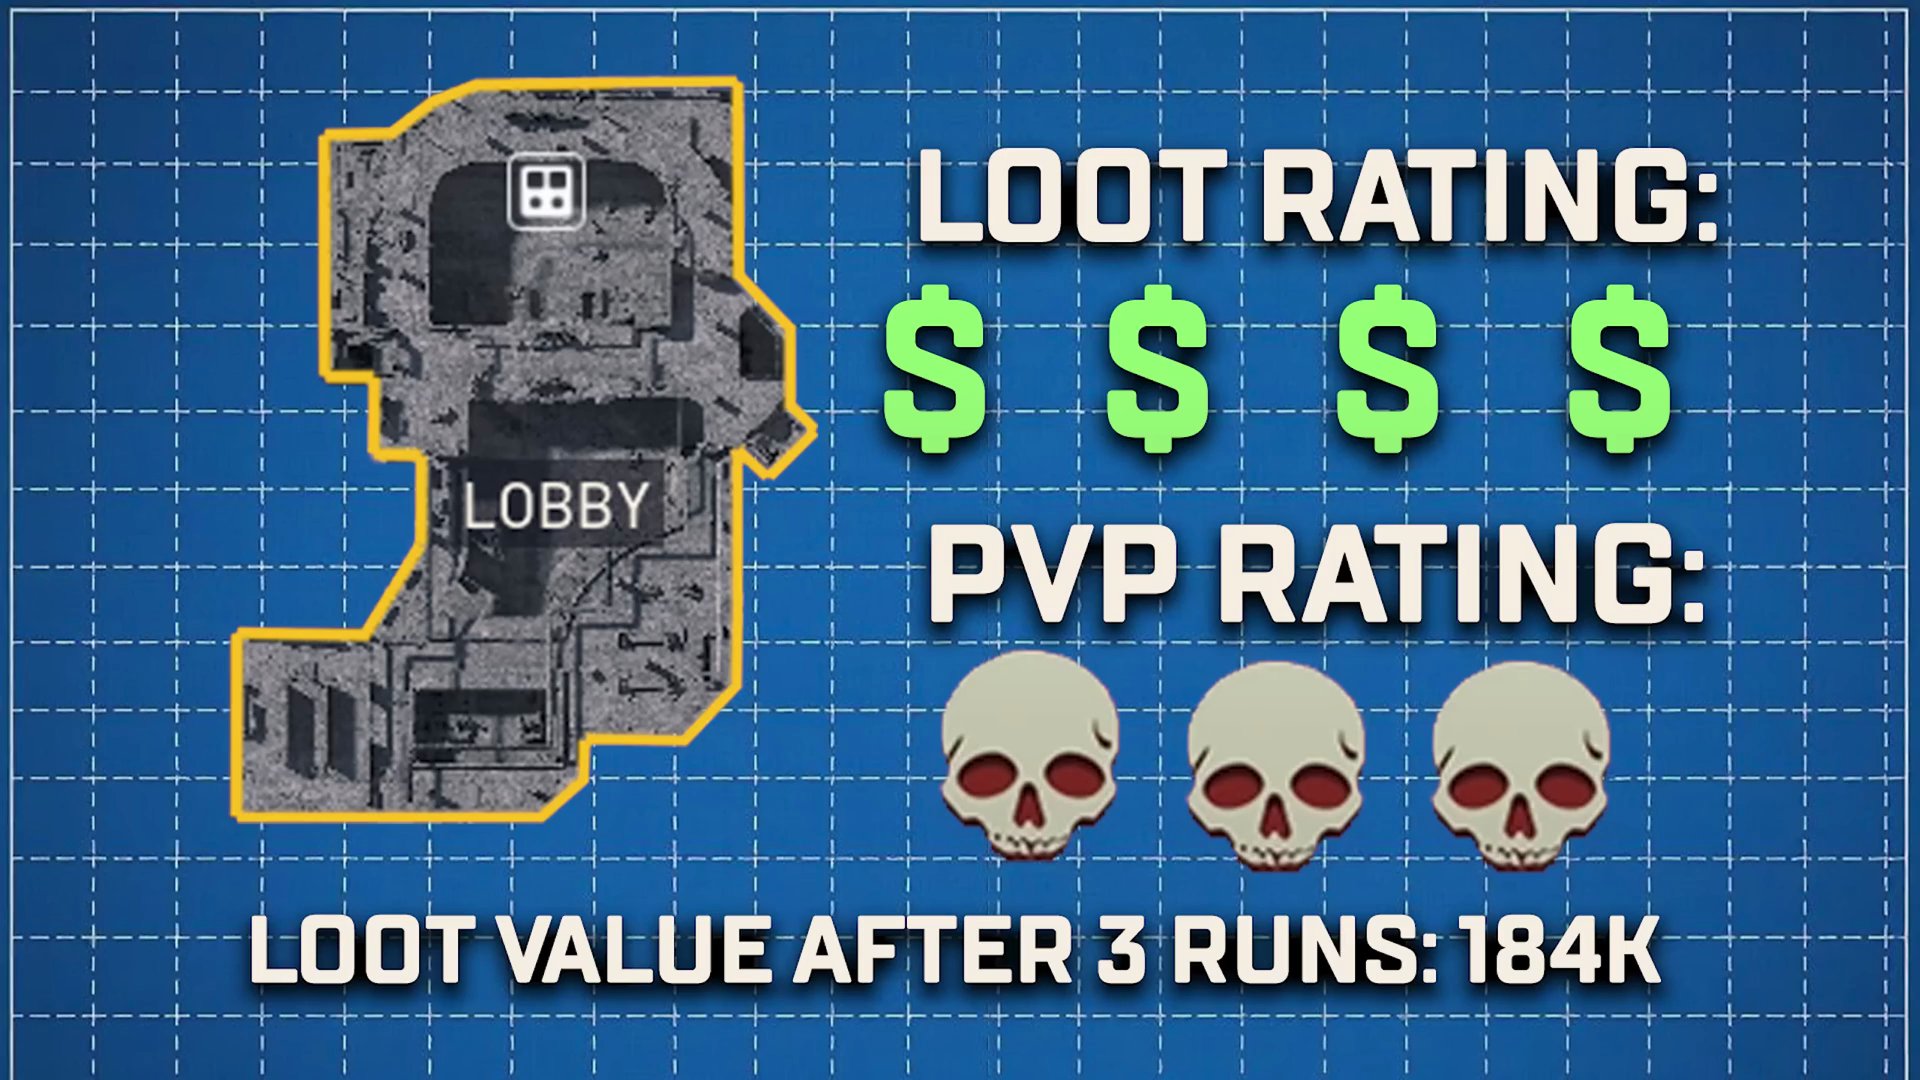
The Lobby is a Yellow Tier area that can be surprisingly lucrative if you know where to look.
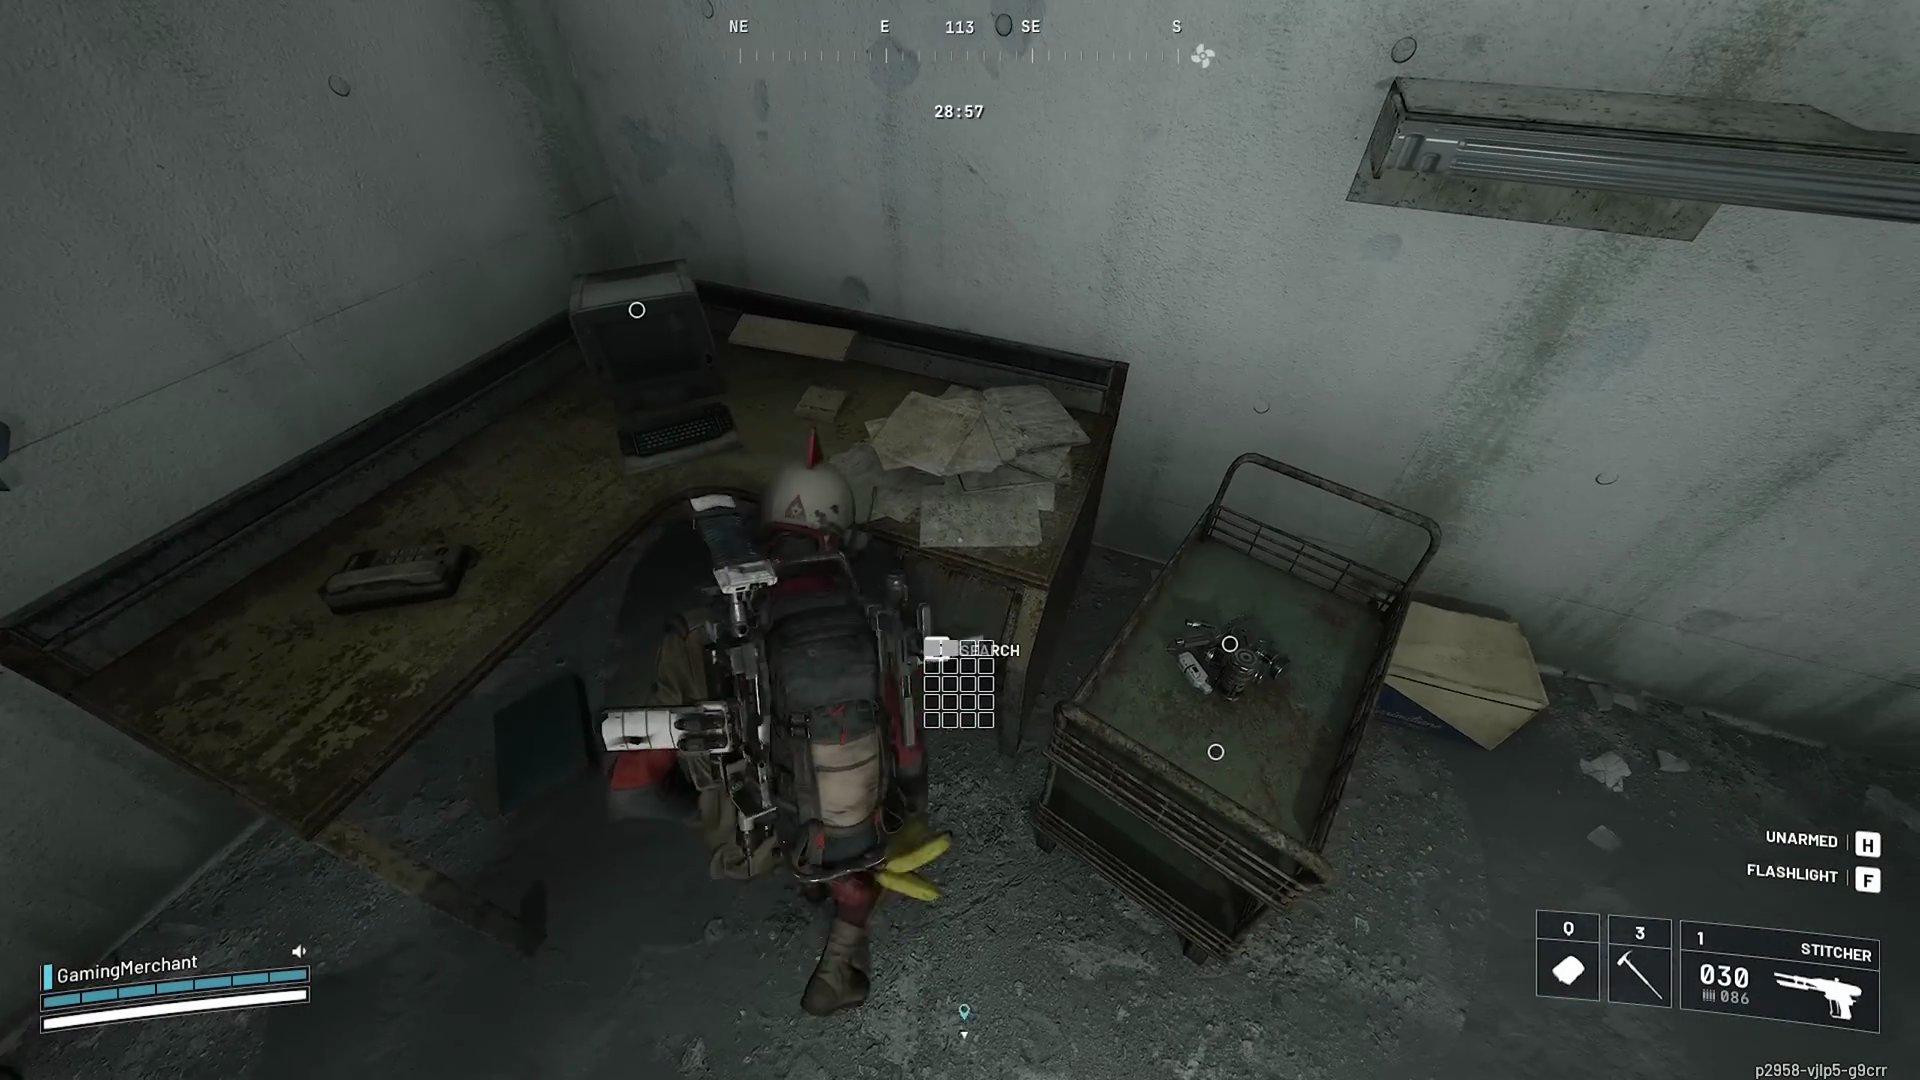
- Mantikor Room: On Floor 3, the room marked 'Mantikor' is often filled with high-tier loot and fuel canisters.
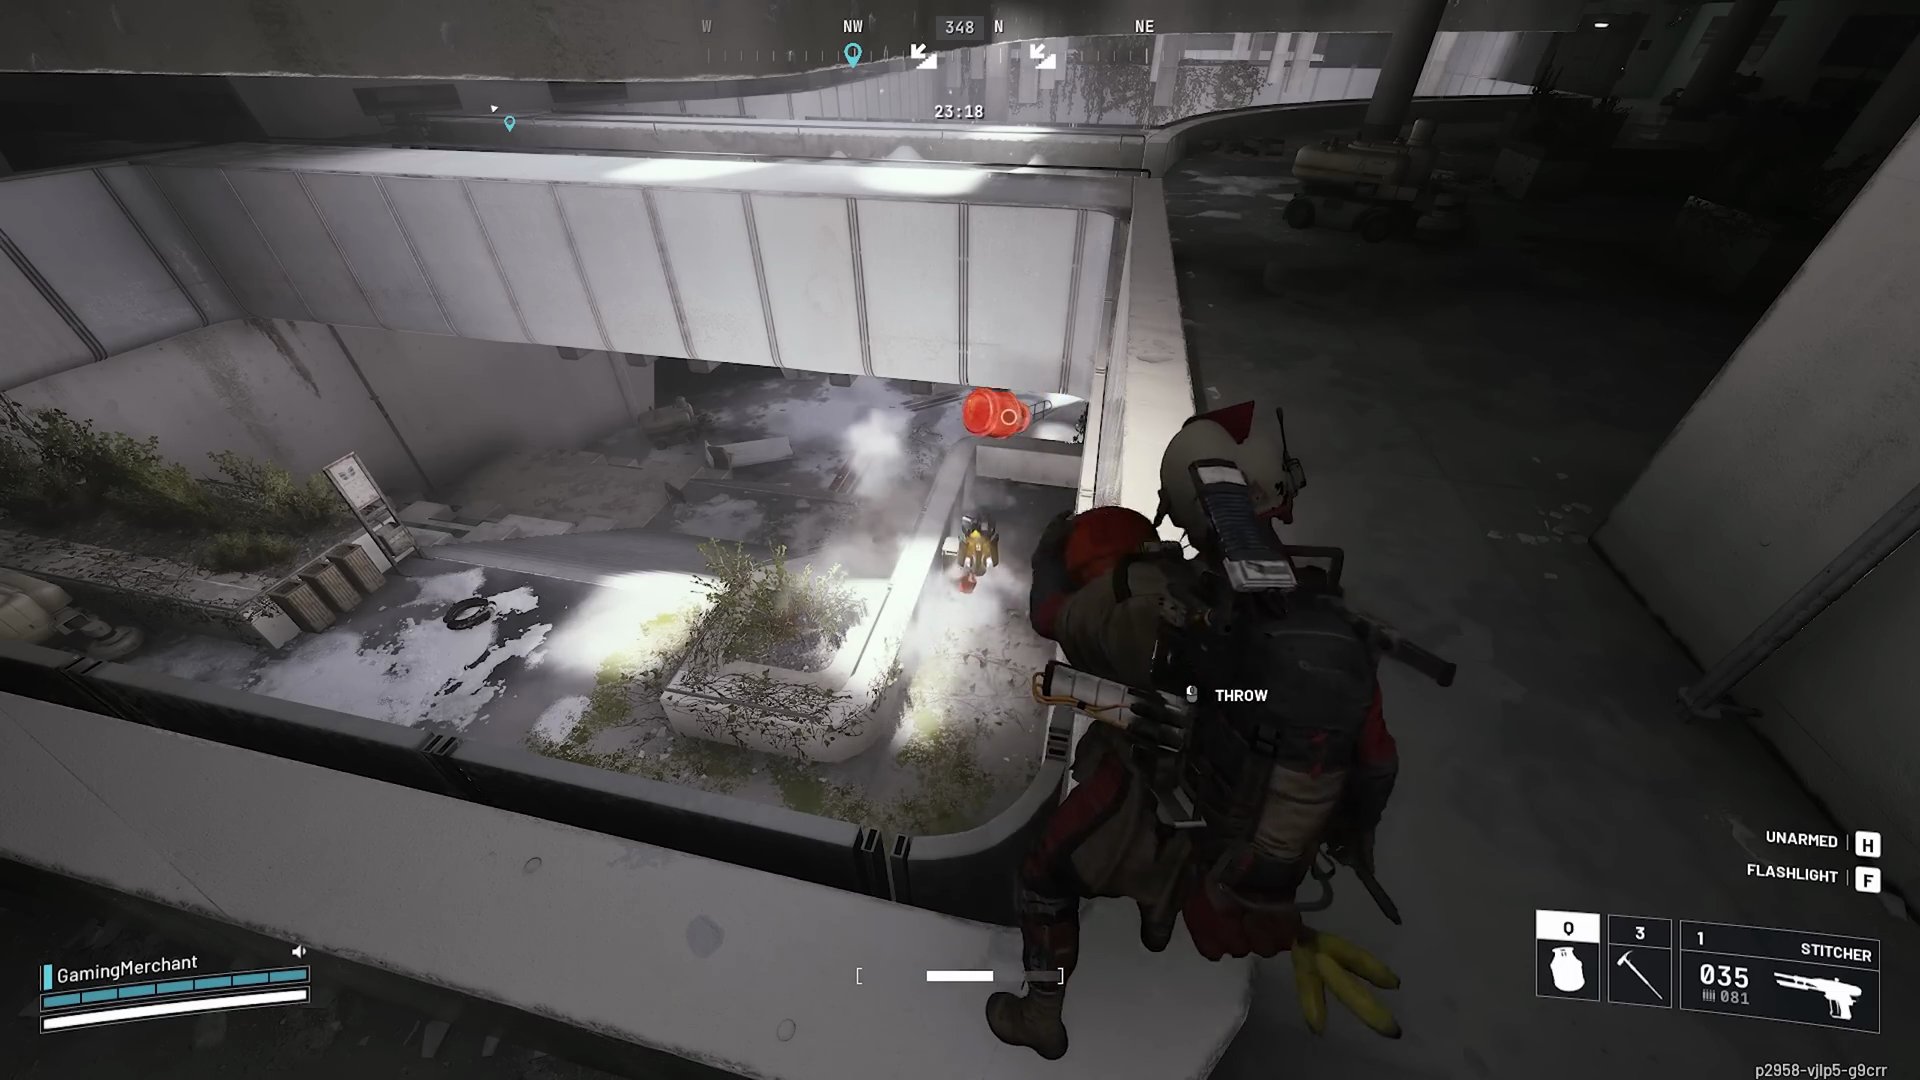
- Strategic Fuel Canister Use: Fuel canisters can be thrown to create explosions, useful against groups of enemies.
- Overall Assessment: A great place to stop by for valuable loot if it hasn't been cleared, offering high risk and high reward.
General Stella Montis Strategy
Success on Stella Montis requires more than just knowing loot spots; it demands tactical awareness and adaptability.
- PvP Awareness is Key: This map is a PvP fest. Always be ready for combat, even if players seem friendly.
- Clear the Aggressors: If you eliminate the aggressive PvP players early in a raid, fewer new players will spawn in, potentially leaving you with a calmer looting experience.
- Spawn Point Strategy: Unlike other maps, players spawn directly into Point of Interests (POIs) on Stella Montis. This means you need to loot whatever is closest to your spawn quickly before other players get to it.
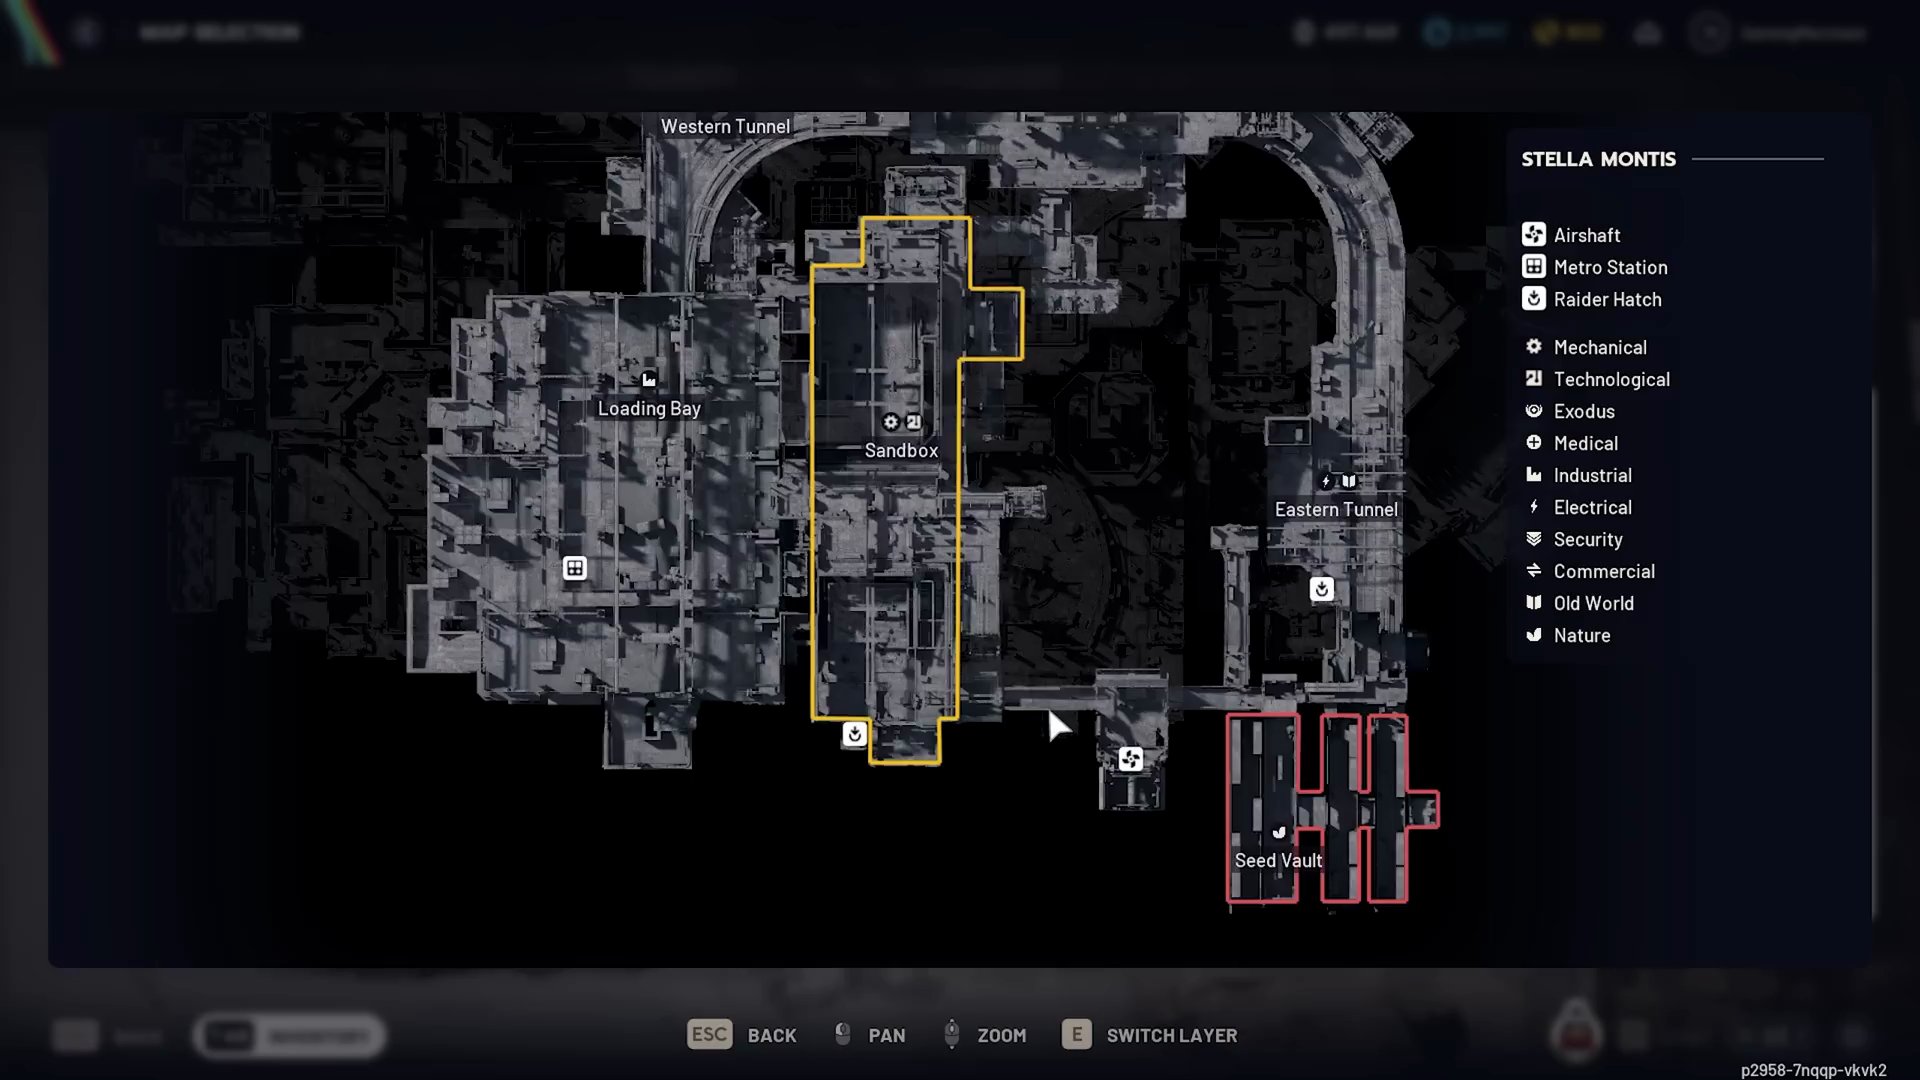
- High Risk, High Reward: The best loot is often in the most dangerous areas. Decide if the potential reward is worth the risk.