Trials Week 5
This guide provides an in-depth breakdown of all the Week 5 competitive trial challenges, offering strategies, recommended gear, and optimal locations to efficiently earn maximum points and climb the leaderboards.
Overview: Maximize Your Trial Points
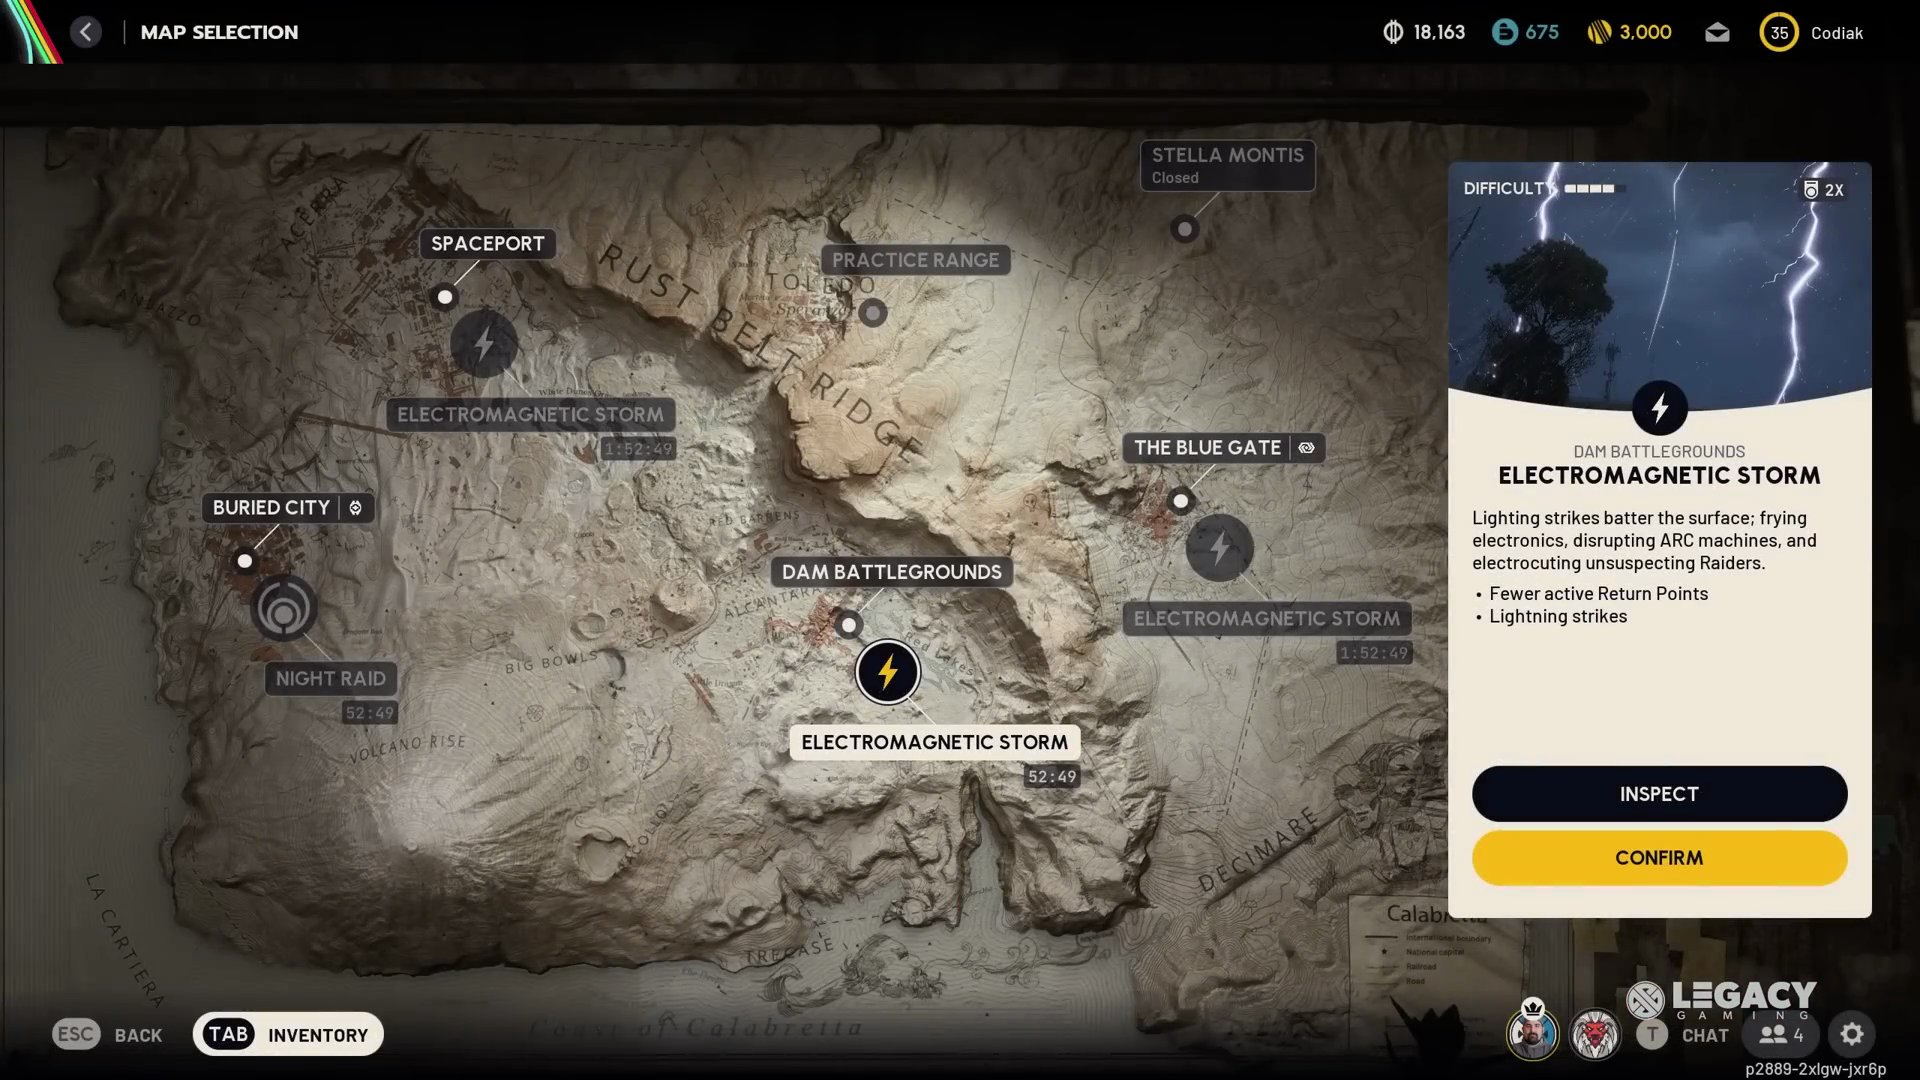
For all trial challenges, aim to complete them during major map conditions like Night Raids, Electromagnetic Storms, or the Hidden Bunker event, which offer a 2x bonus on your UI. 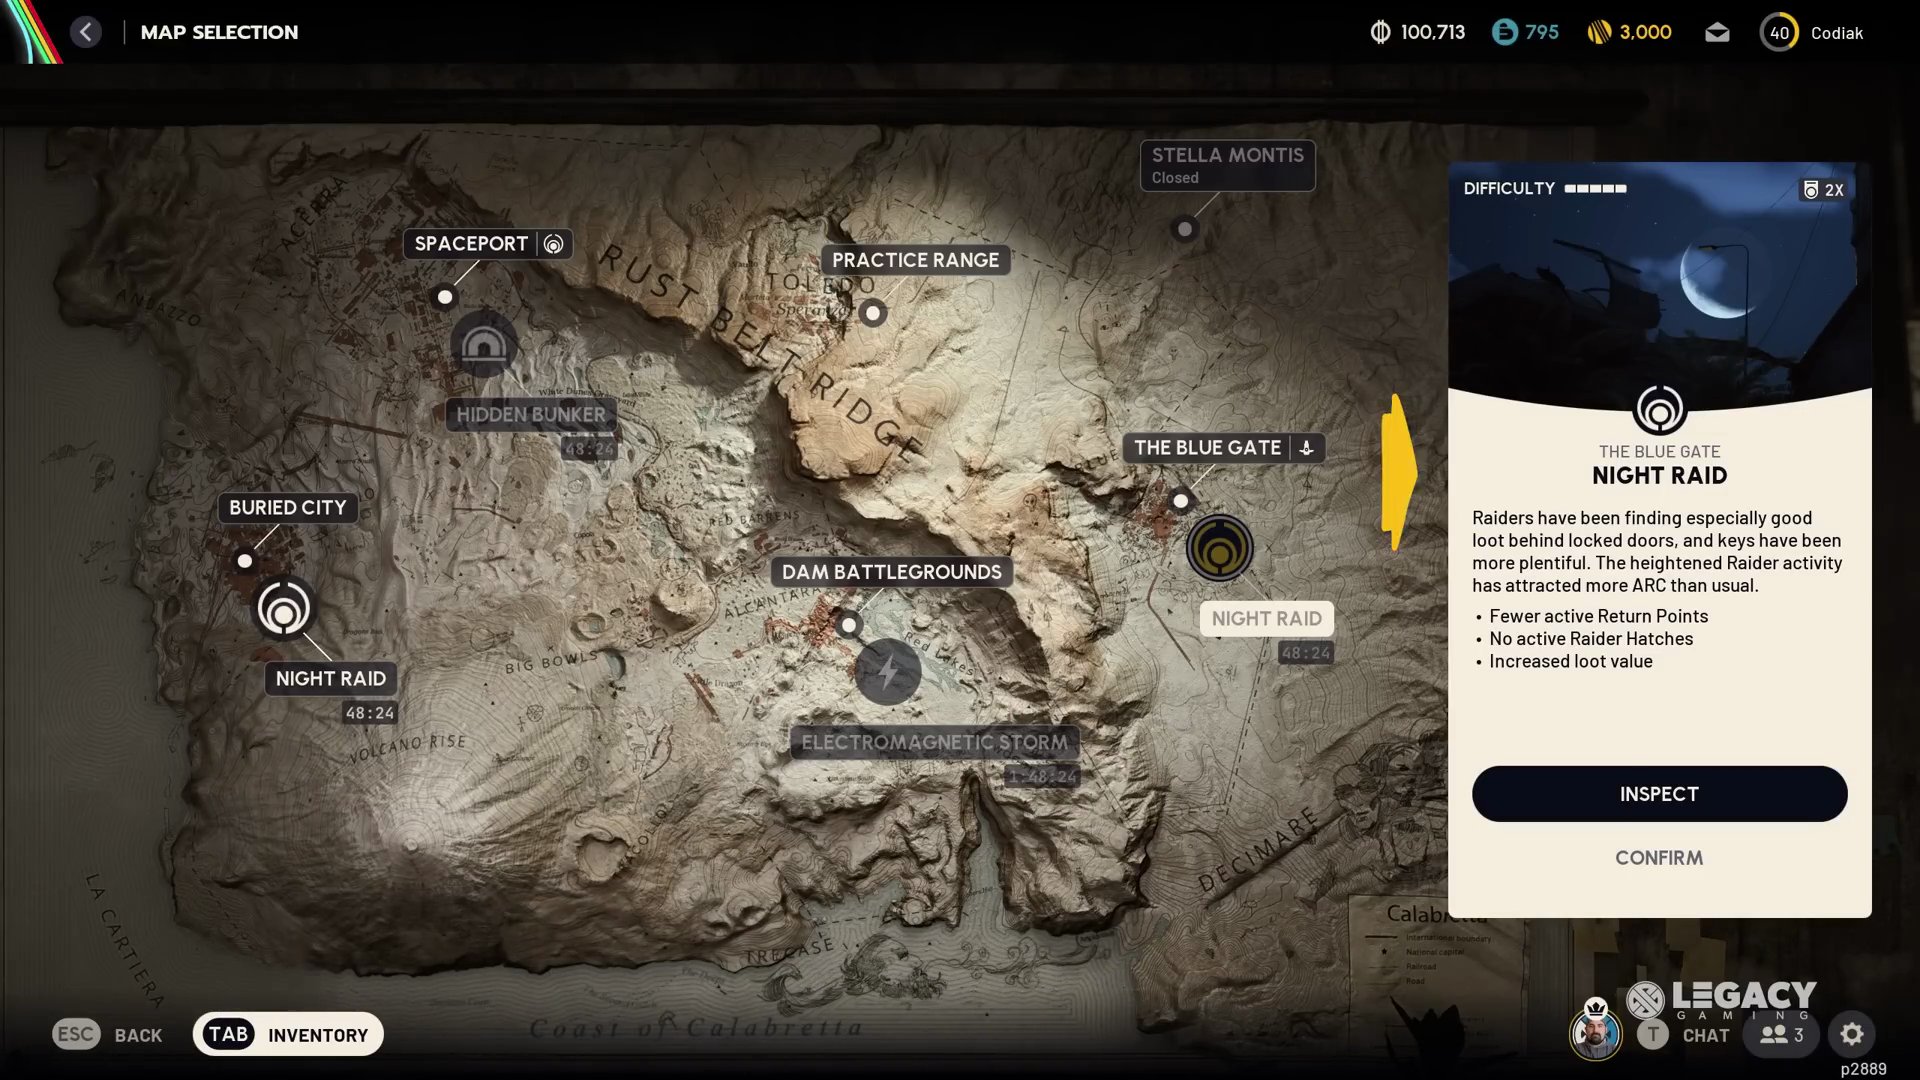 Always load into a fresh map to maximize your time, keeping an eye on the timer at the top of your screen. If you're in at the 30-40 minute mark, you'll maximize points. Staying in the round until the last minutes and extracting after most players have left can often be safer when playing solo. Remember, you must successfully extract to retain any points earned.
Trial 1: Damage Rocketeers
This challenge pushes both solo players and teams to deal as much damage as possible to Rocketeers in a single raid. Full points are awarded if you or your team are the sole ones damaging a Rocketeer until it's brought down. Consider using a combination of Wolfpacks, Hullcrackers, Jupiters, and Heavy Ammo based weapons for maximum efficiency.
- A full kill of a Rocketeer is worth about 2600 points. You'll need two kills to hit the three-star threshold.

- Farming Location 1: Spaceport Launch Tower
- Anchor yourself midway up on the Spaceport Launch Tower during any major map condition, ideally the Hidden Bunker for extra farming time.
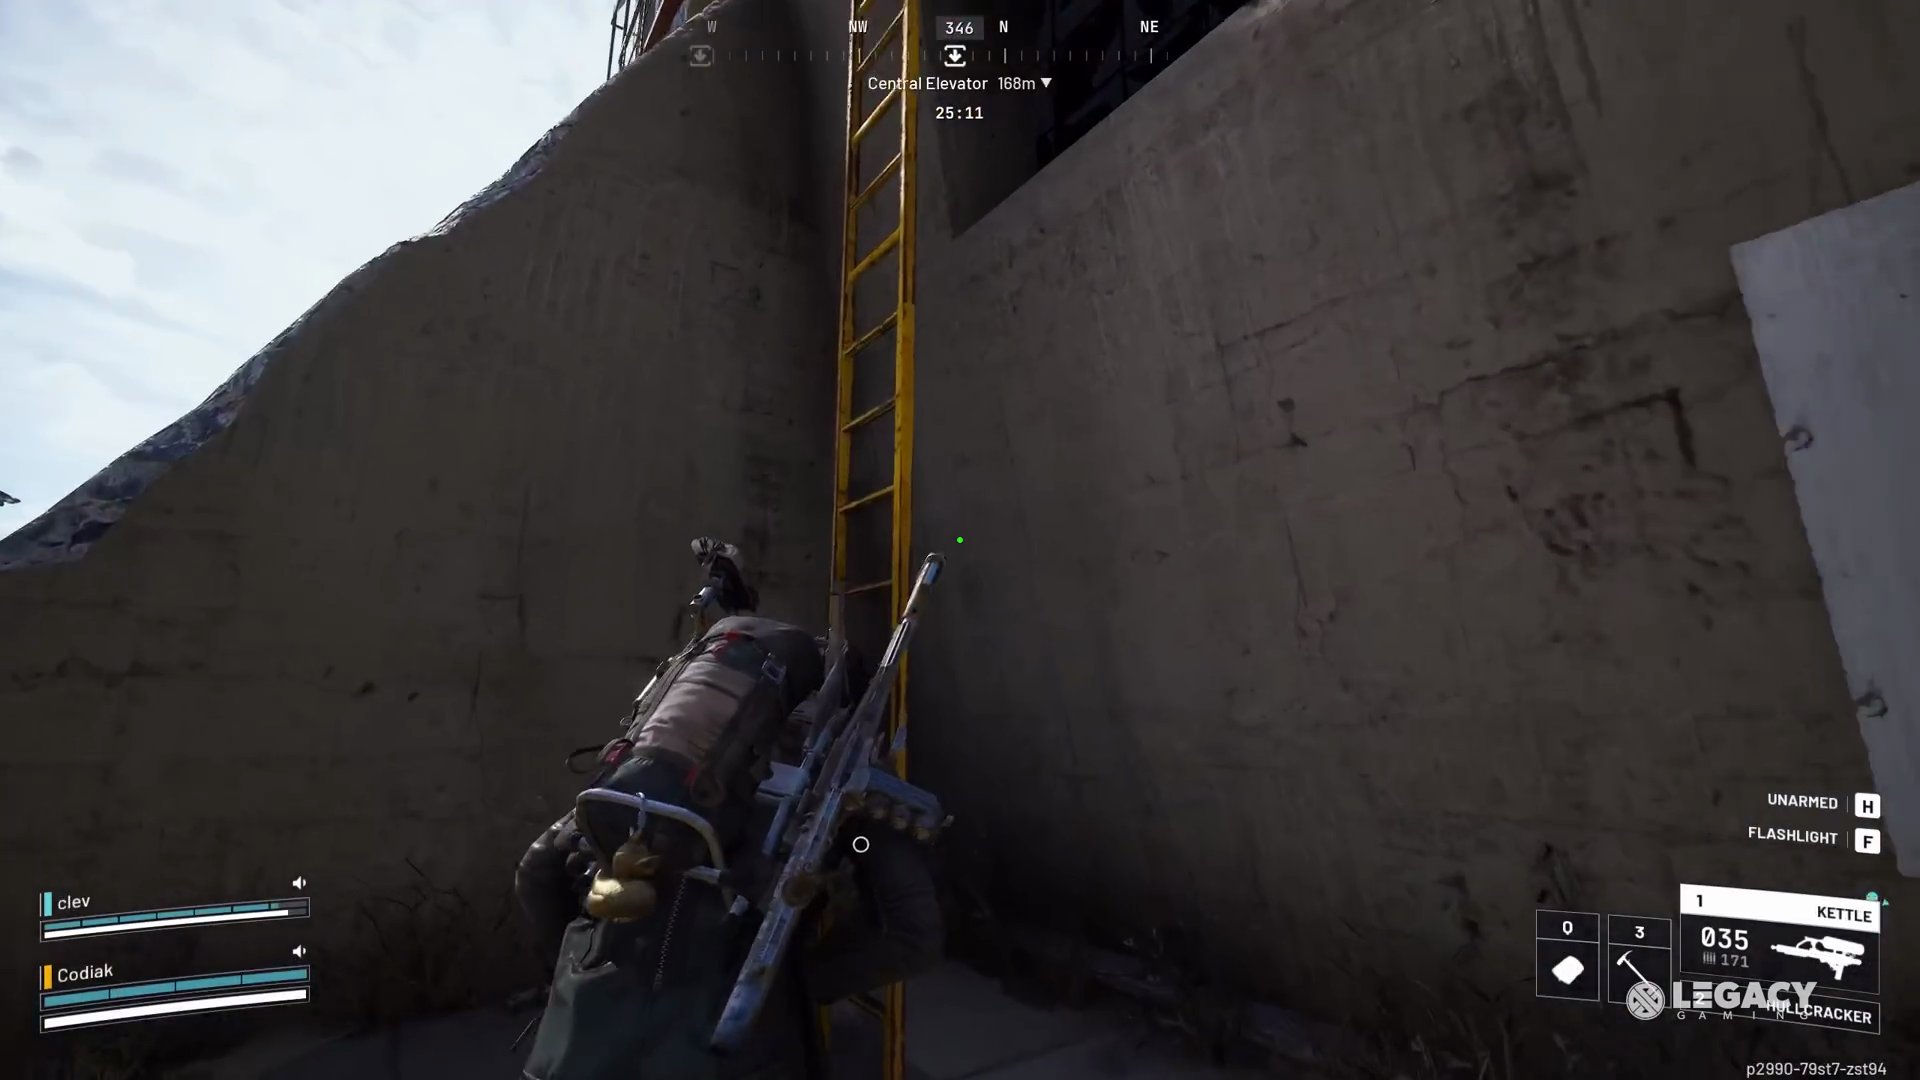 From here, set up mines on entry points and utilize great sightlines to pull every Rocketeer on the map towards you.
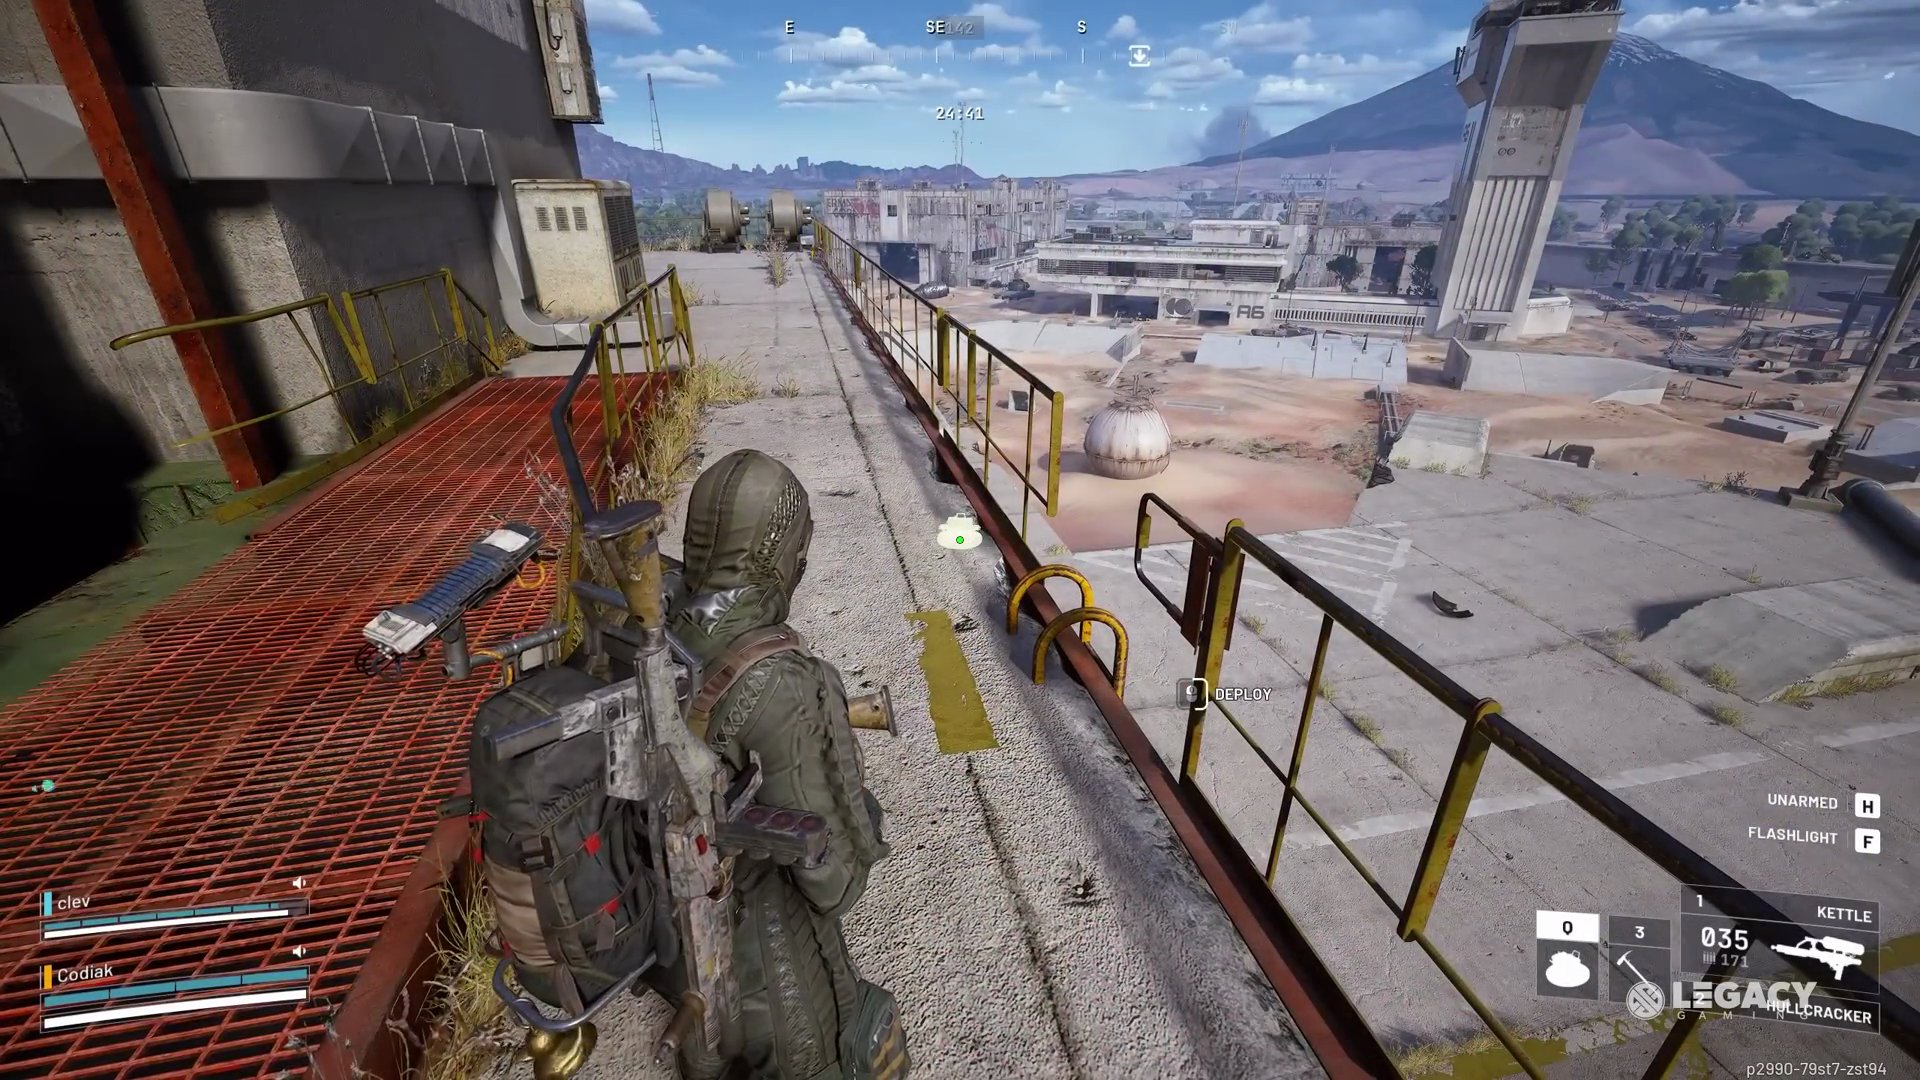 Be aware, this is a high-traffic area, so players may attempt to engage in PvP.
- Farming Location 2: Blue Gate Pilgrim's Peak Tower
- Another excellent location is the tower at Pilgrim's Peak on Blue Gate.
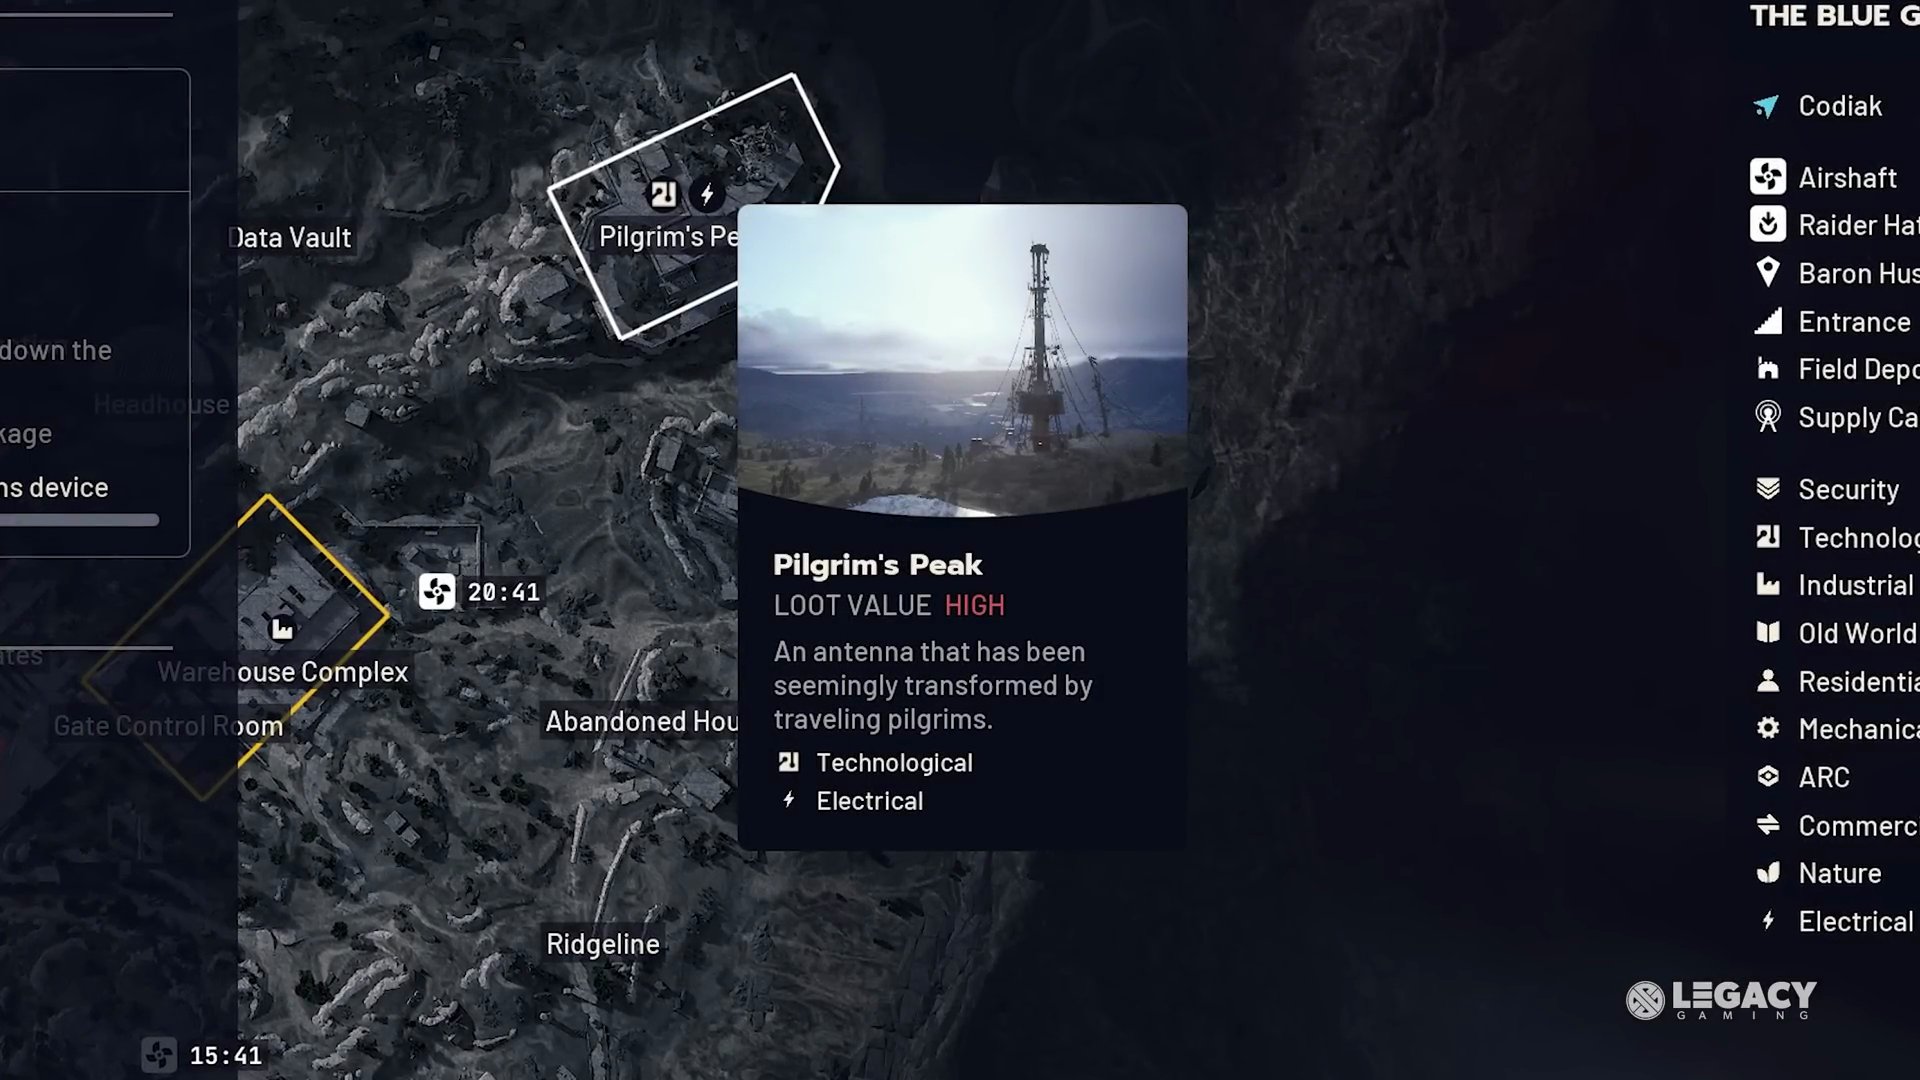 Bring a sniper and Wolfpacks to easily pull every Rocketeer on the map. This location also features a double Rocketeer spawn, meaning two quick kills with less resistance.

- Targeting Rocketeers: Aim for the armor paneling over its central eye with heavy or energy ammo weapons. Breaking this panel exposes its crit spot, allowing for quick takedowns with regular gunfire.

Step 2: Download Data During Hidden Bunker
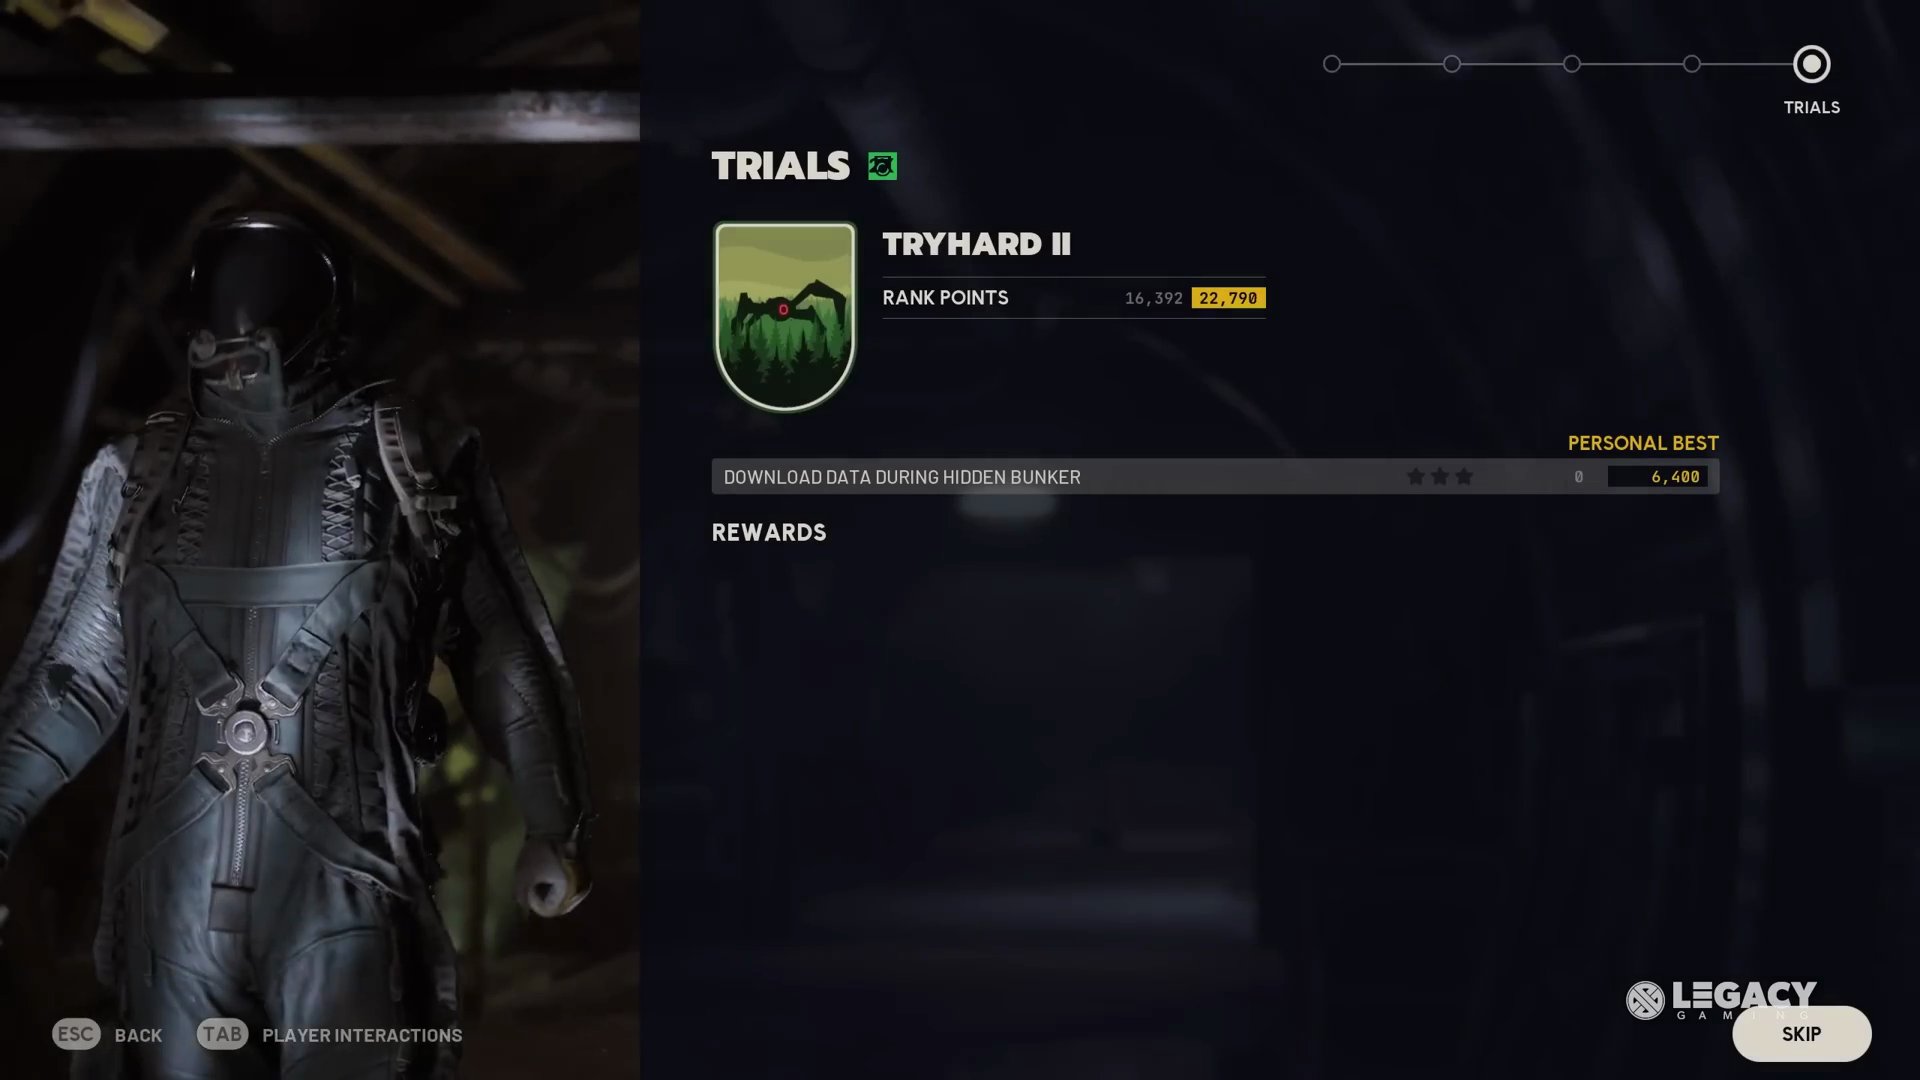
This trial requires downloading data from terminals inside the Hidden Bunker. We strongly recommend doing this solo due to the nature of the lobbies, but it takes a significant amount of time to complete. 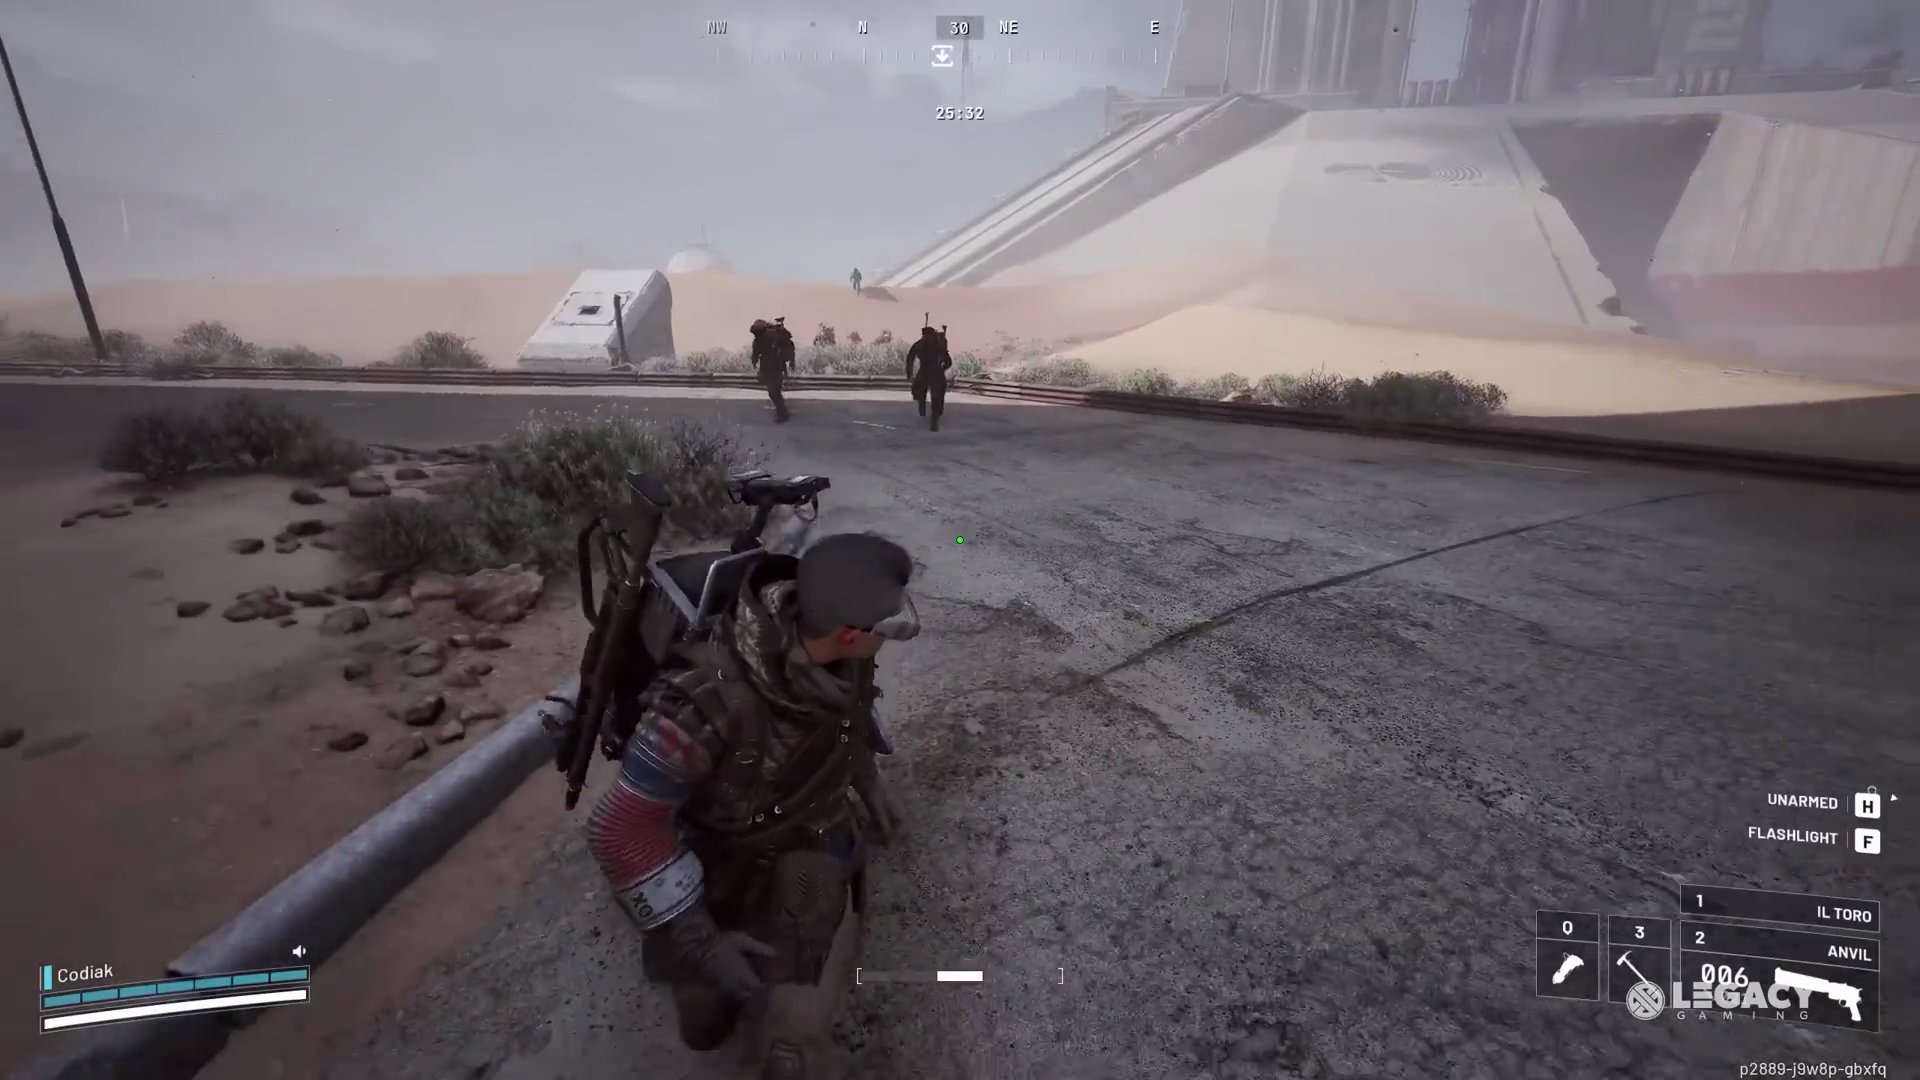
- There are only 8 terminals inside the Hidden Bunker, each awarding 800 points per download. You need five terminals to reach the three-star ranking.

- Activating the Bunker: When you load into the Hidden Bunker map, four antennas need to be activated before the bunker opens.
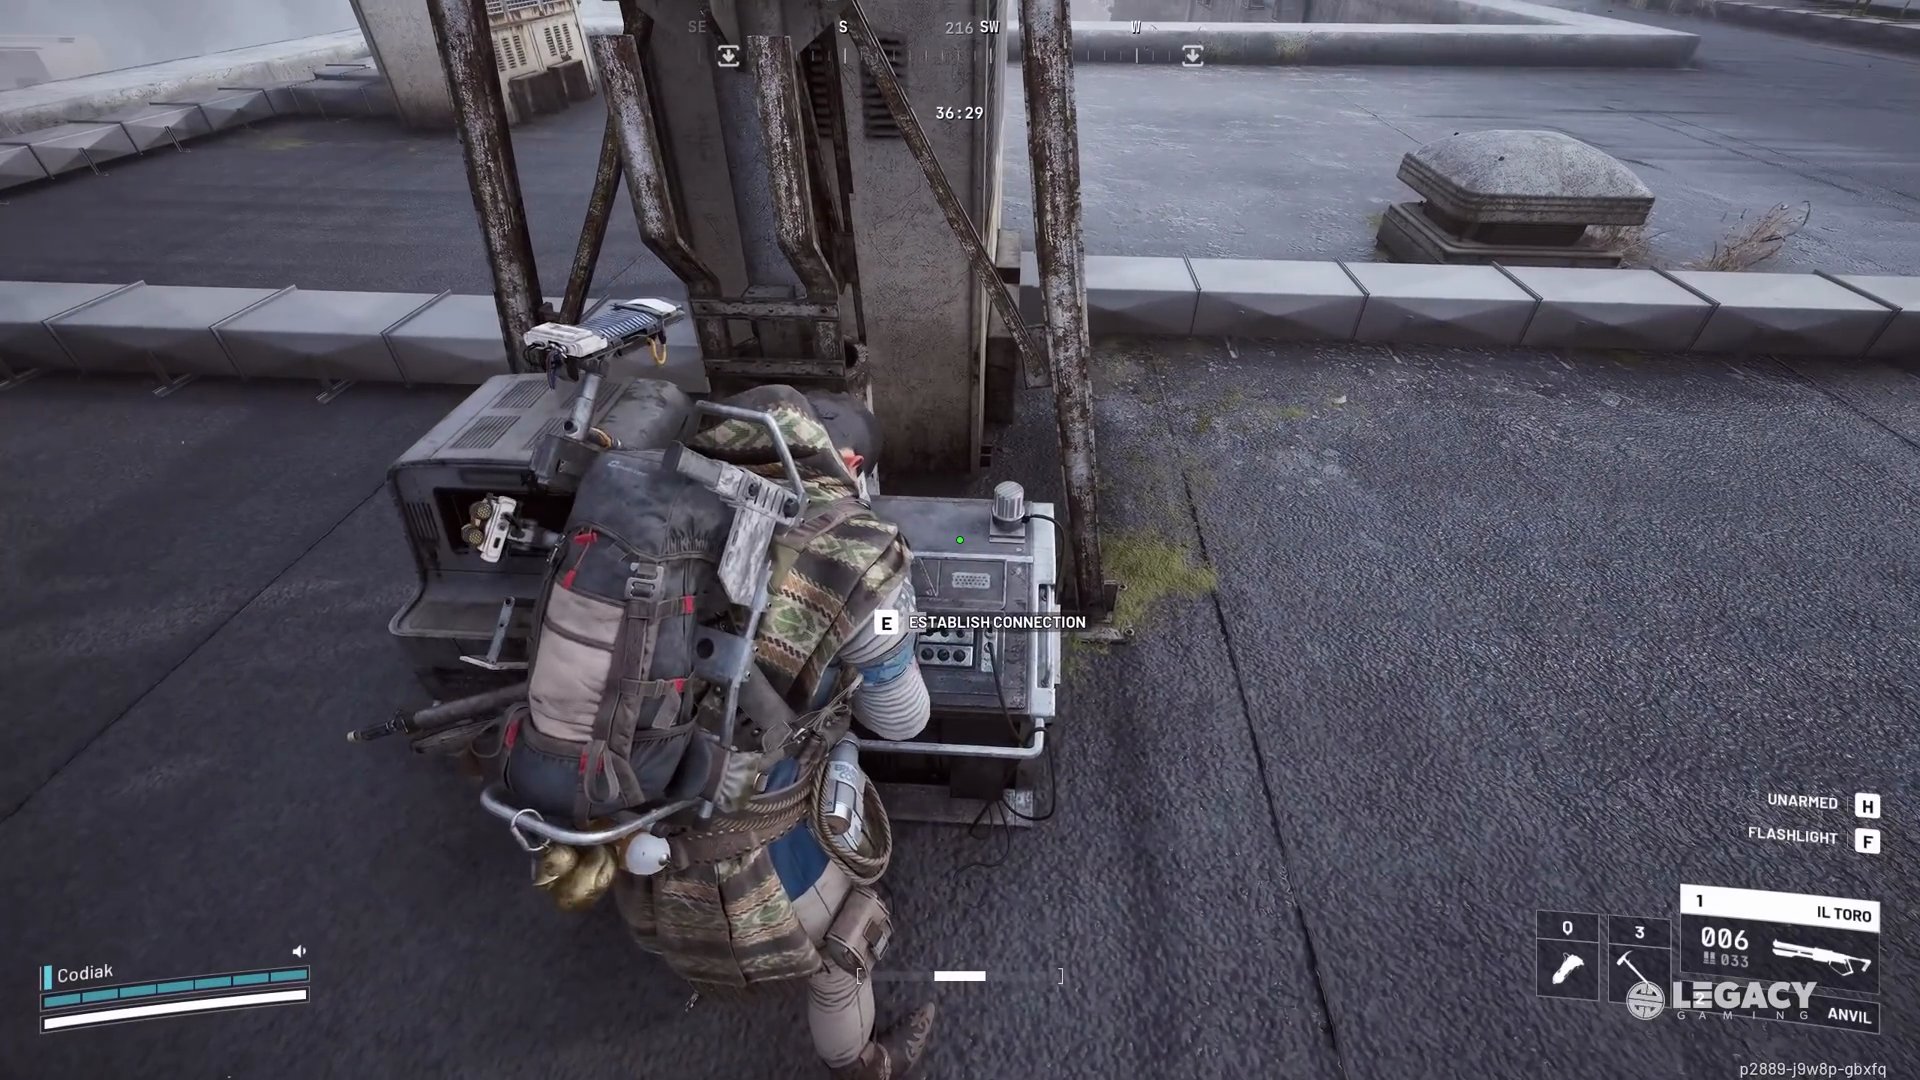 These antennas are randomly placed at the start of the map.
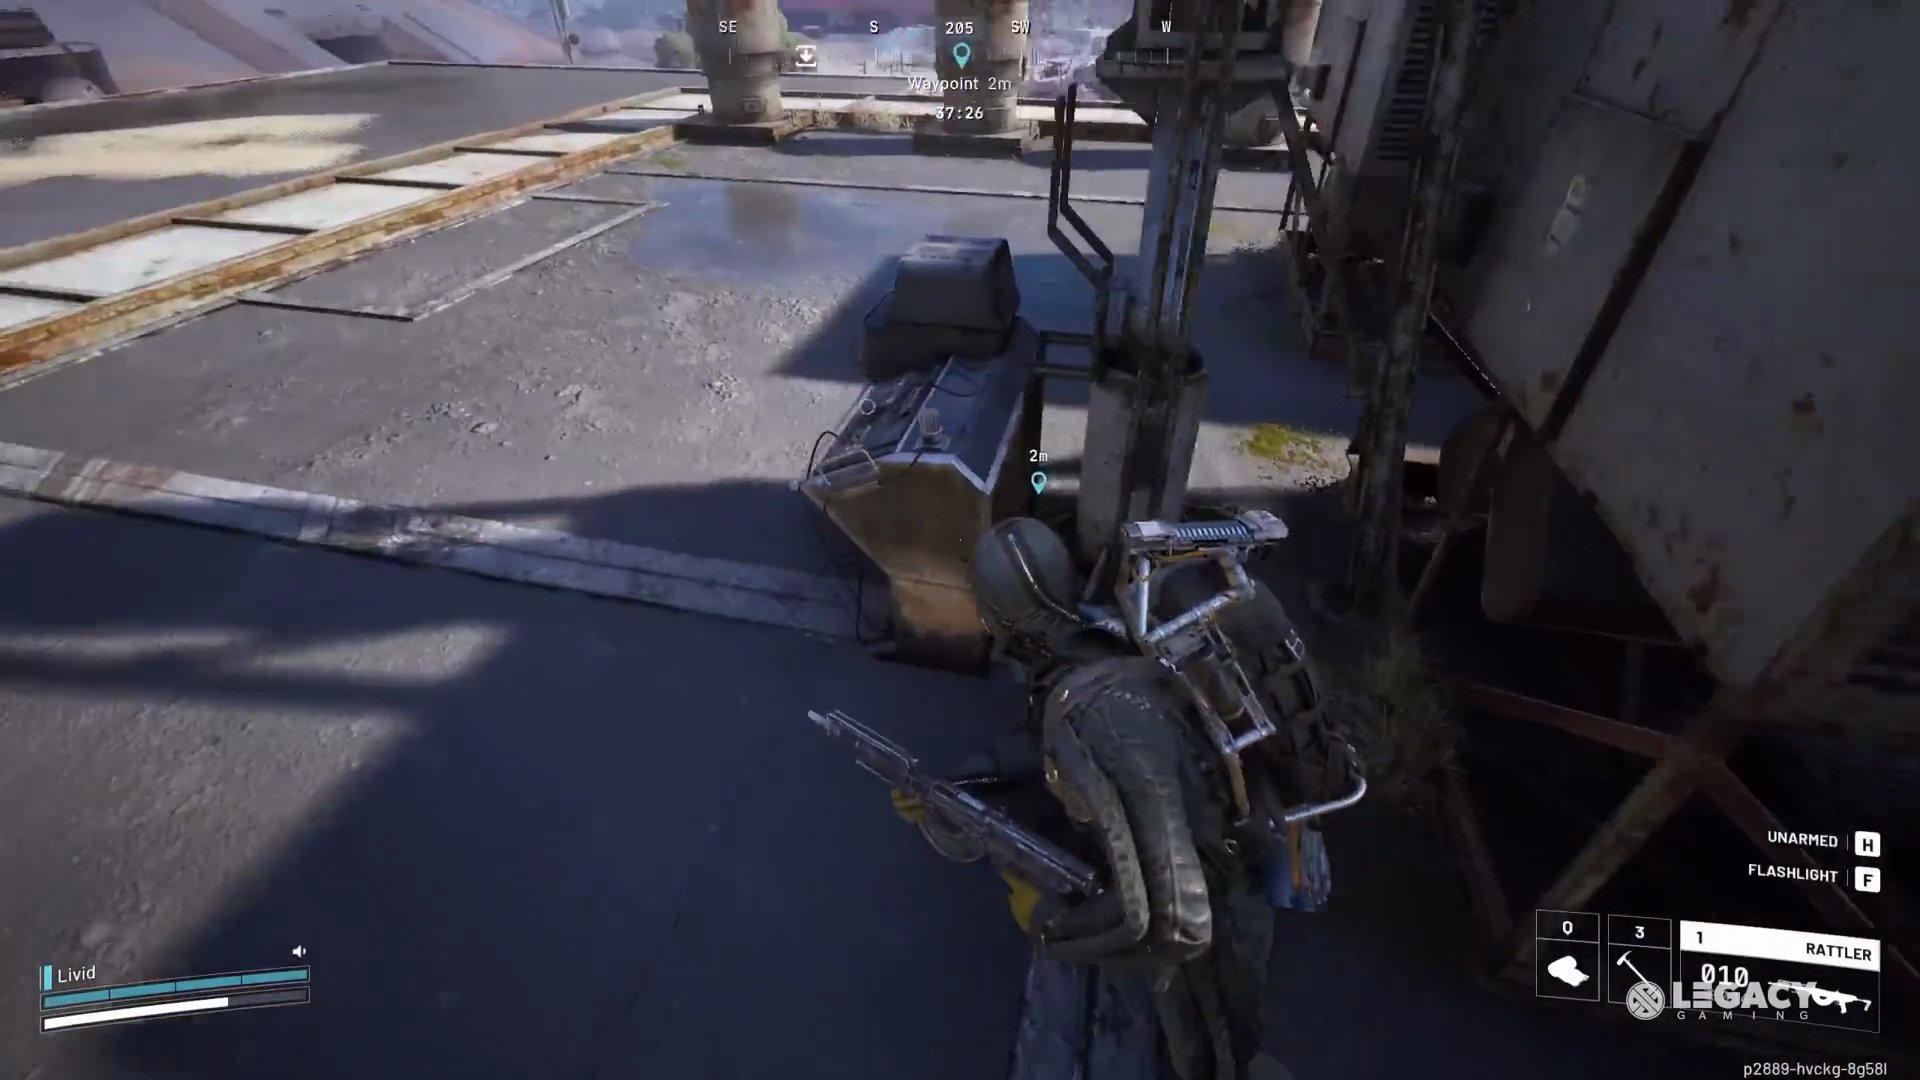
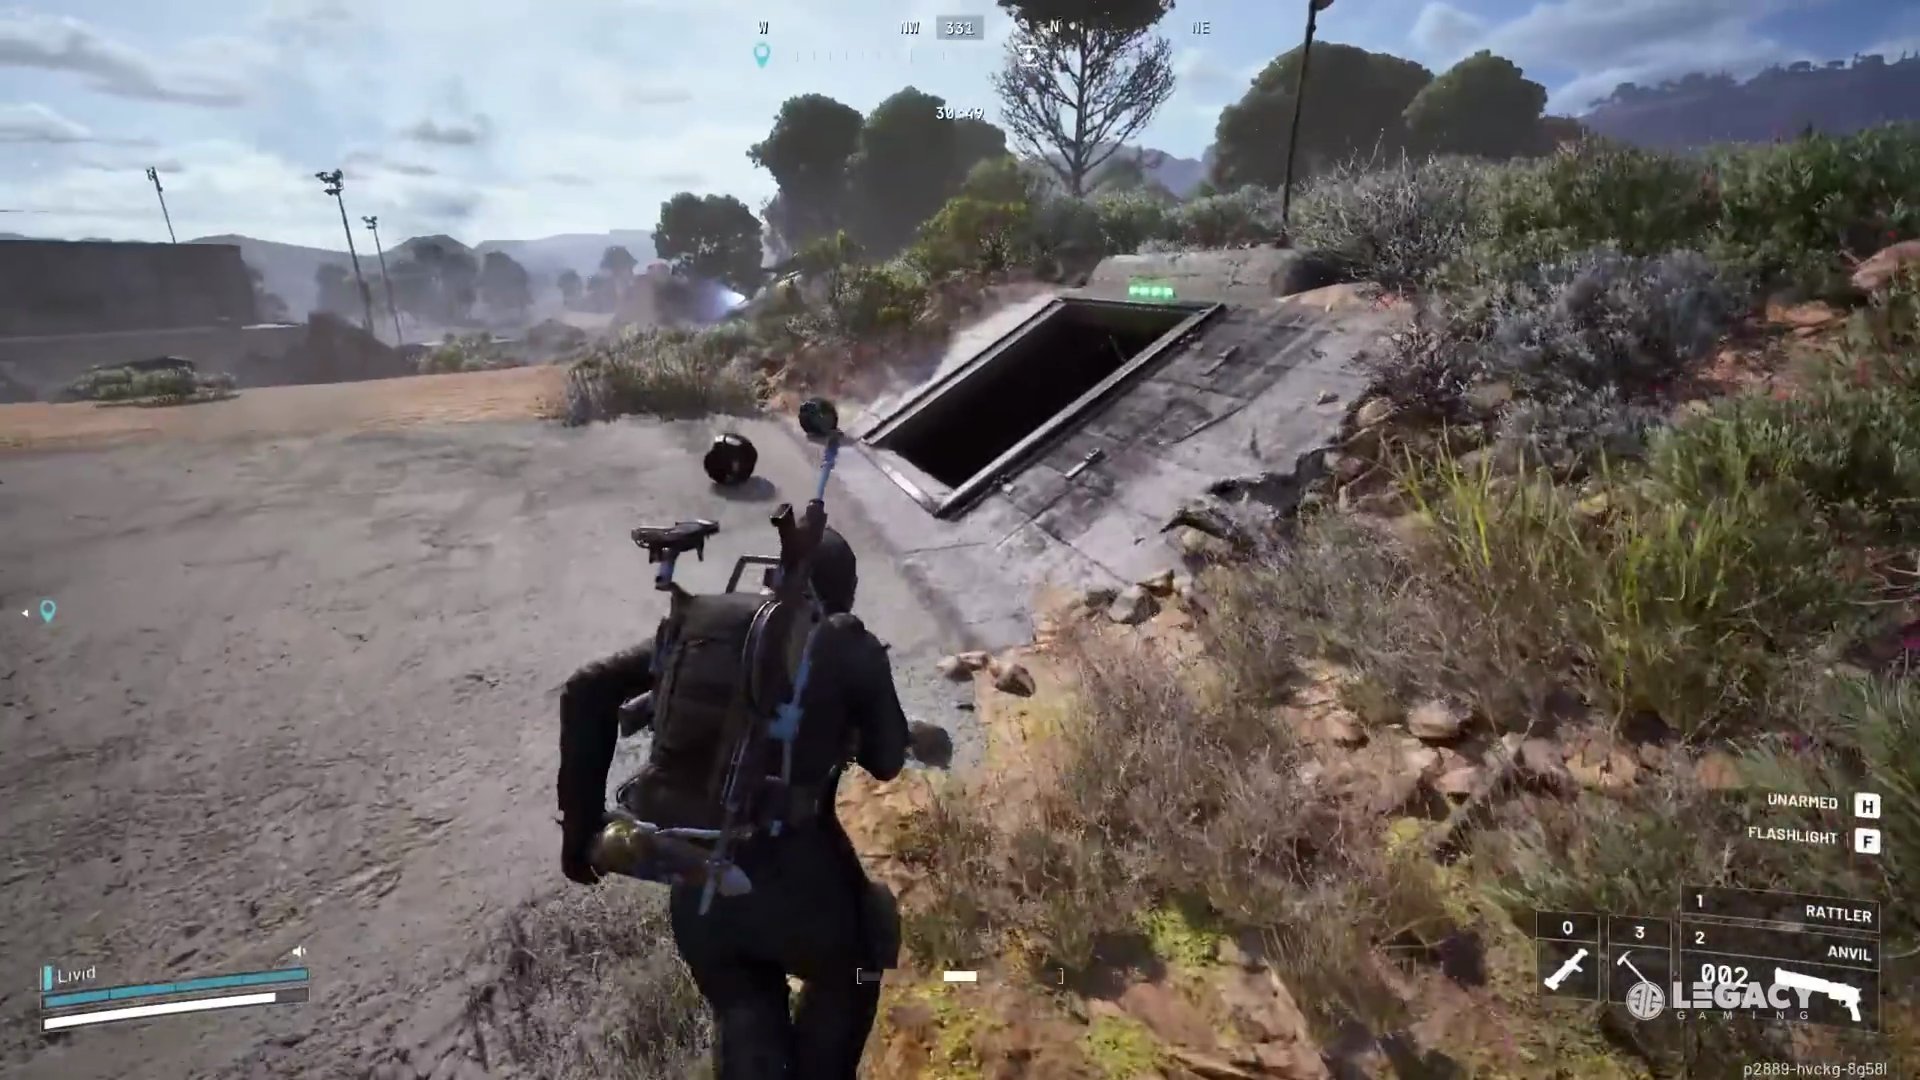
- Entering the Bunker: Once all antennas are active, head to the bunker entrance.
- Downloading Data: Inside, find the eight computer terminals. Activate a terminal to begin downloading data. A yellow light will flash, and a green progress bar will appear. Once the bar completes, the light turns green, and data can be collected.
- Strategic Data Collection: Pay attention to which consoles are near completion and grab the data if you can. Move on to the next activated console rather than activating a new one yourself if other players are present, as you'll be stuck there during the download. Be cautious, as players can get impatient and attempt to use grenades.
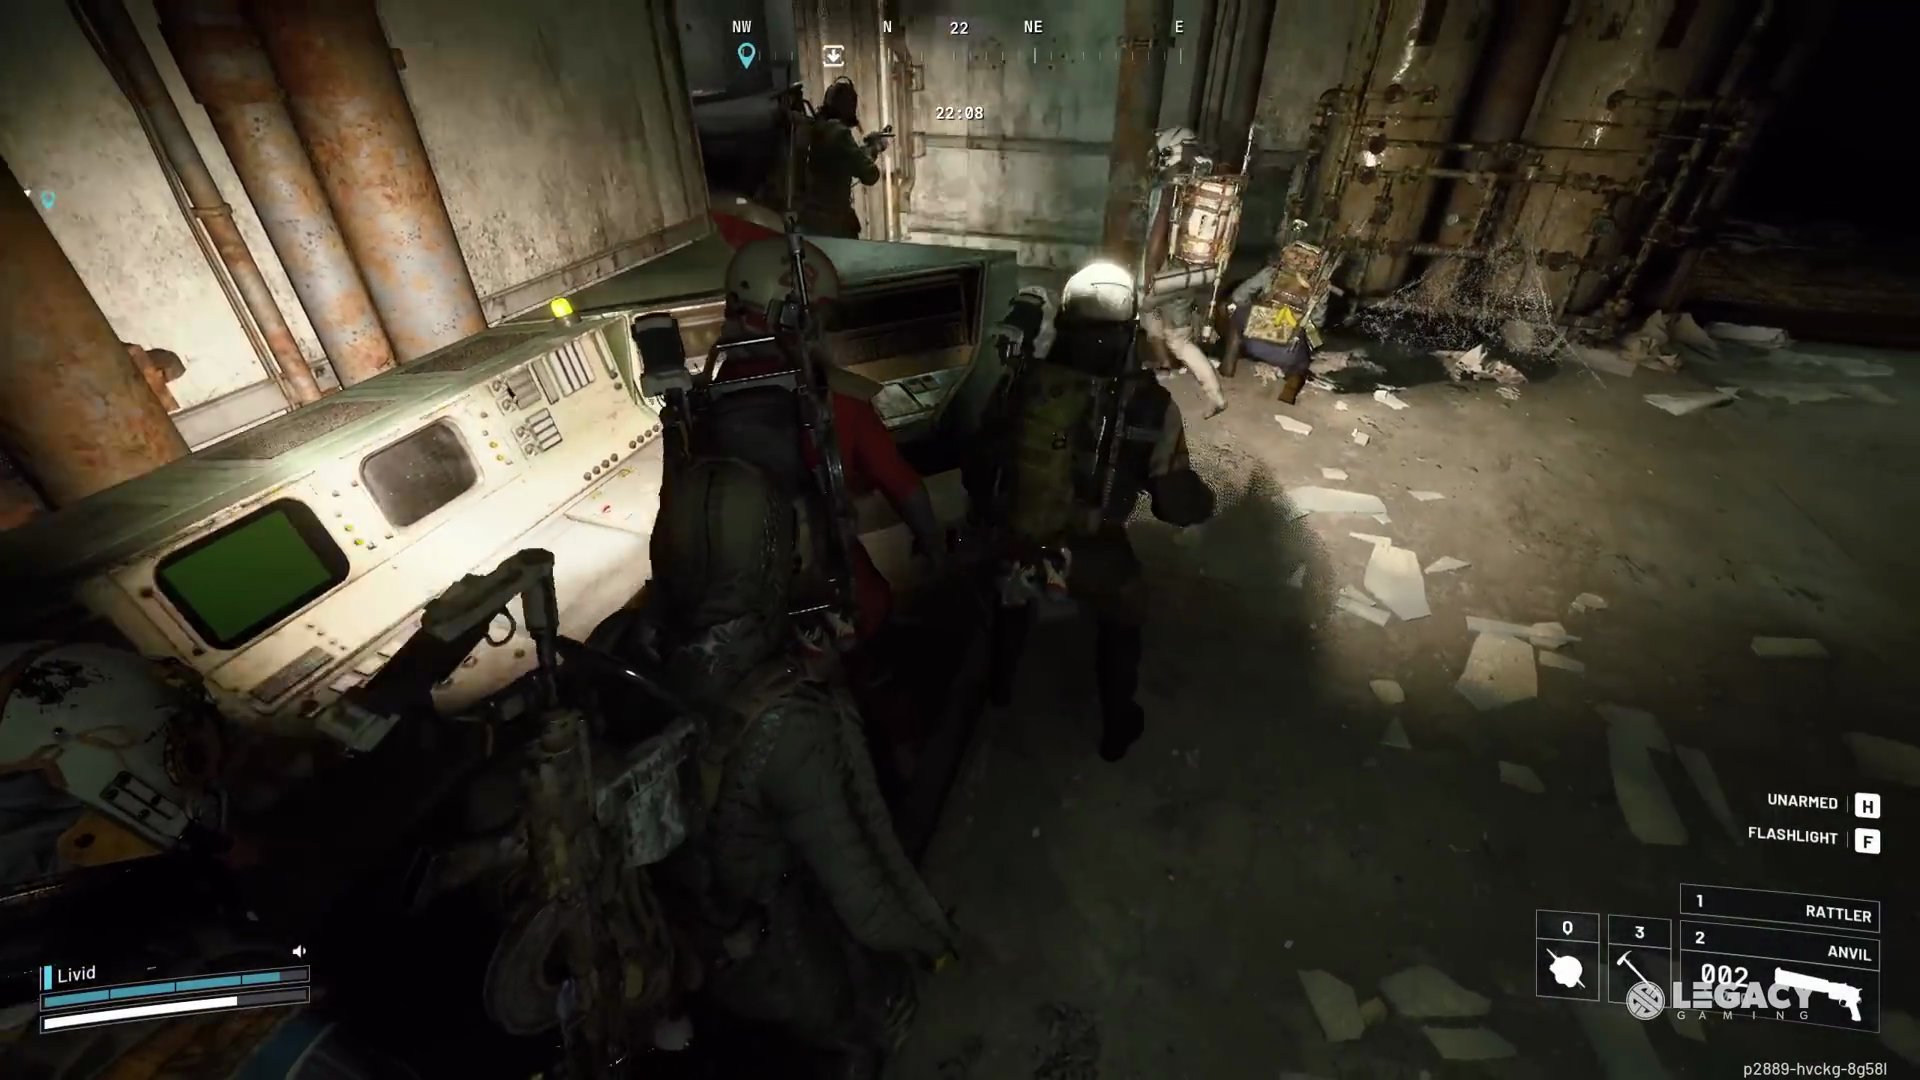
- If you download all eight terminals and successfully extract, you'll secure 6400 points.
Step 3: Search First Wave Husks
Searching First Wave Husks is a straightforward challenge with high point farming potential. Each husk awards around 800 points.
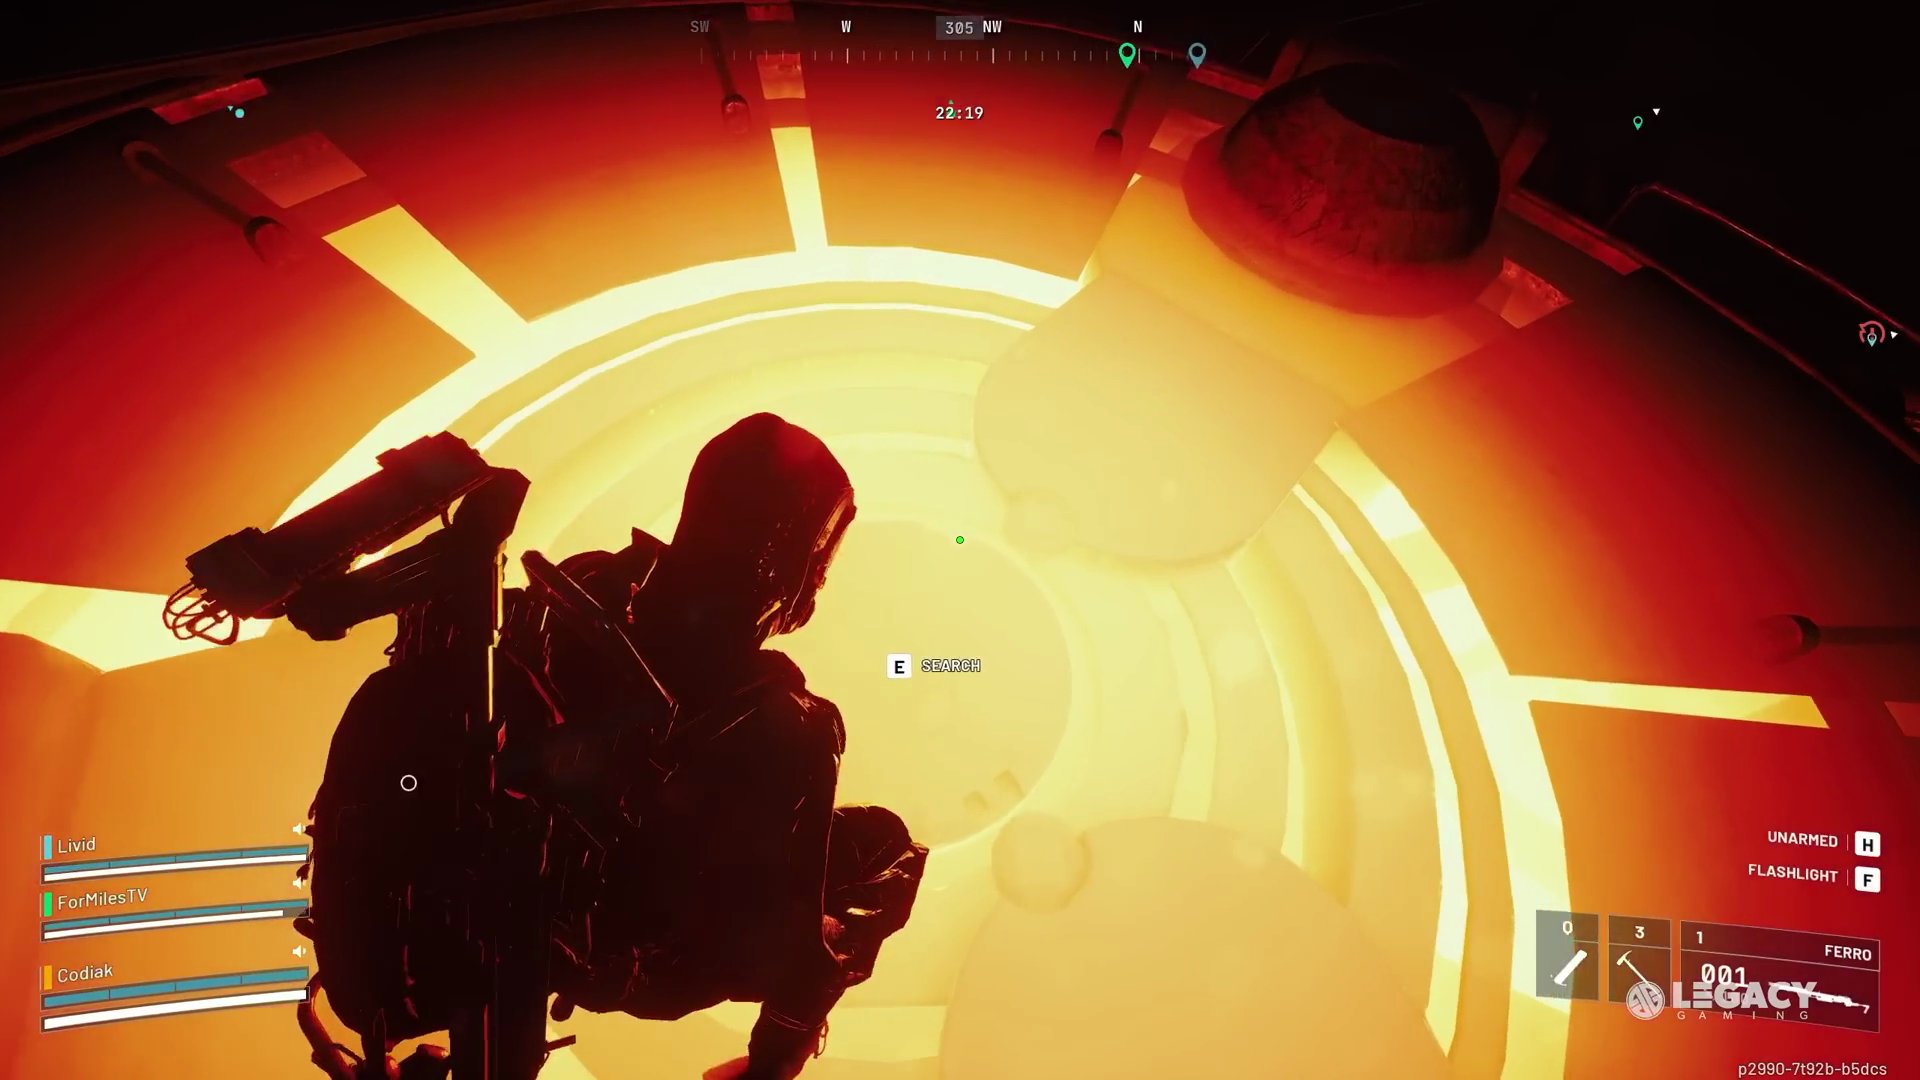
- Look for dead ARC bodies (Rocketter husks, Baron husks, Hornet husks) that you can breach and loot throughout the environment.
 You can either be the one to breach them or simply interact with ones already breached by other players.
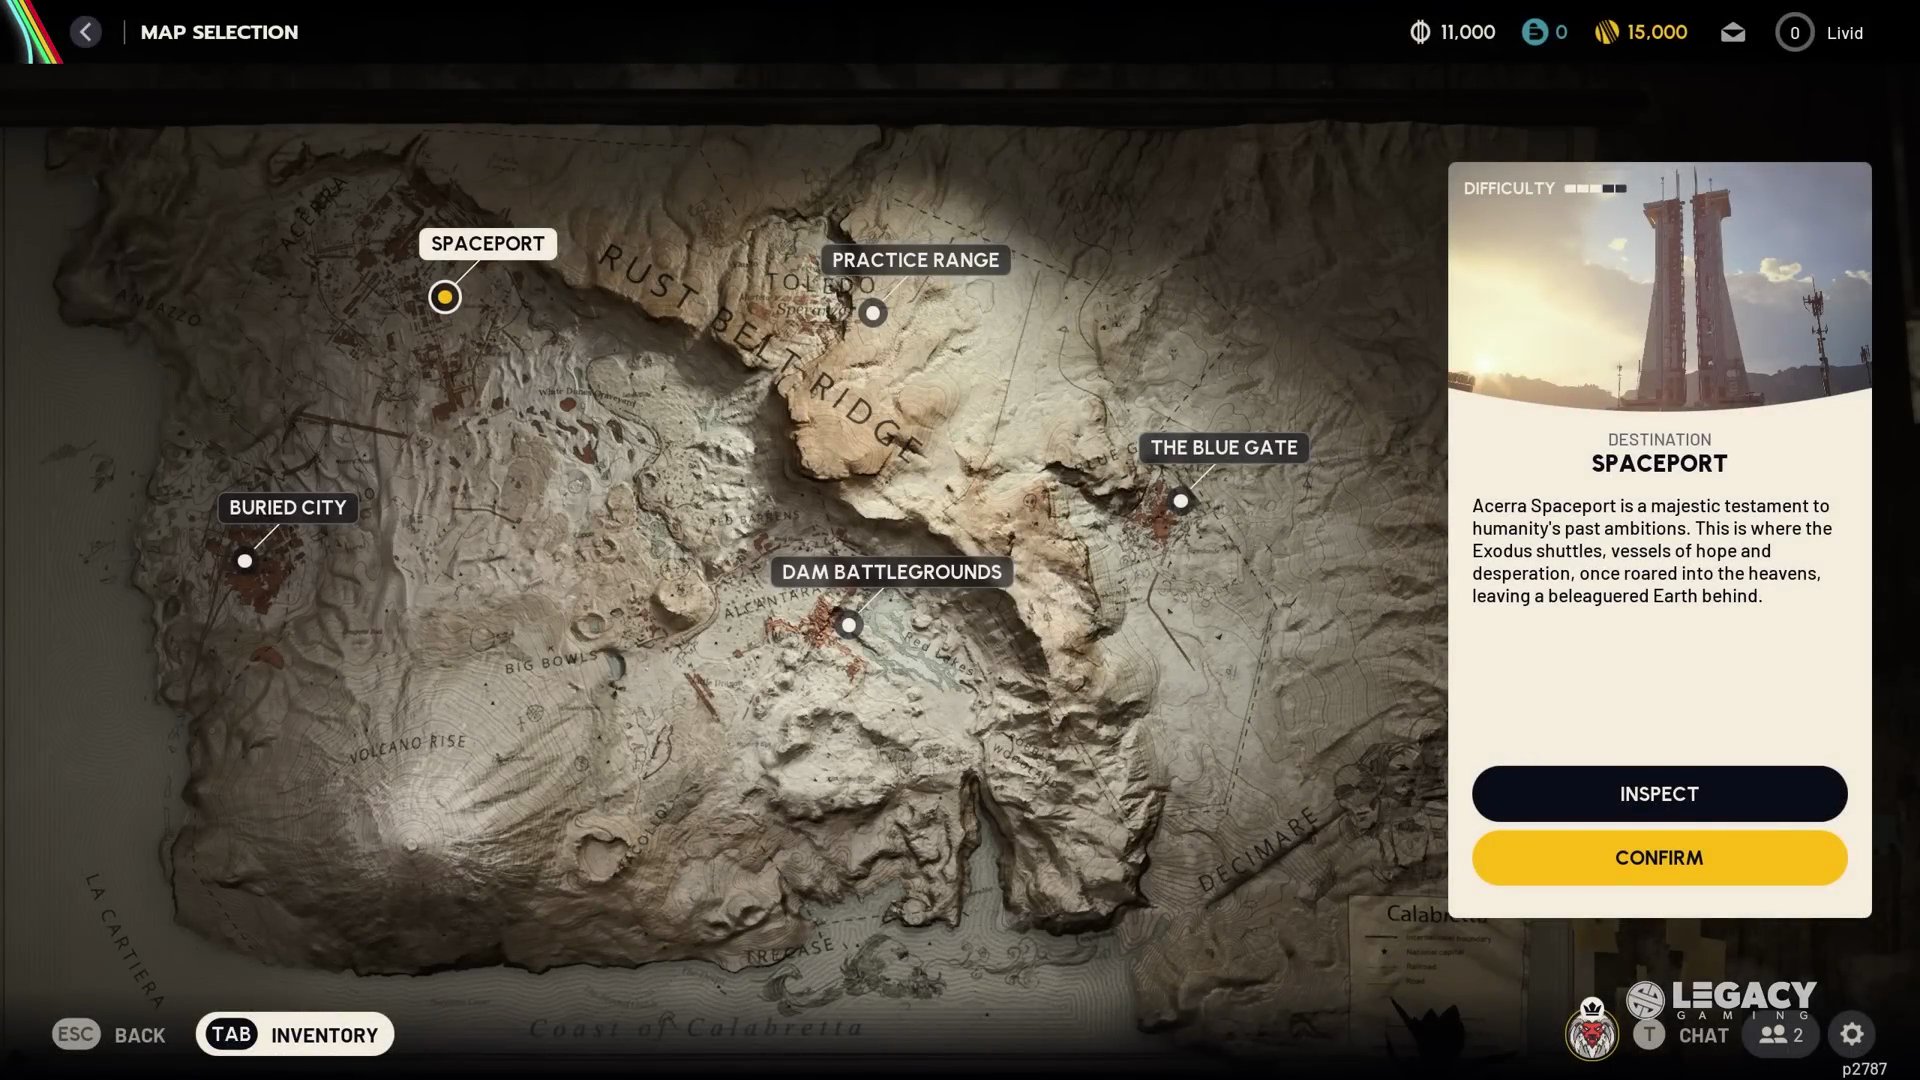
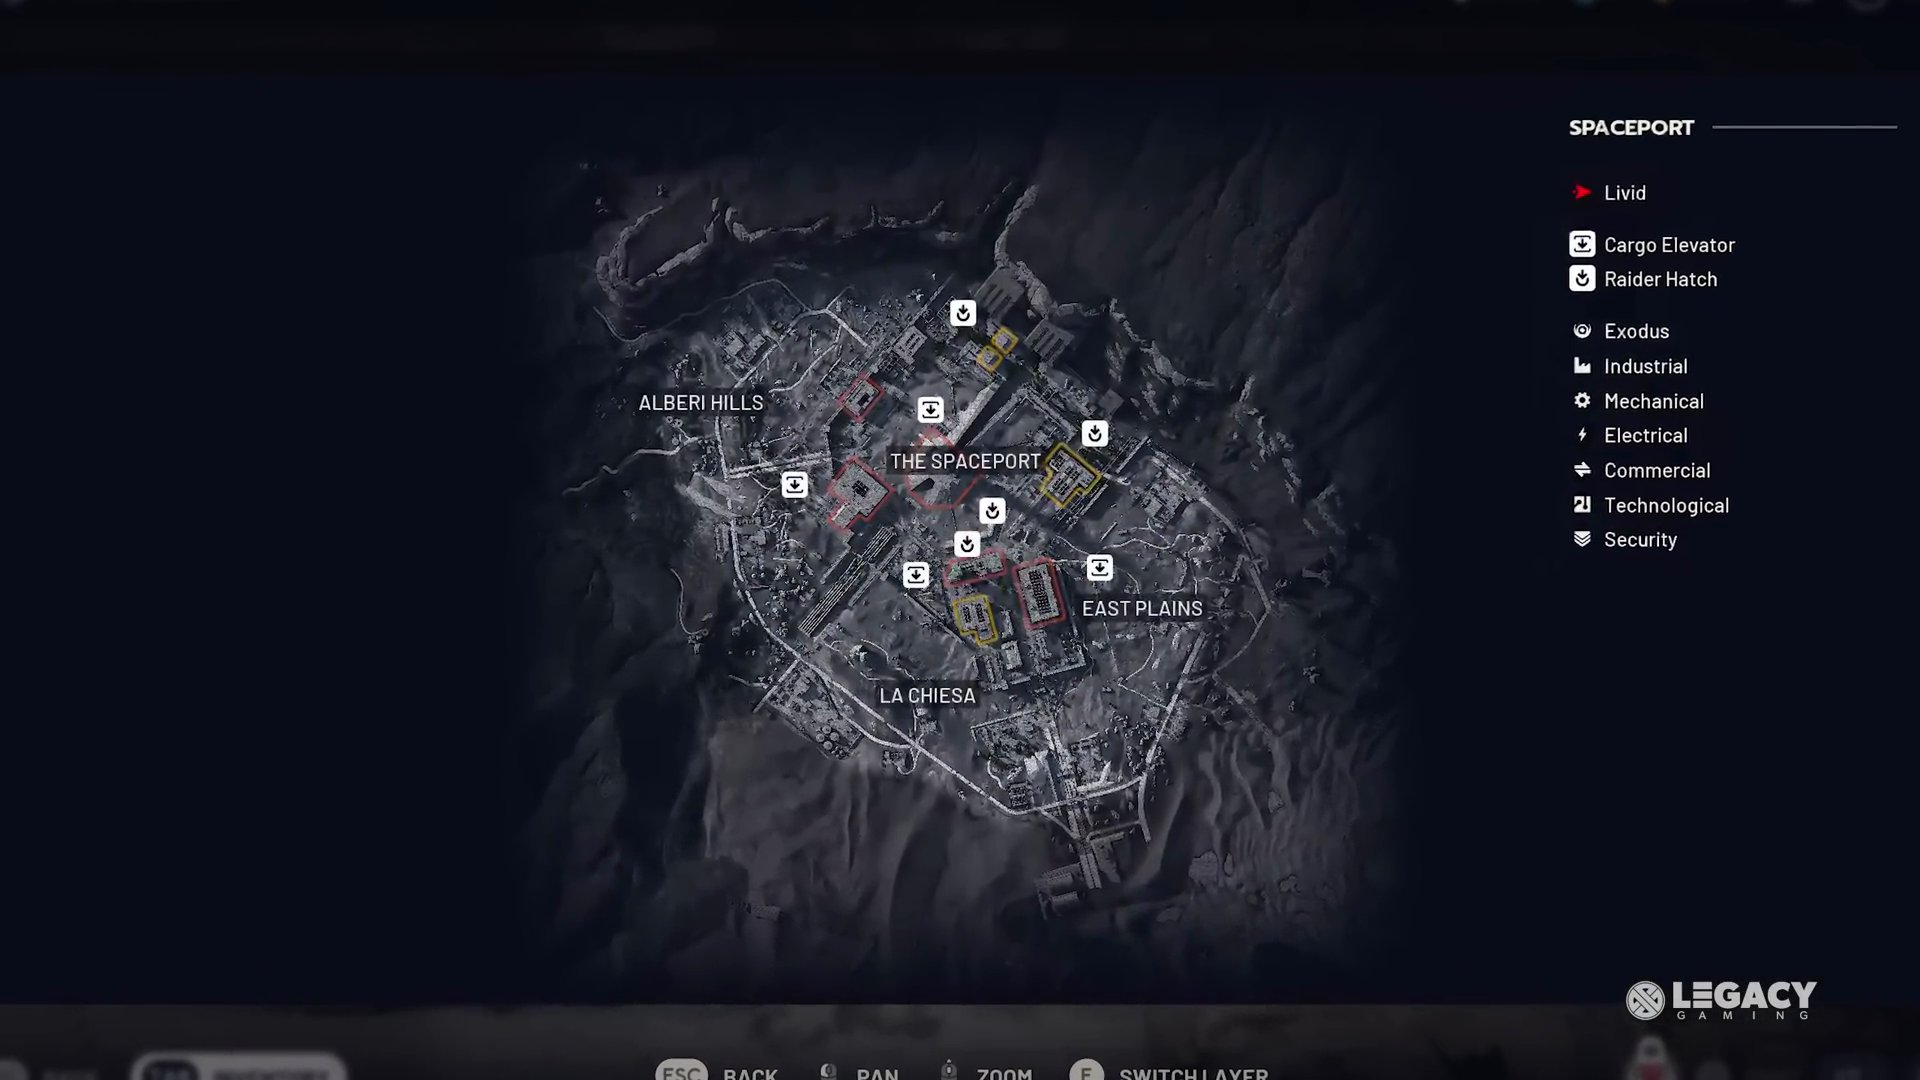
- Optimal Location: Spaceport
- Spaceport is probably the best option due to the high number of husks that spawn on the outskirts of the map, away from typical danger zones.
 These areas rarely see PvP action.
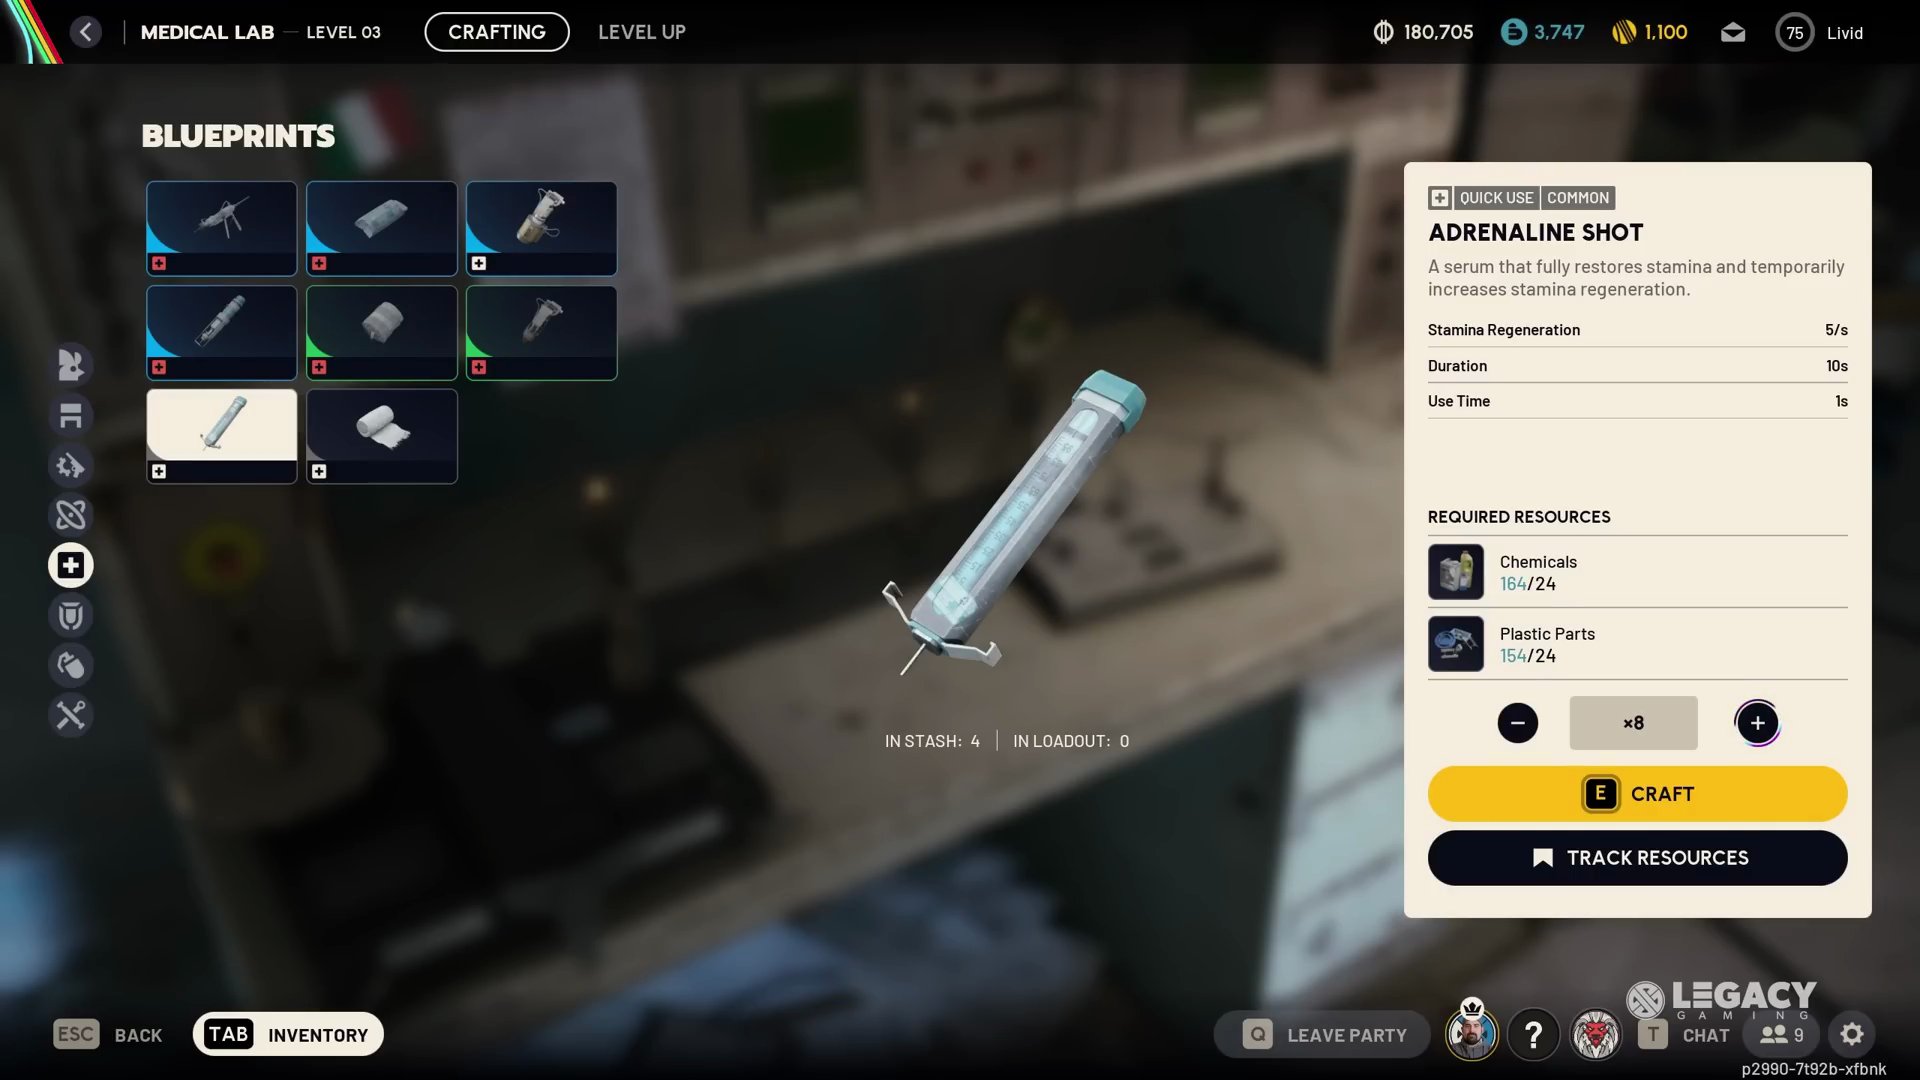
- This challenge is free loadout friendly, but bringing adrenaline shots is recommended to manage running across the map more efficiently.
Step 4: Damage Snitches
Damaging Snitches offers huge point farming potential because they respawn quickly once killed.
- Each Snitch awards 600 points, so you only need seven to achieve your three-star ranking for the week.

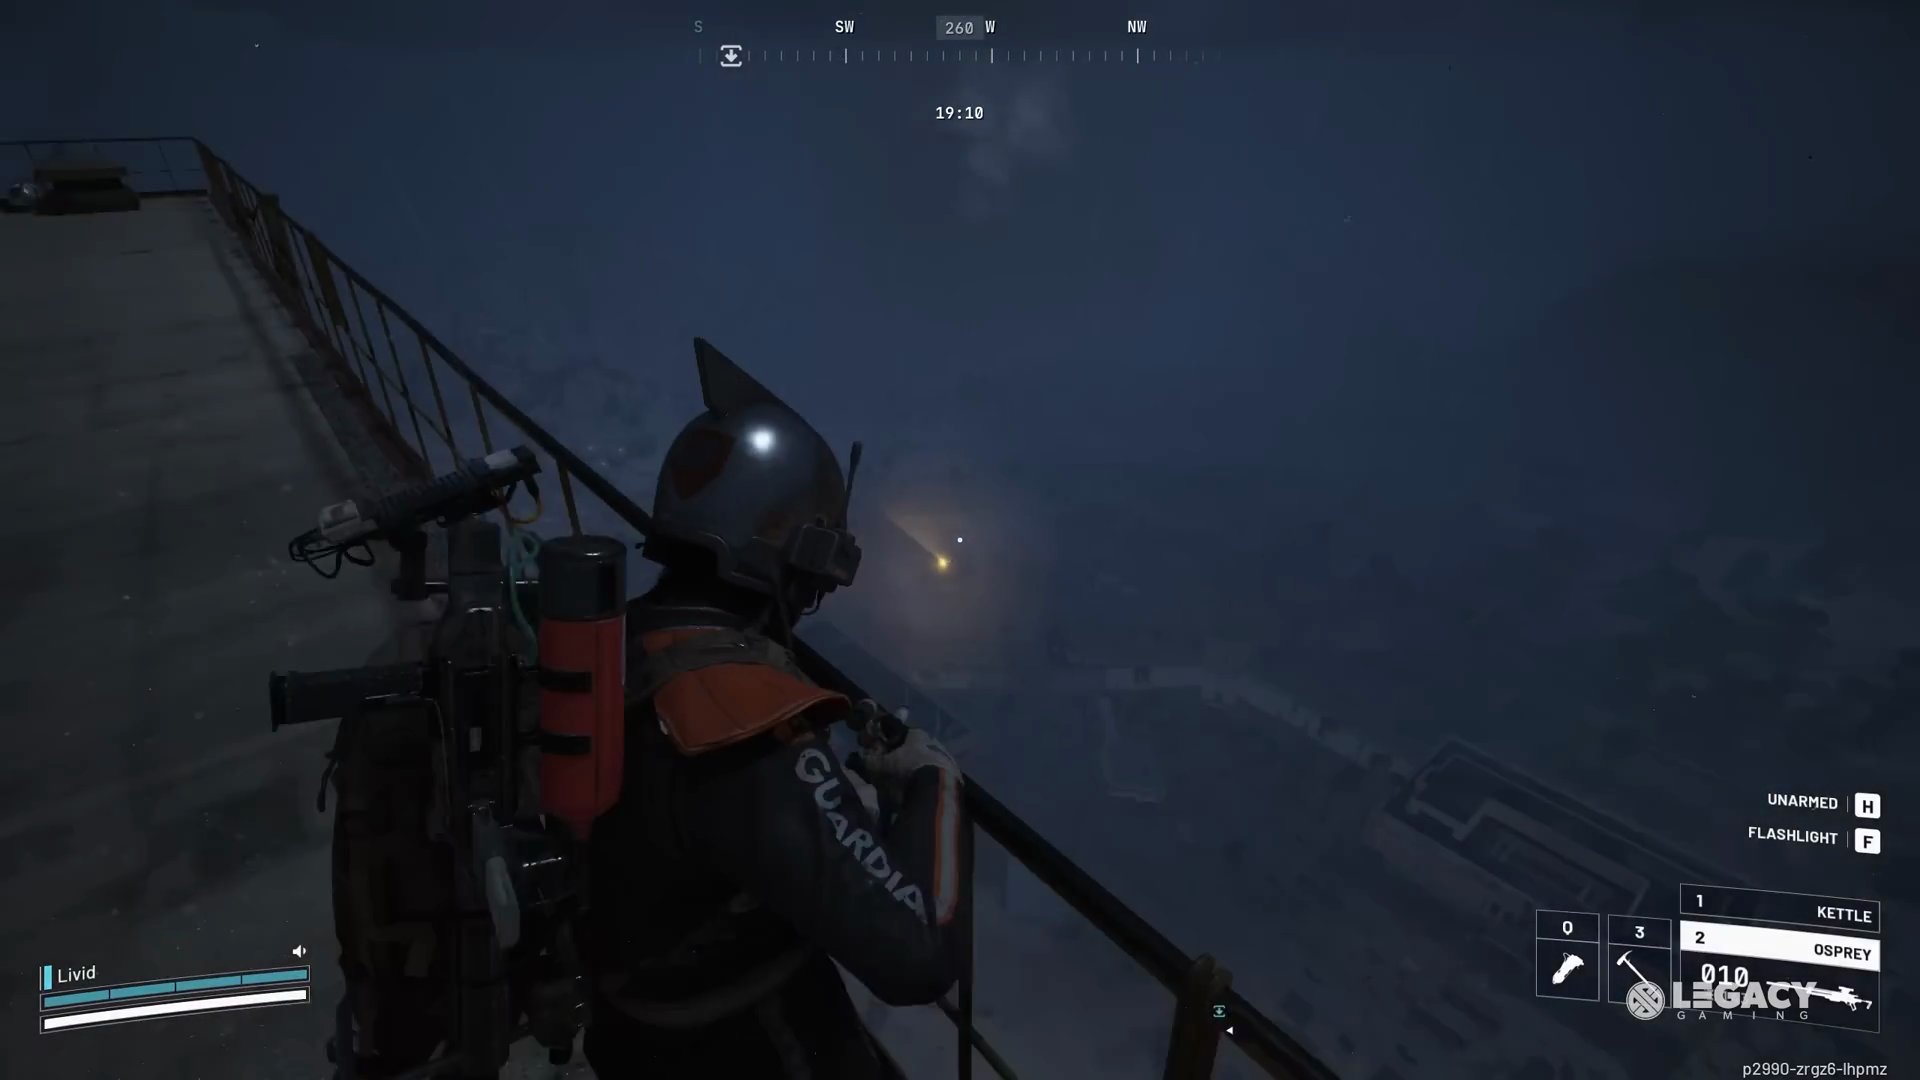
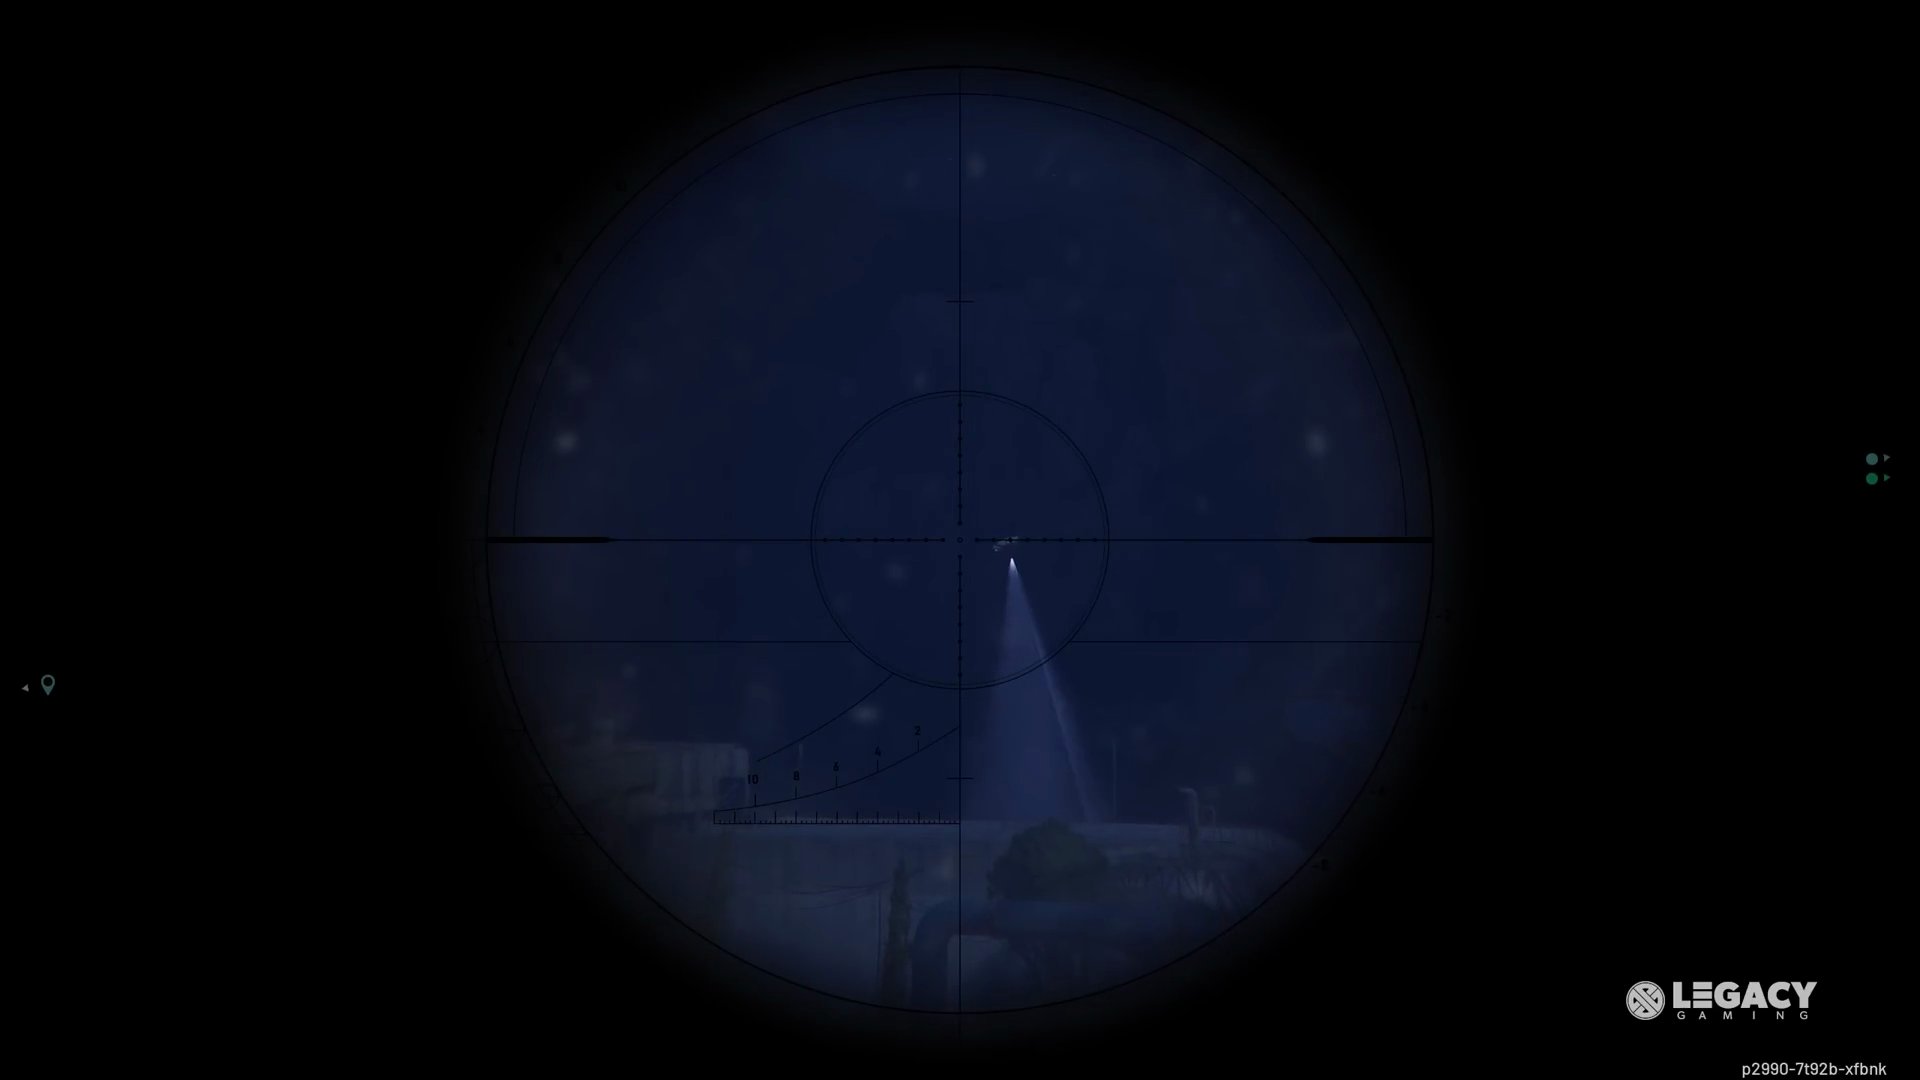
- Elevated Strategy: Get yourself or your team to an elevated, centralized location on the map. Use a sniper or Jupiter to pull every Snitch to you.
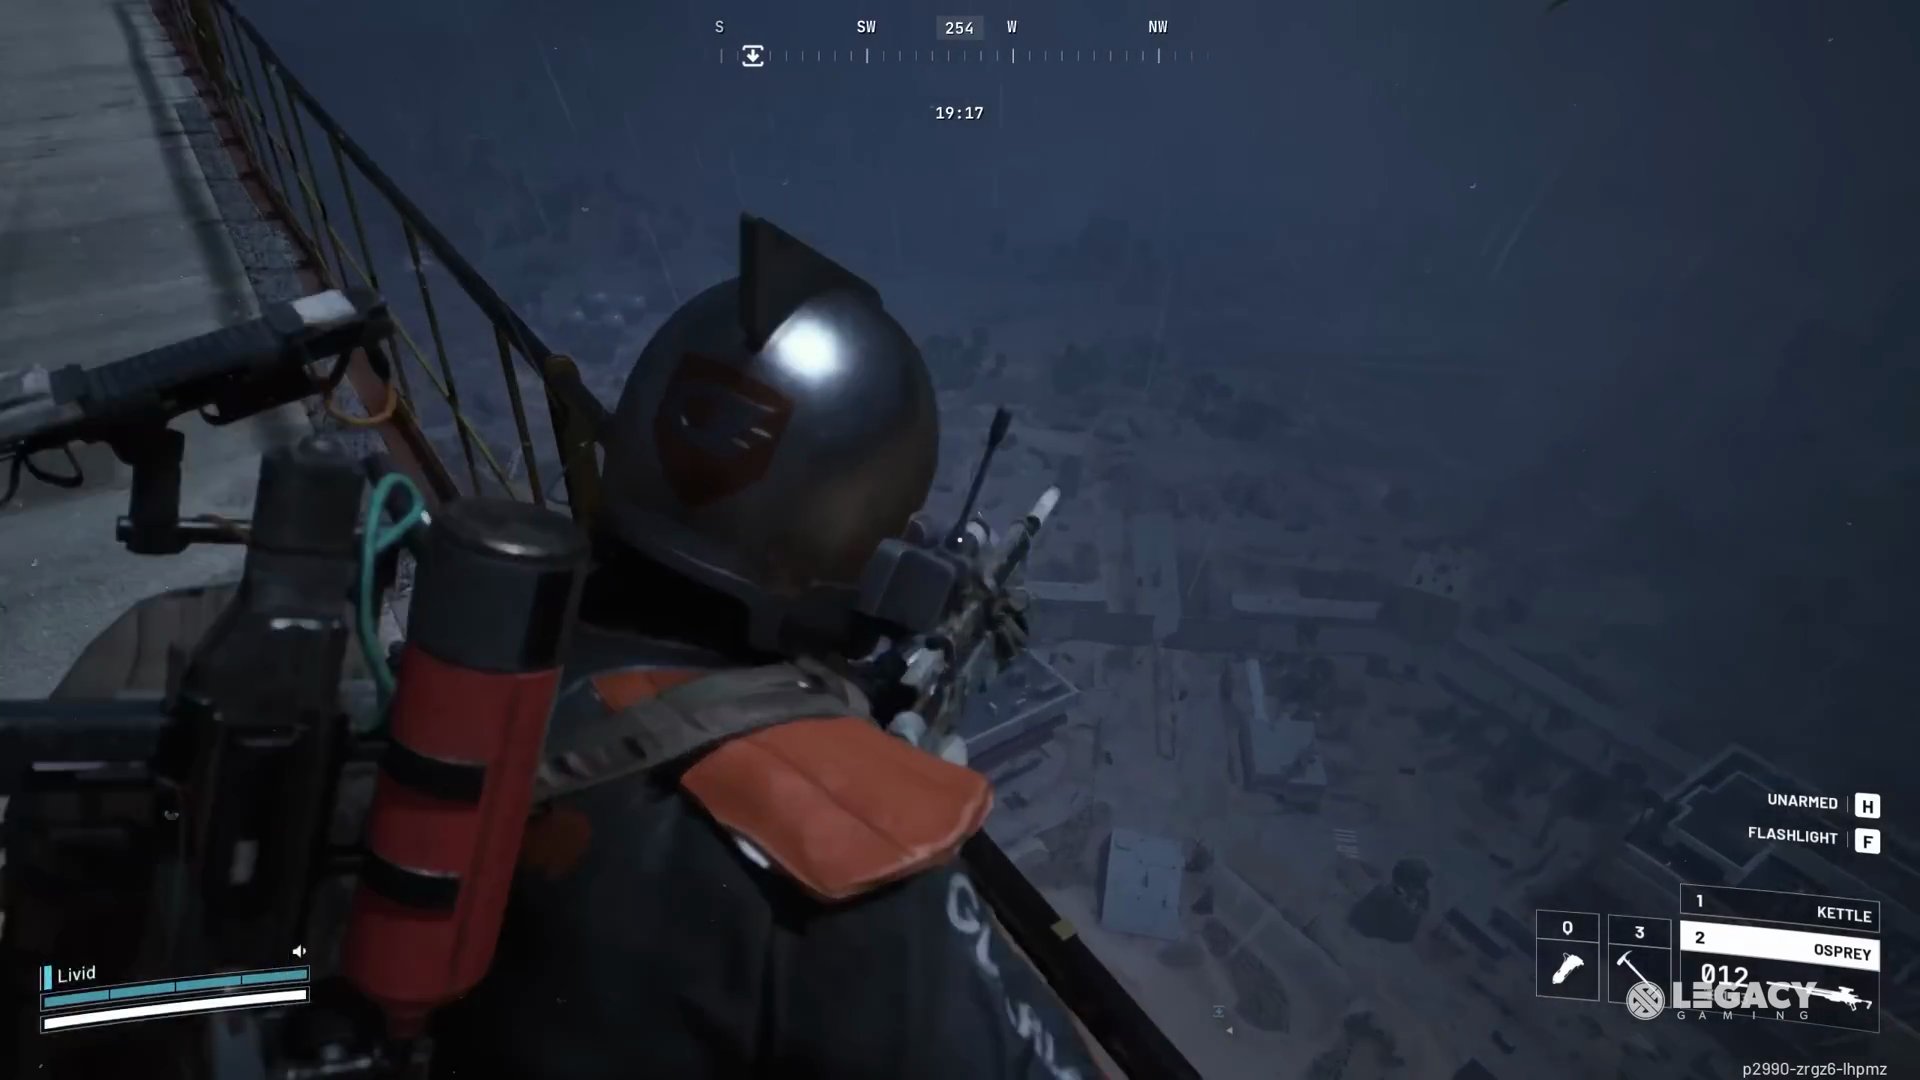
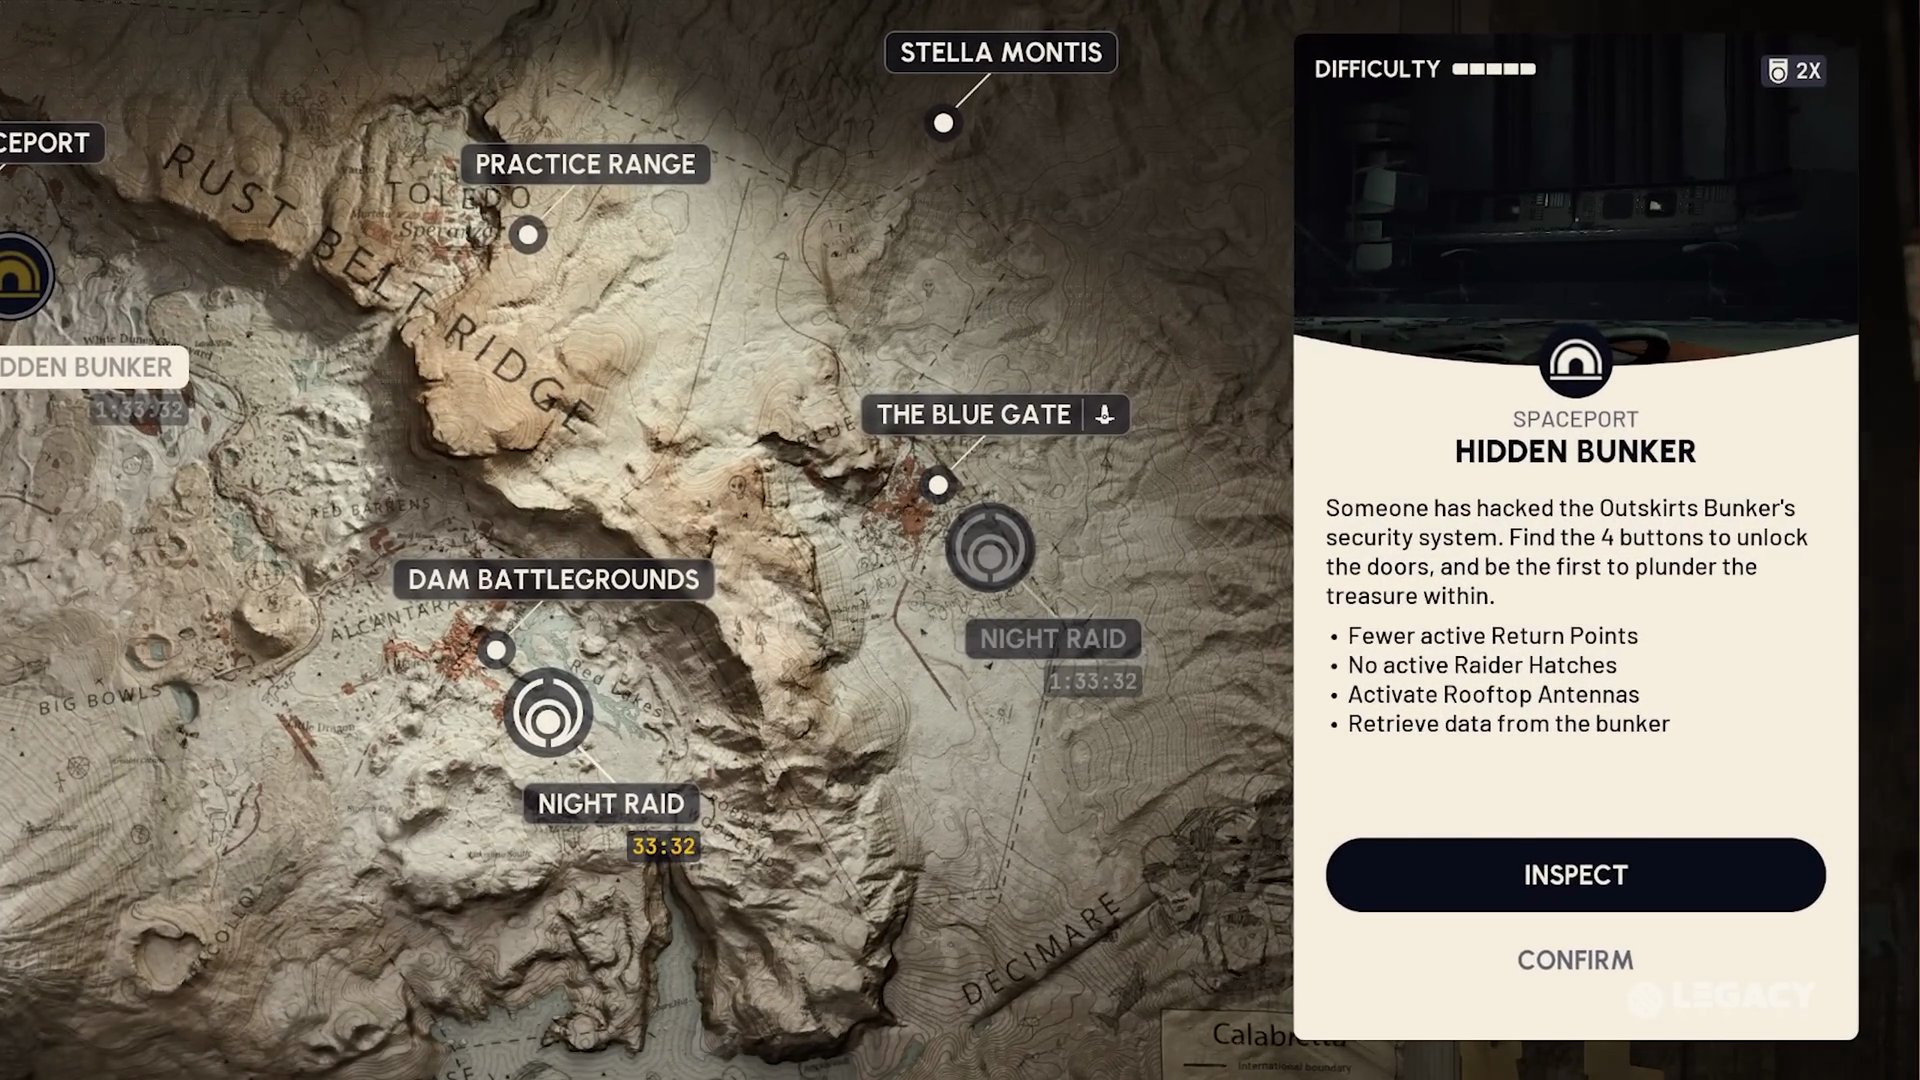
- Map Conditions: Hidden Bunker offers extra time, making it a prime location. Night Raid and any other 2x condition on any map will also work. The key is elevation, the ability to defend that elevation from other teams, and suitable gear to quickly pull and take down ARC enemies.
Step 5: Damage Ground-Based ARC Enemies
While this challenge has high point farming potential, it's often the hardest to achieve a high score due to contested enemies. You'll only receive 80% of the total XP gained on kills as points, meaning smaller enemies like Picks, Pops, and Fireballs yield very few points. 
- Focus on Larger Enemies: Target larger enemies such as Bastions, Bombardiers, and Leapers, as these are ideal for farming points.
- Optimal Location: Hidden Bunker
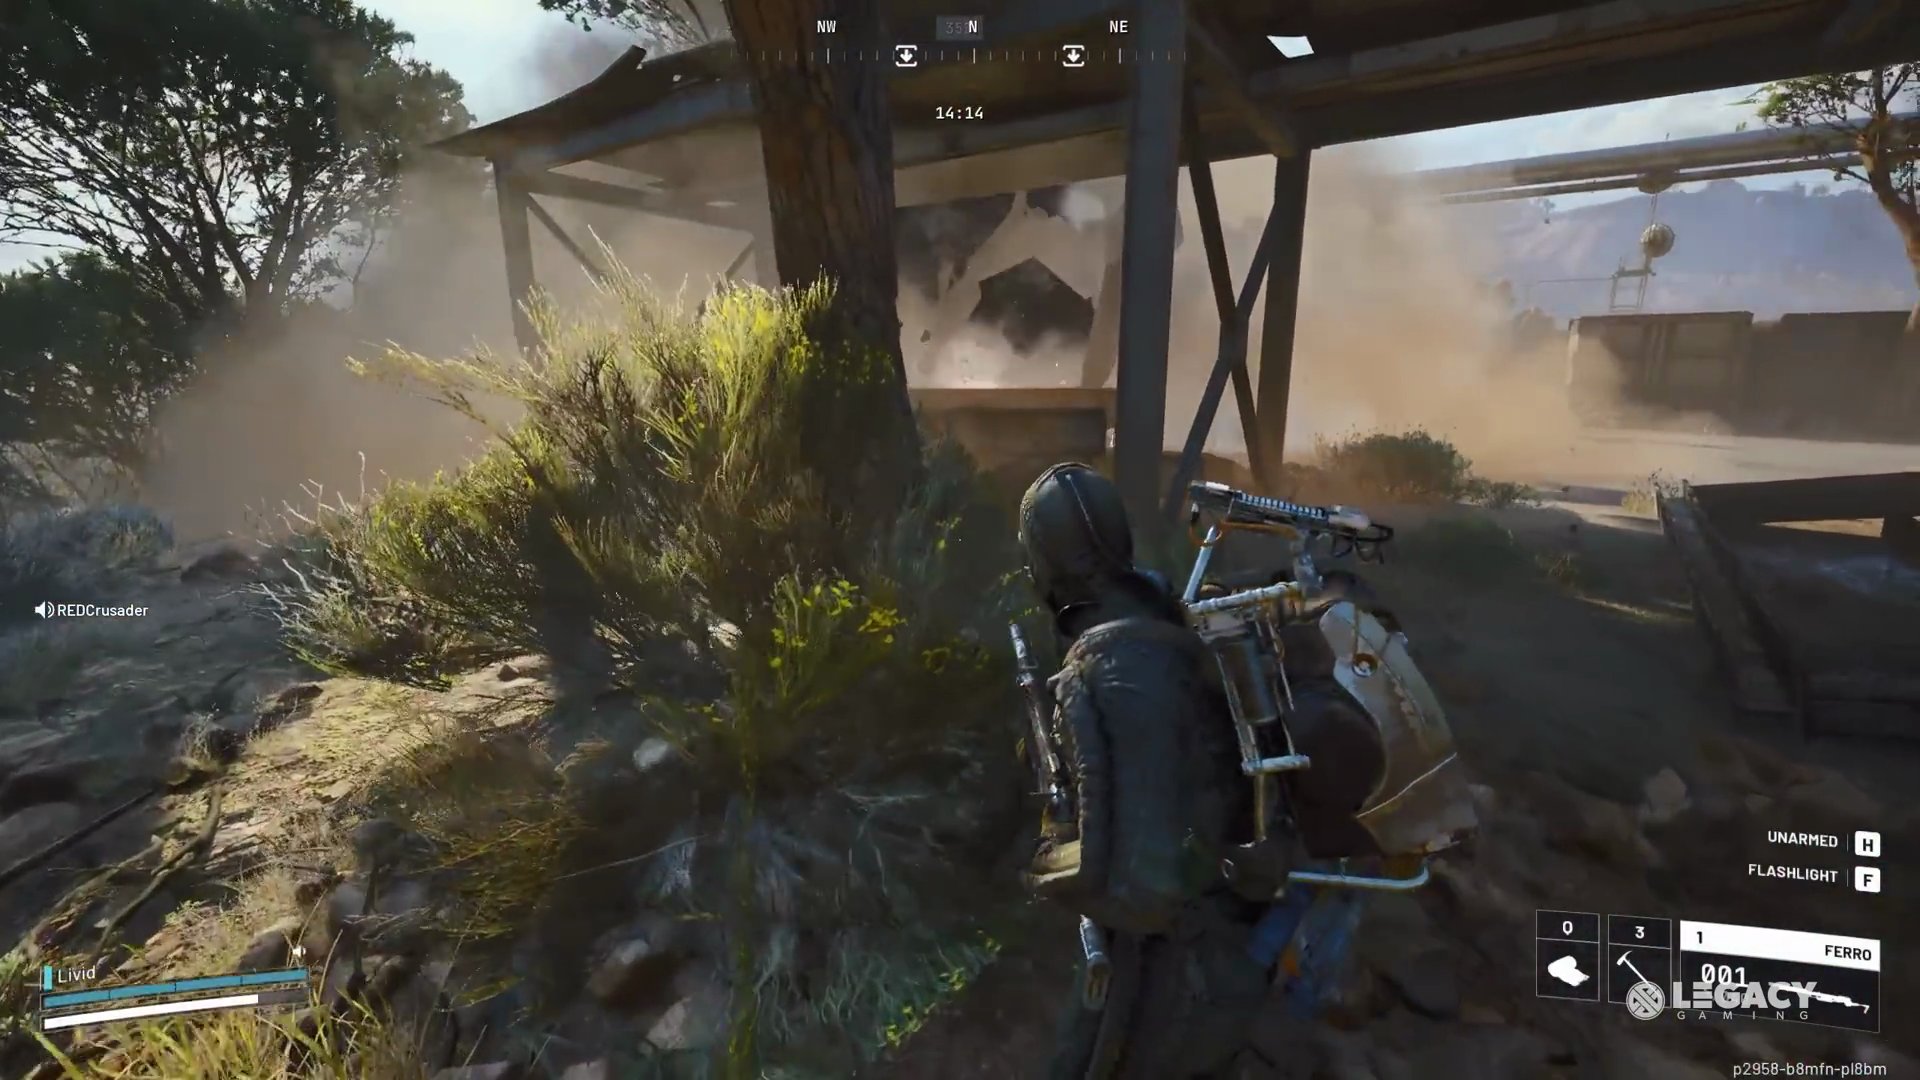
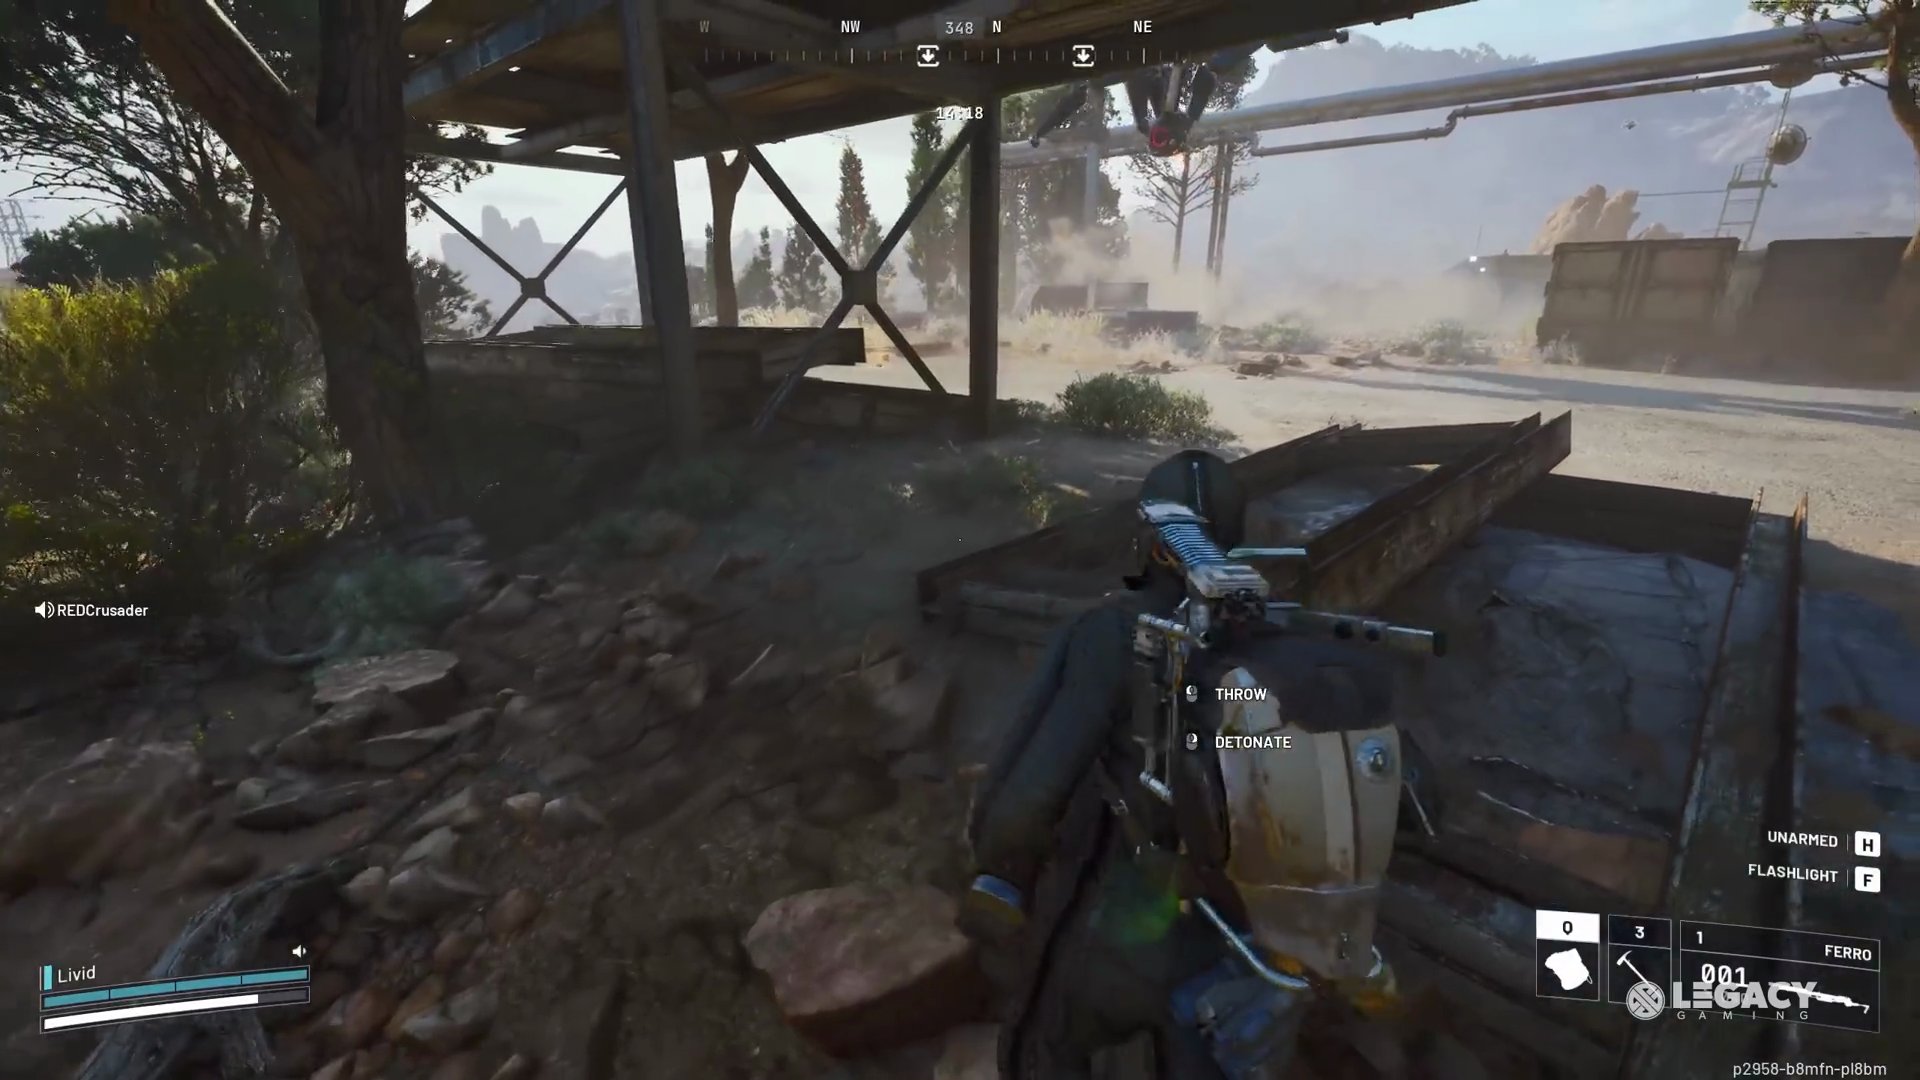
- Hidden Bunker remains the best place to complete this challenge. Leapers, Bastions, and Bombardiers will spawn above the Hidden Bunker in a centralized location, and you'll have an extra 10 minutes to farm. Be aware, this will be a PvP hot zone.

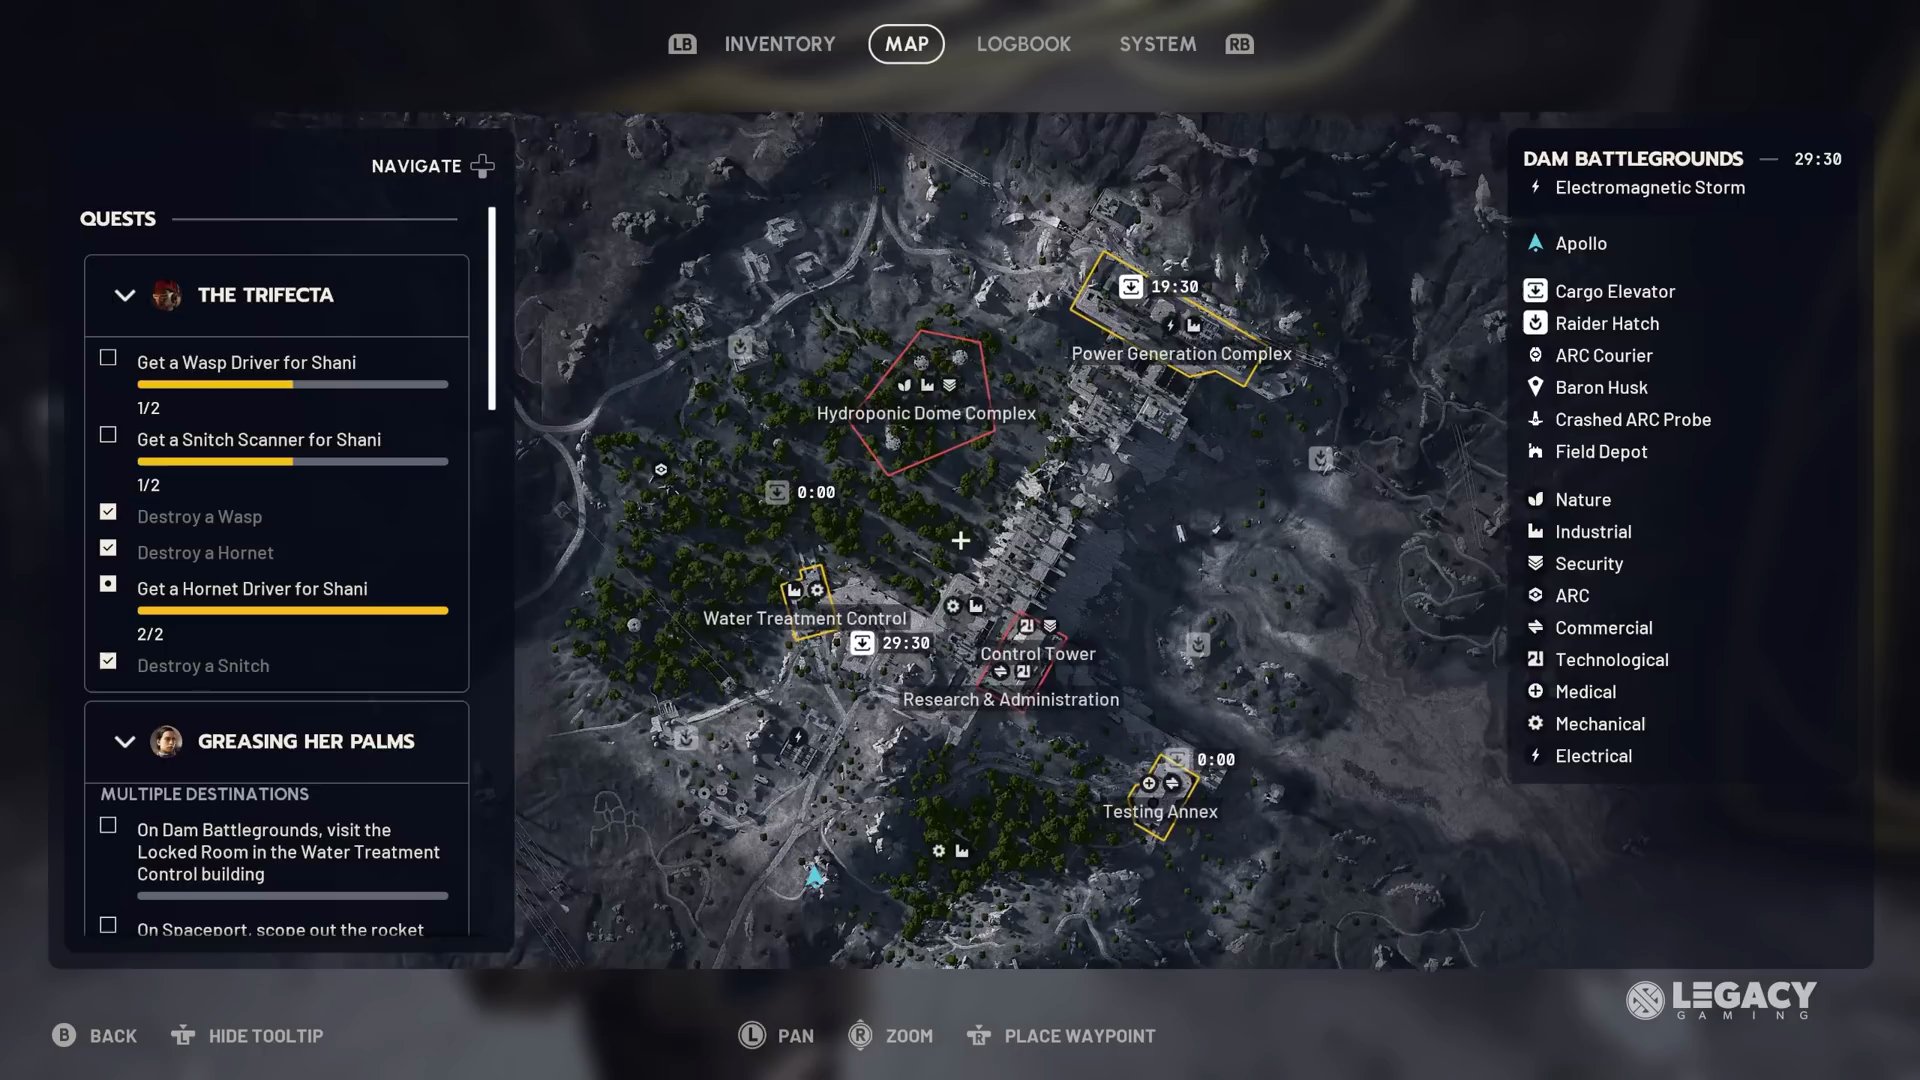
- Alternative Location: Dam Battlegrounds (Electromagnetic Storm)
- Dam Battlegrounds during an Electromagnetic Storm is another ideal map. It features two Bastion spawns, a Bombardier spawn, and three to five Leaper spawns. This gives solo players more options to avoid PvP, and groups can split up to maximize farming efforts.