General Guide
Trials Week 6 High Scoring Guide
This guide covers how to efficiently complete the current weekly trials and specific farming methods for each challenge to maximize your earned points.
All4nDev
December 3, 2025
Overview: Weekly Trials & General Tips
This week's trials offer great potential for high scores, with the possibility of reaching 150,000 to 200,000 points. The guide will detail strategies for solo completion to achieve three stars, identifying the best point-farming opportunities, and suggesting free loadout-friendly options.
- Major Map Conditions for Full Points: Only specific conditions yield full points: Hidden Bunker, Night Raids, and Electromagnetic Storms.
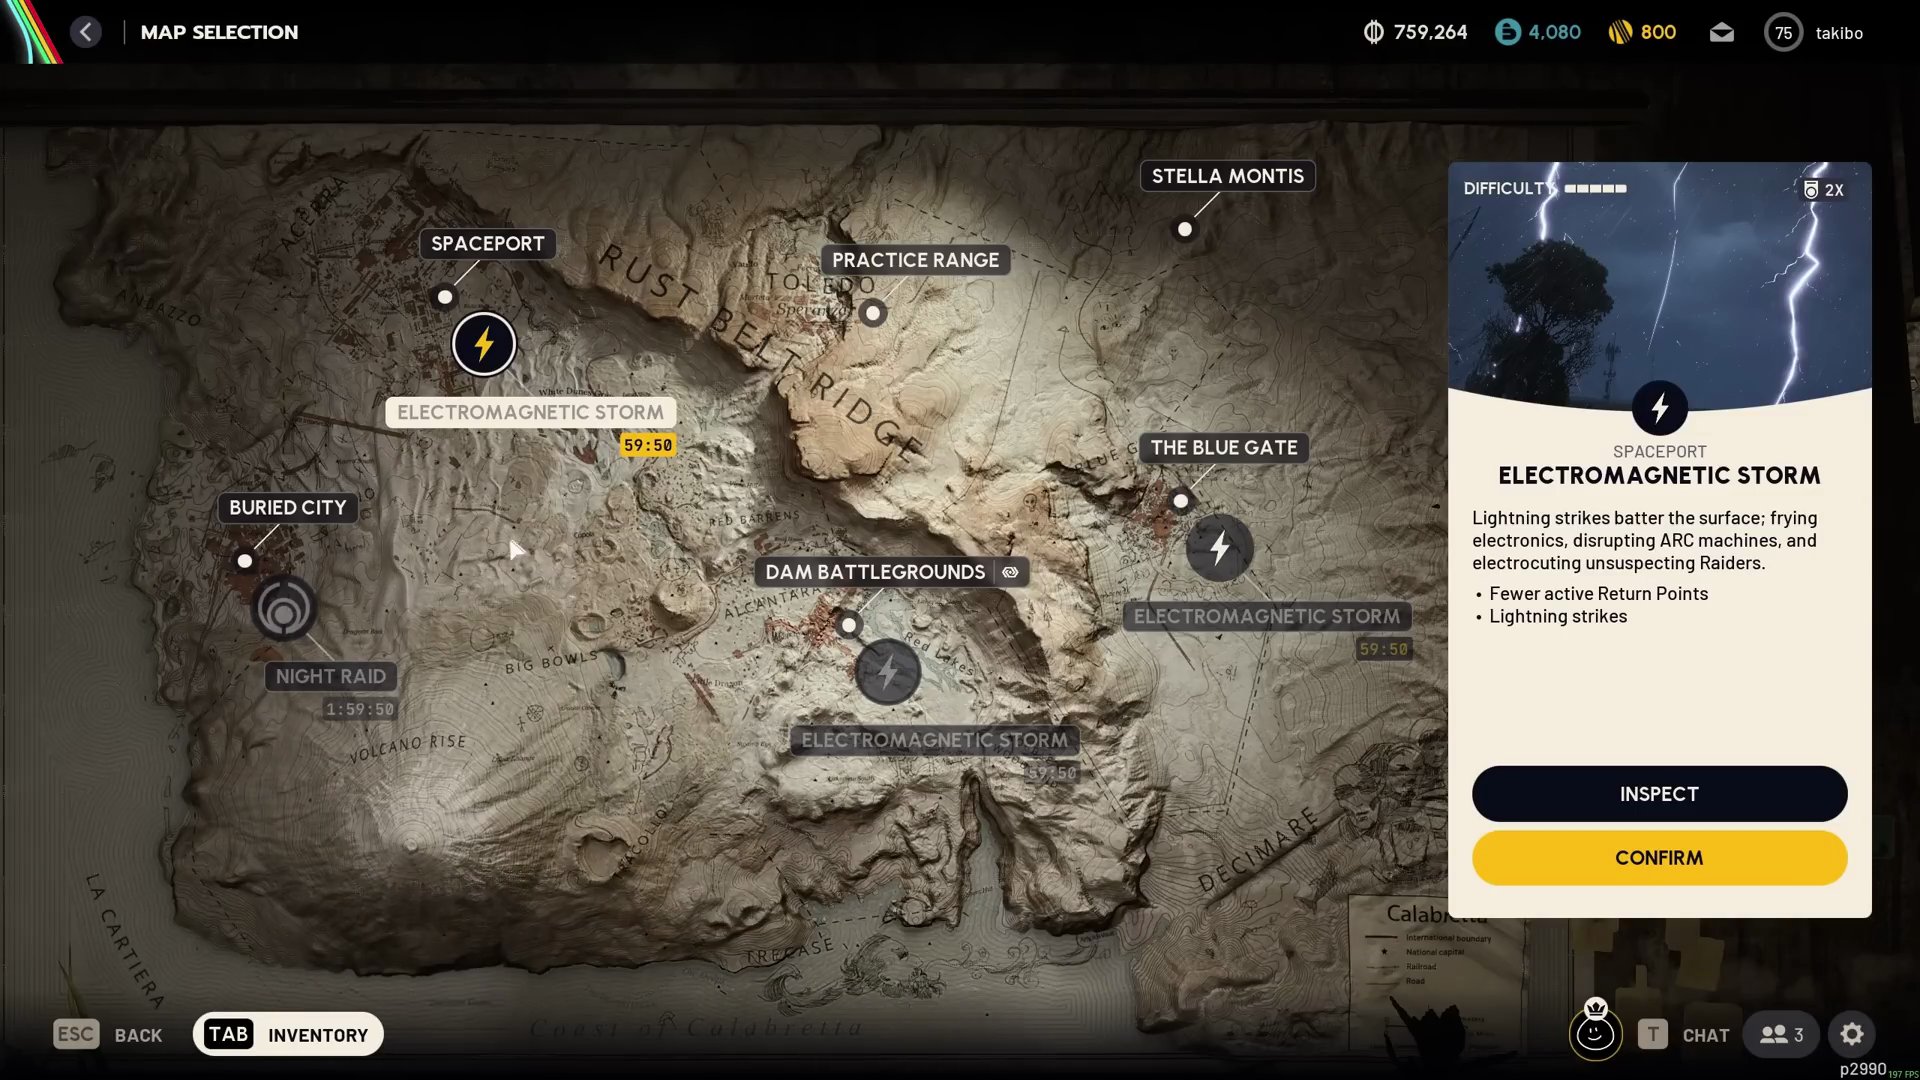 Minor conditions like Harvesters or Matriarchs only grant half points.
- Optimal Playstyle: For achieving three stars, playing solo is often easier due to fewer player interactions. However, for maximum leaderboard points, playing in a group of three is recommended. [SCREENSHOT:01:15]
- Hidden Bunker Map: While less reliant this week, the Hidden Bunker condition still offers the best environment for several trials.
Step 1: Damage Hornets
- Points: 365 points per thruster kill, 760 points per main body kill. High farm potential, but not ideal for free loadouts.
- Recommended Farm Location: Spaceport, specifically the Trench Towers (South or North).
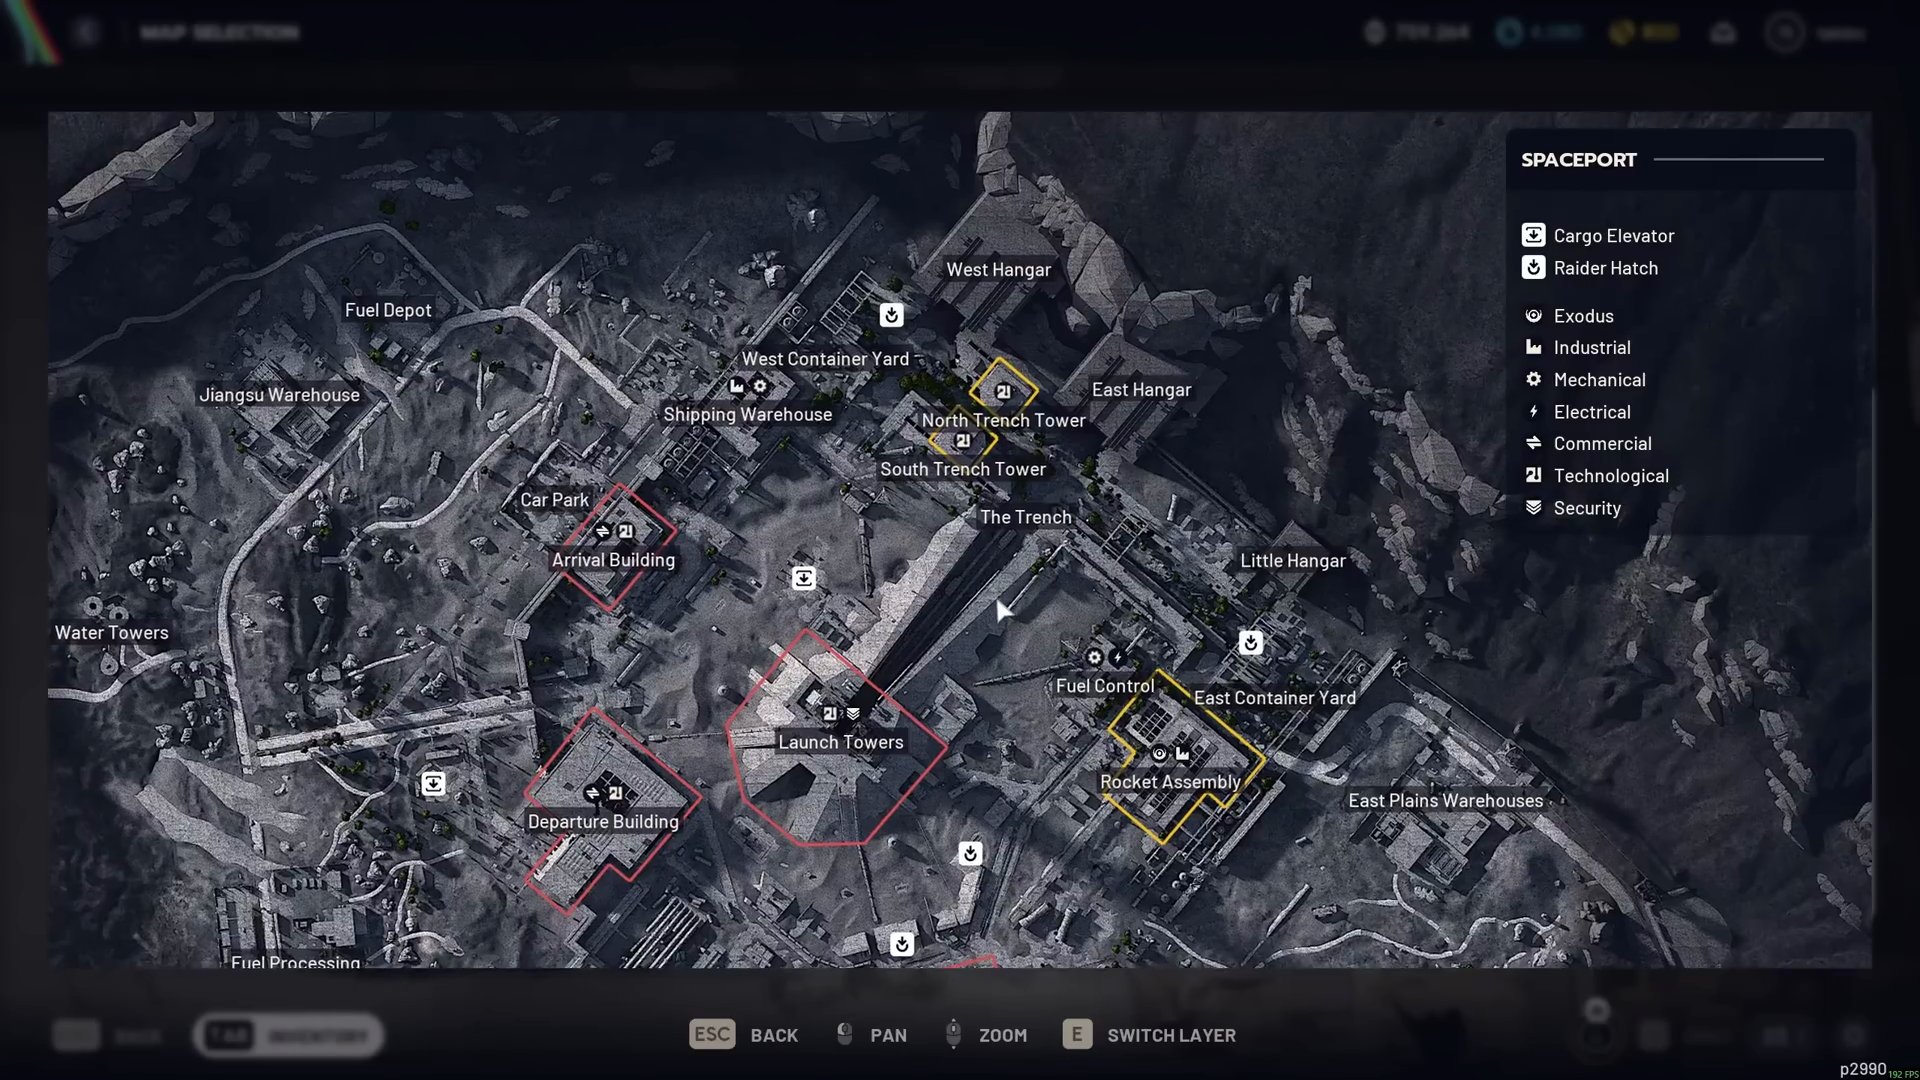
- Strategy:
- Drop into a Hidden Bunker map condition.
- Use Adrenaline Shots to quickly reach one of the Trench Towers.

- Zipline onto the tower.
- Deploy Barricades and Traps around your position.
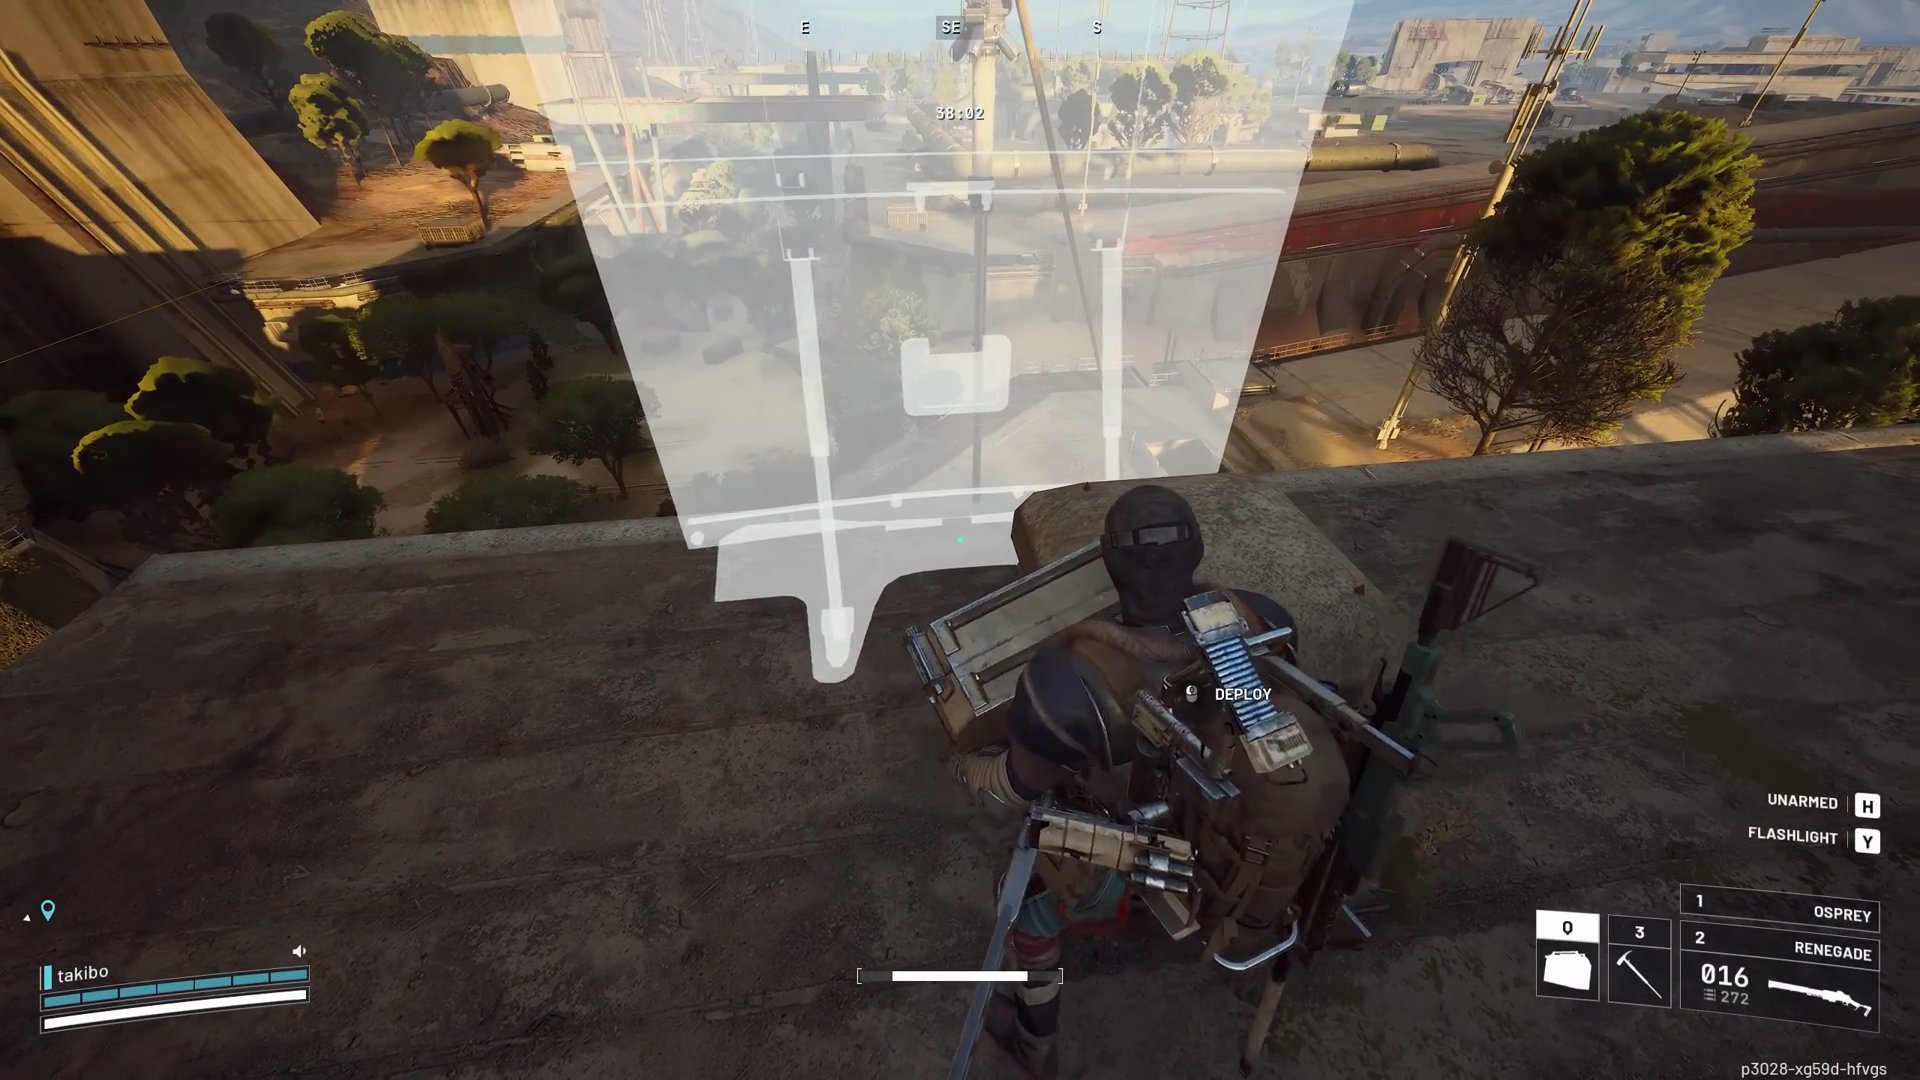
- Ensure weapons are well-repaired and bring plenty of ammo.
- This high ground position offers excellent safety from other players and consistent Hornet spawns.
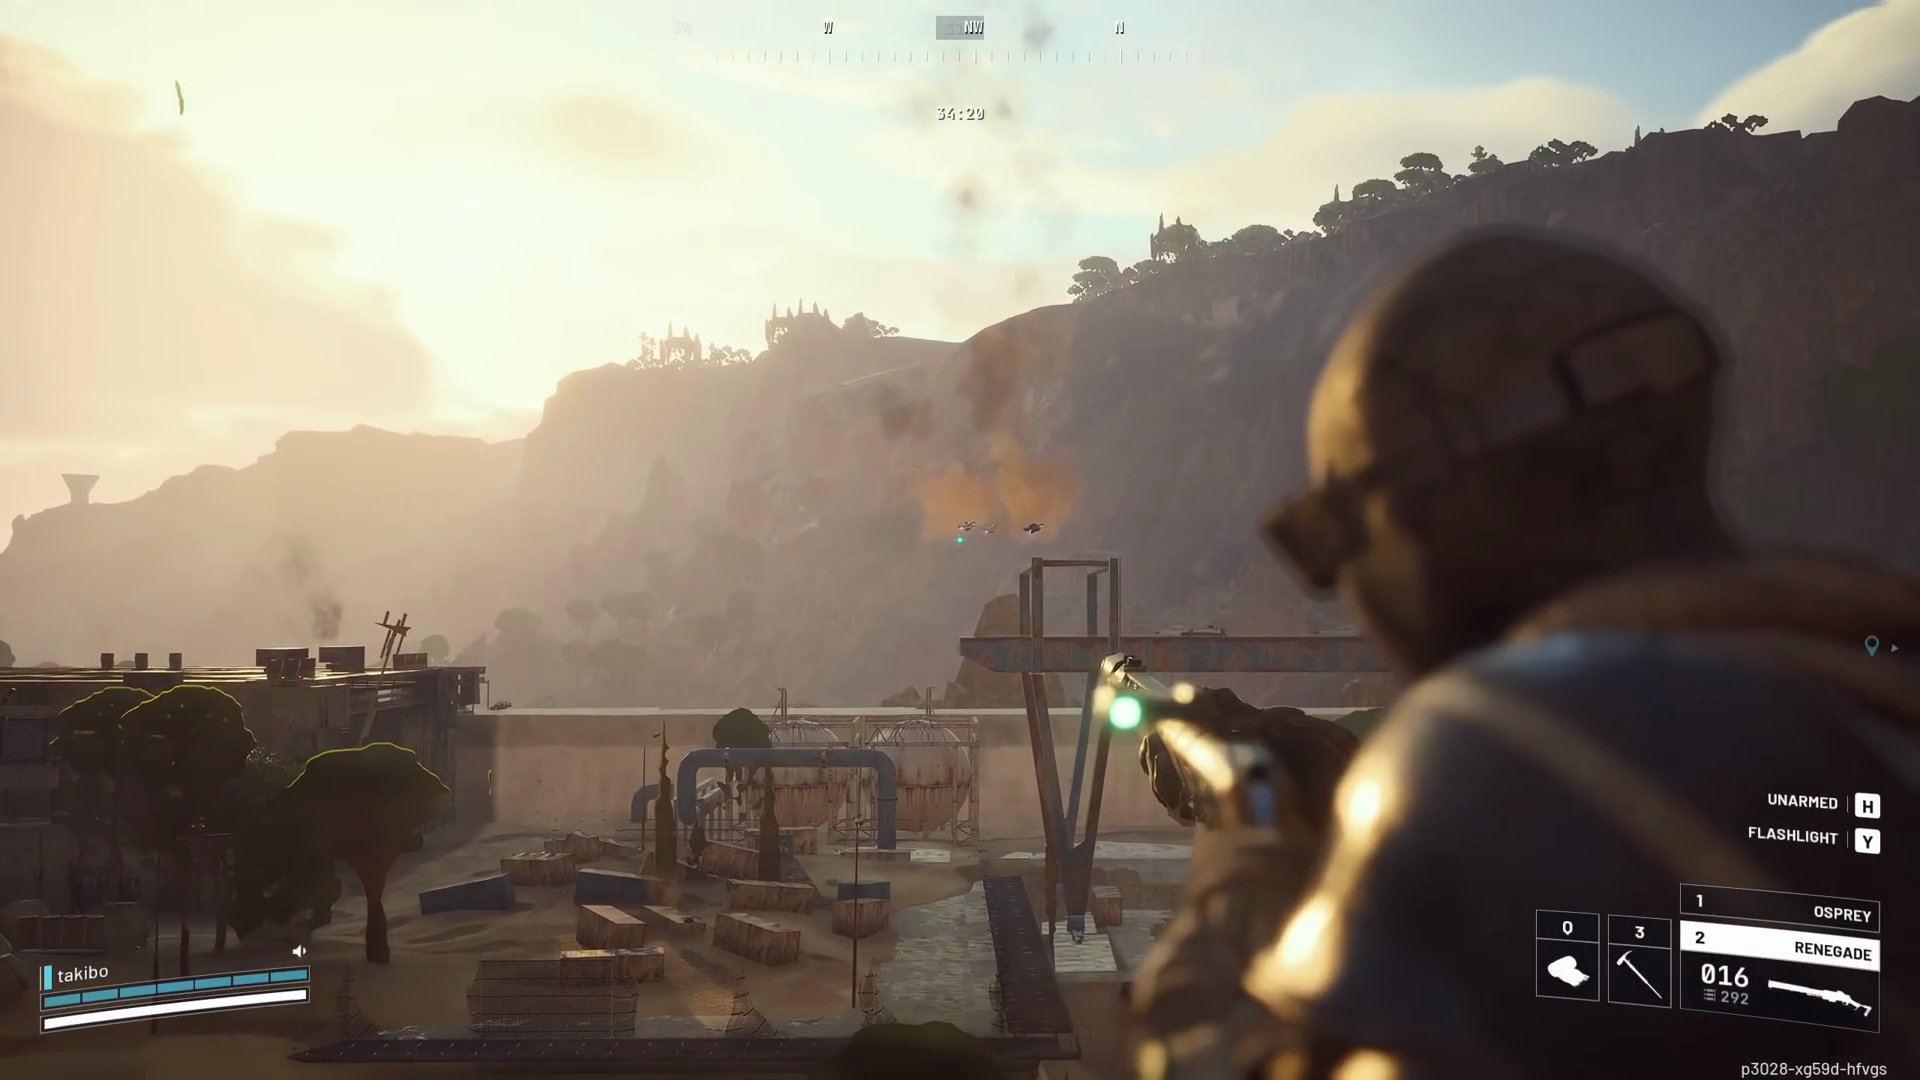
- Respawn Optimization: Kill all wasps and hornets in a patrol to encourage faster respawns of new patrols. If only hornets are killed, wasps remaining might delay new spawns.
- Maximize Points: Aim for the main body of the Hornet (760 points) instead of just the thrusters (365 points) for higher scores.
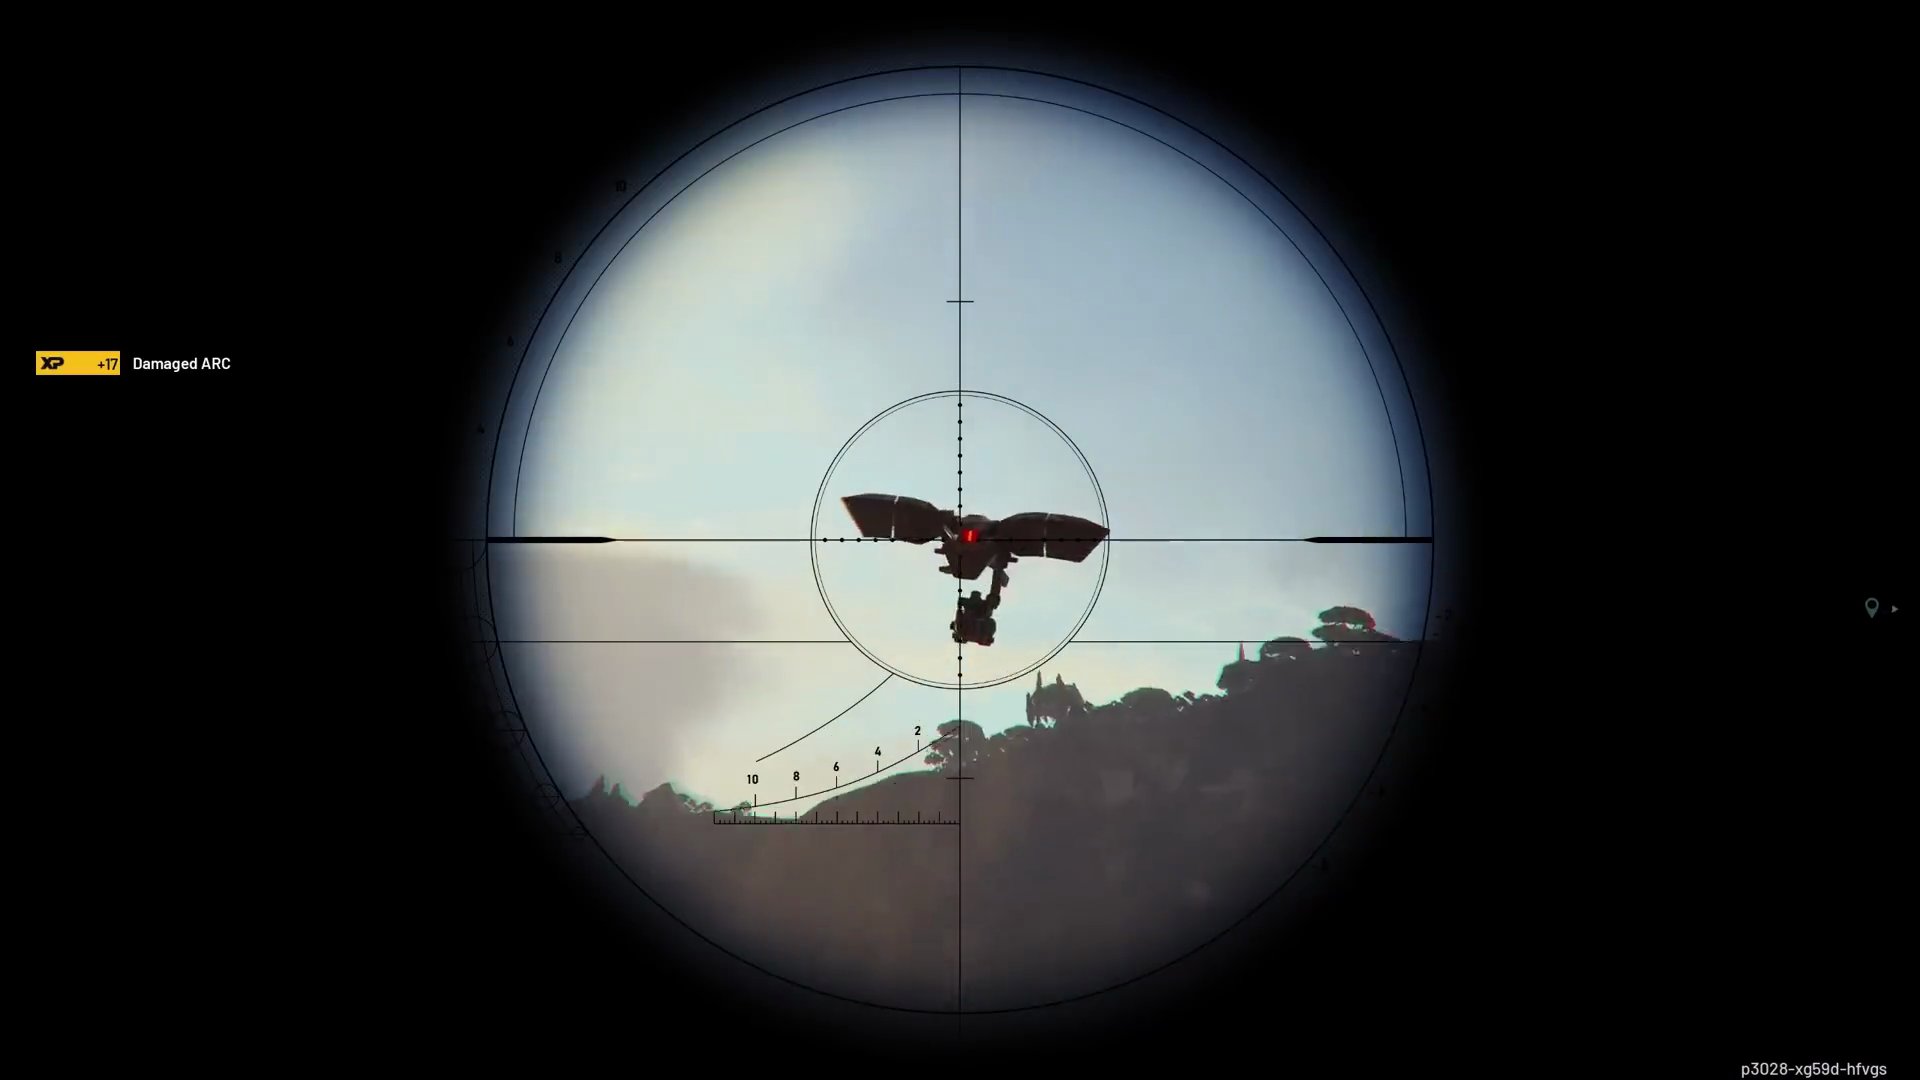
- By following this method, players can realistically achieve upwards of 48,000 points in this trial.
Step 2: Deliver Carriables
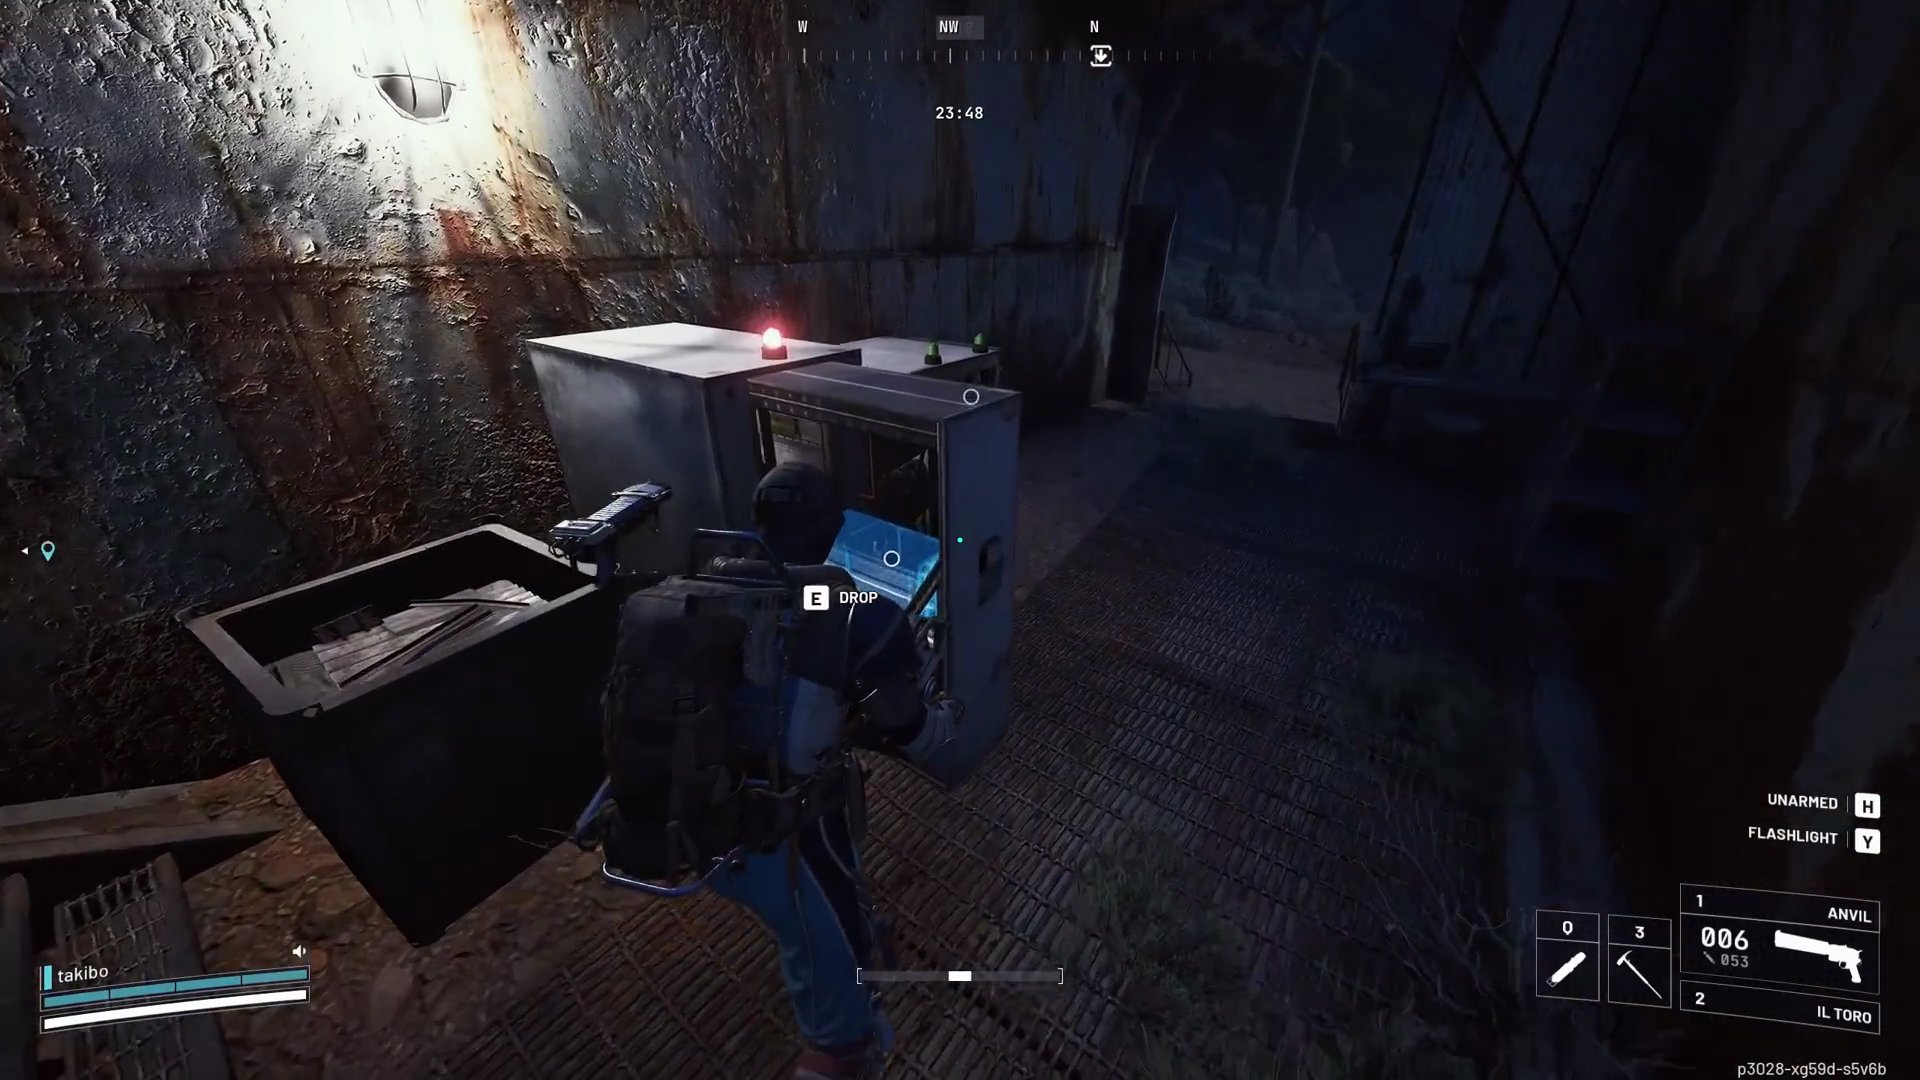
- Points: 1000 points per carriable delivered. Bad farm potential, but great for free loadouts.
- Recommended Maps: Spaceport or Dam Battlegrounds for the highest potential Field Crate spawns.
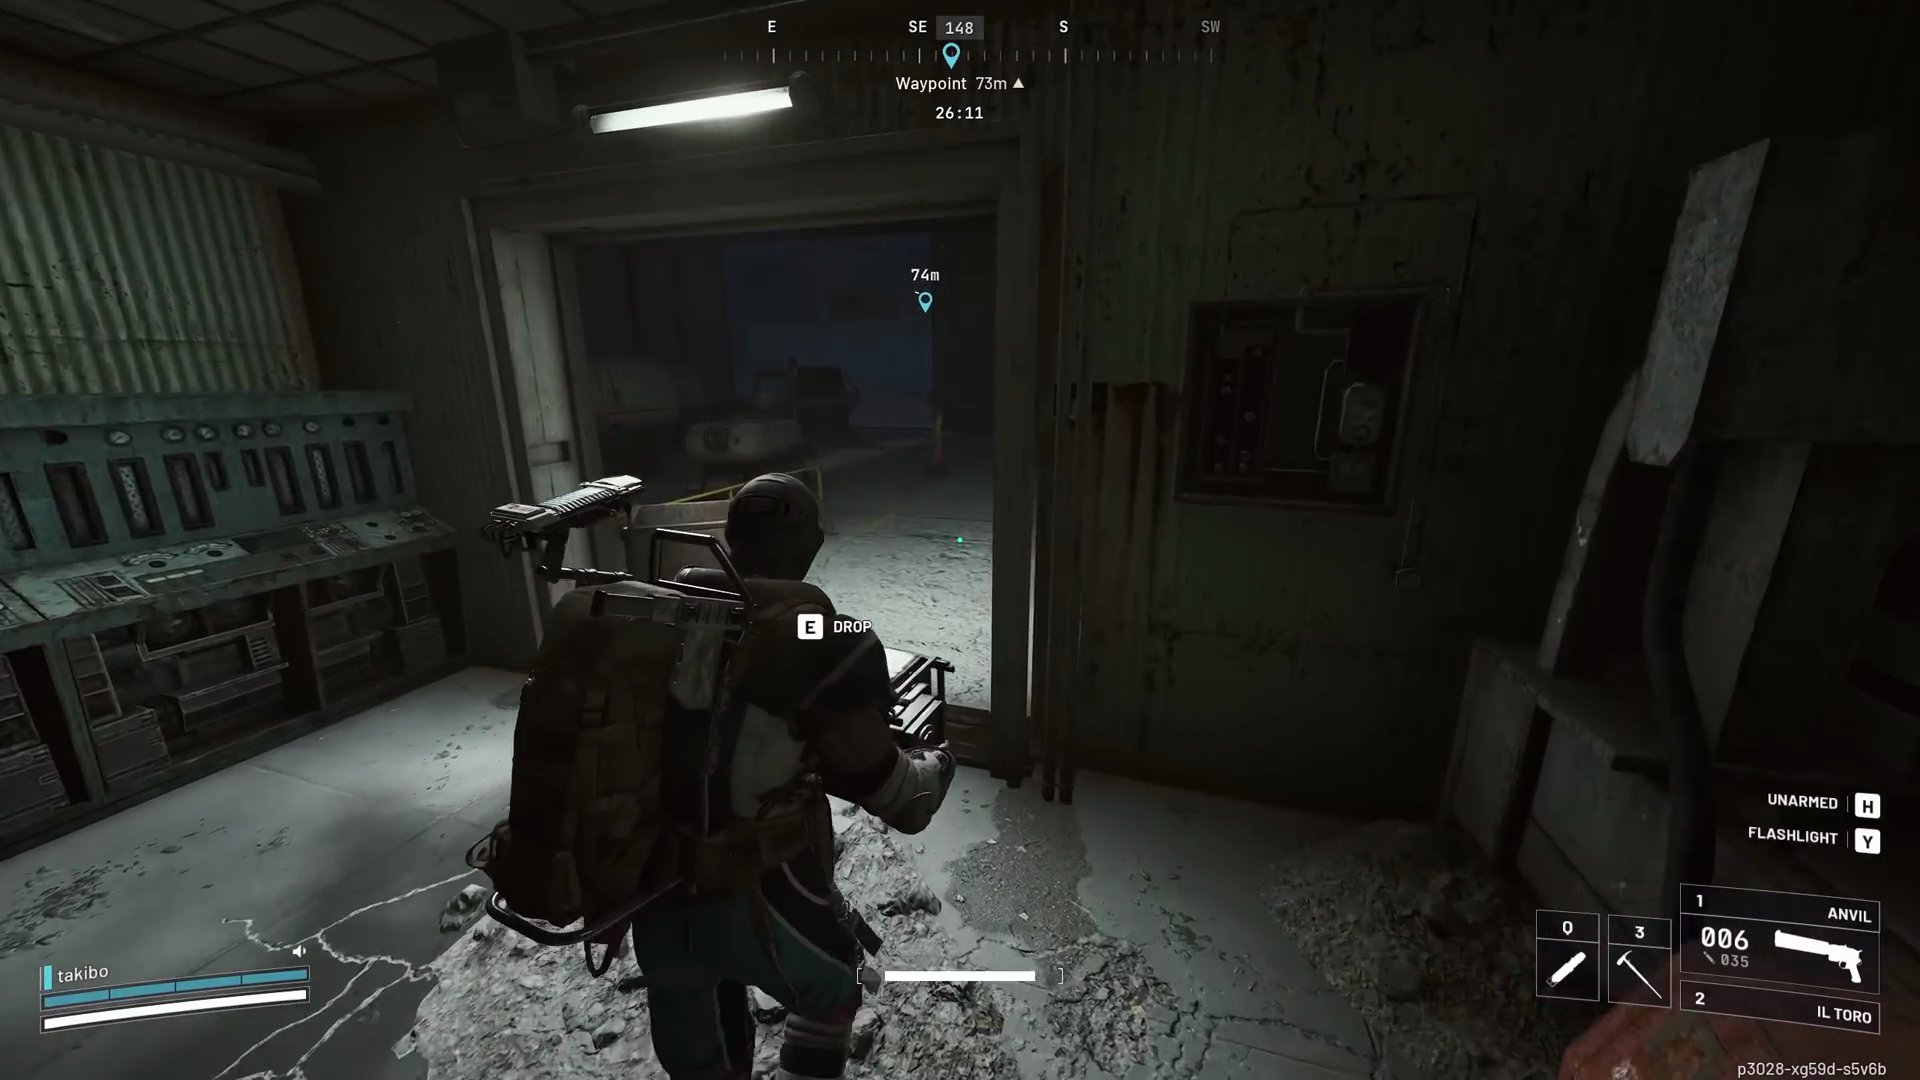
- Strategy:
- Utilize an online interactive map to track potential Field Crate spawns.
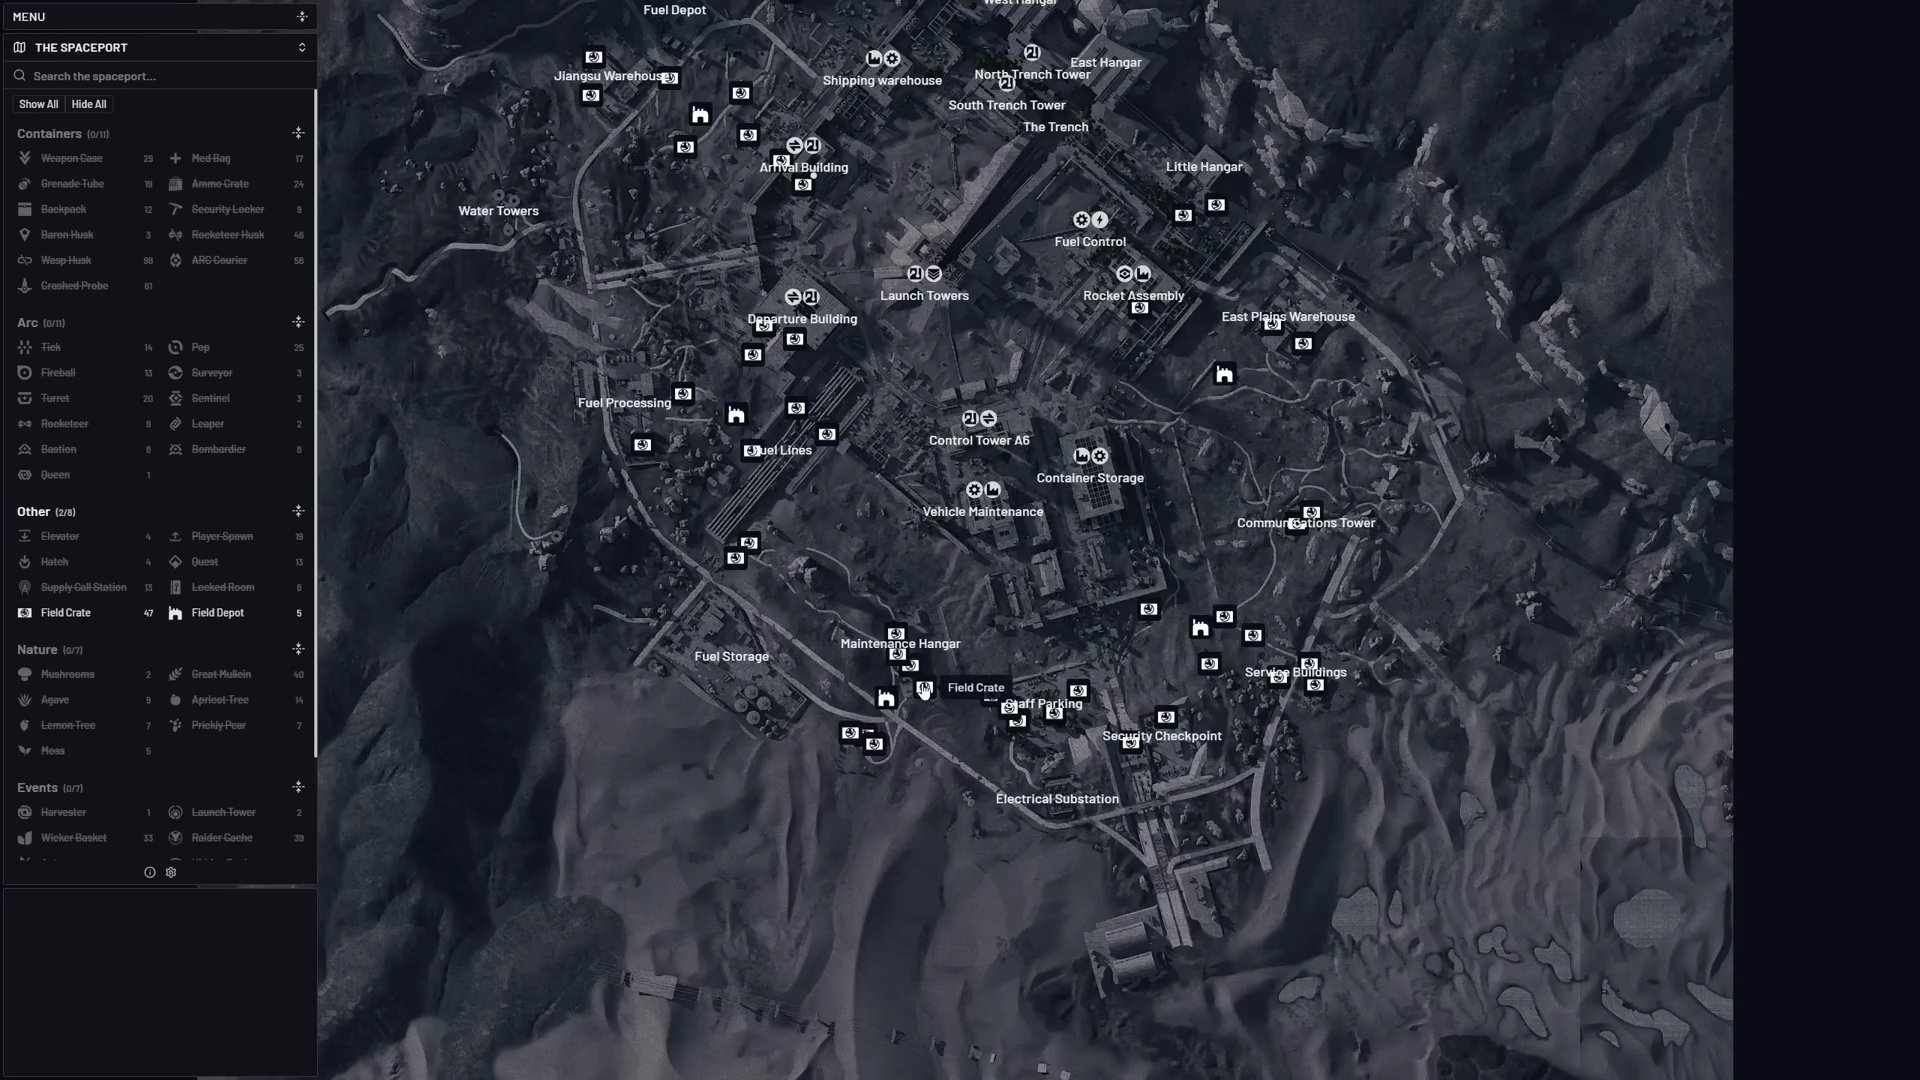
- Expect around 10 Field Crates per game at best.
- Be aware of other players also doing this challenge, as they can clear spawns. [SCREENSHOT:05:35]
- For a solo three-star completion, it's manageable, but for leaderboard farming, it requires many attempts and good RNG due to competition.
- Focus on getting the three stars and don't over-invest if other players are active.
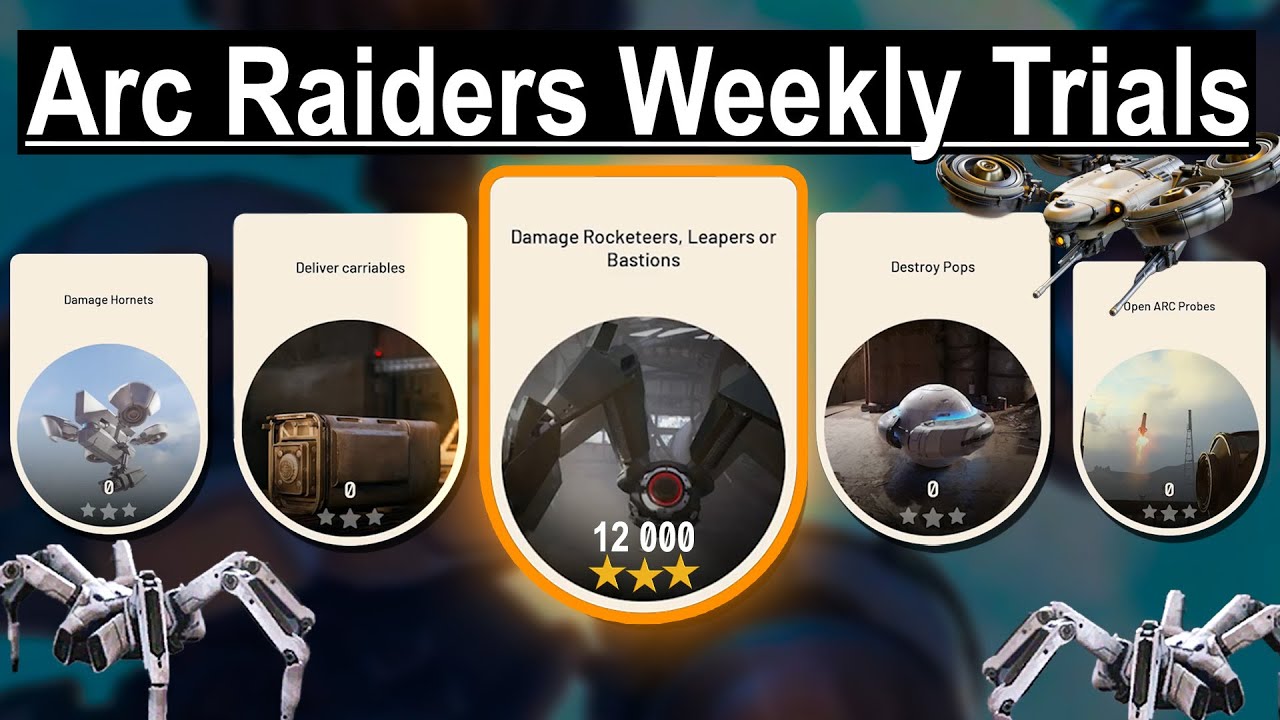
Step 3: Damage Rocketeers, Leapers or Bastions
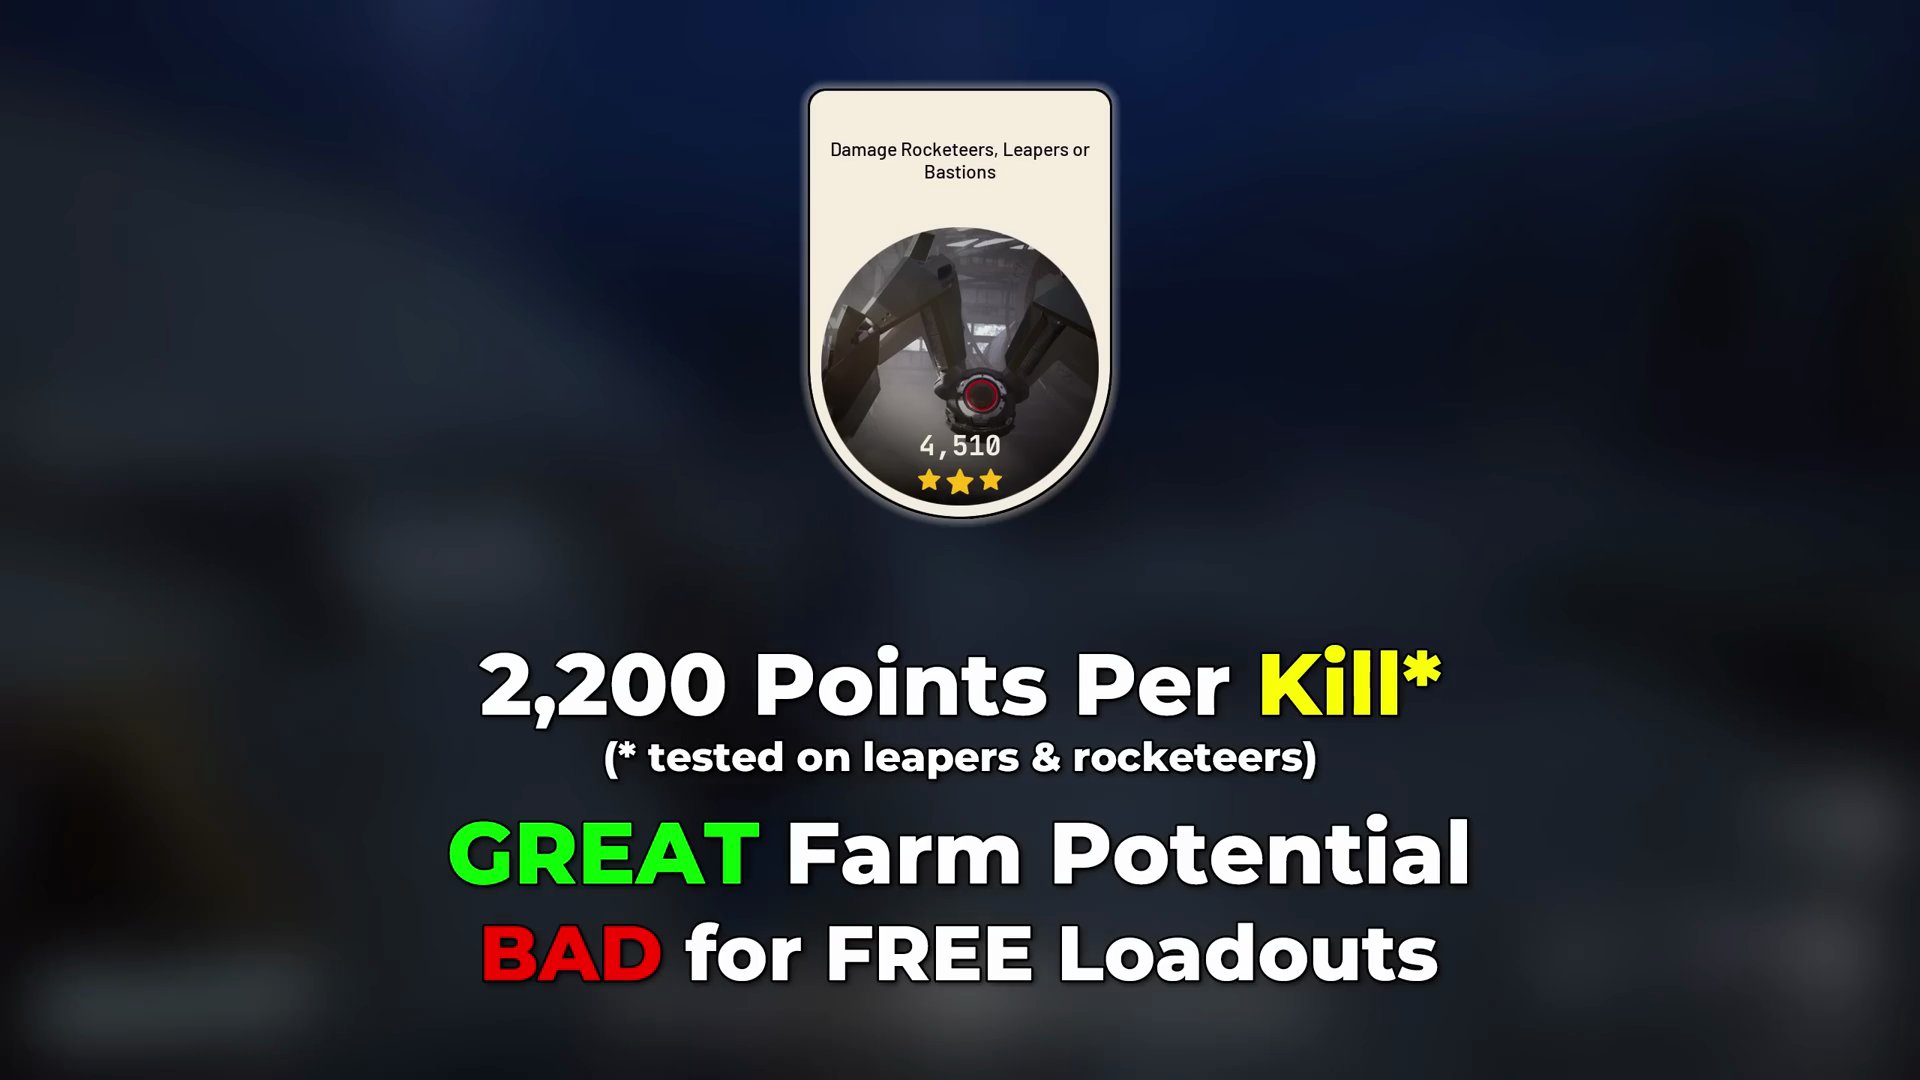
- Points: Approximately 2,200 points per kill (tested on leapers & rocketeers). Great farm potential, but bad for free loadouts.
- Recommended Location: Spaceport, specifically the bottom of the Launch Towers.
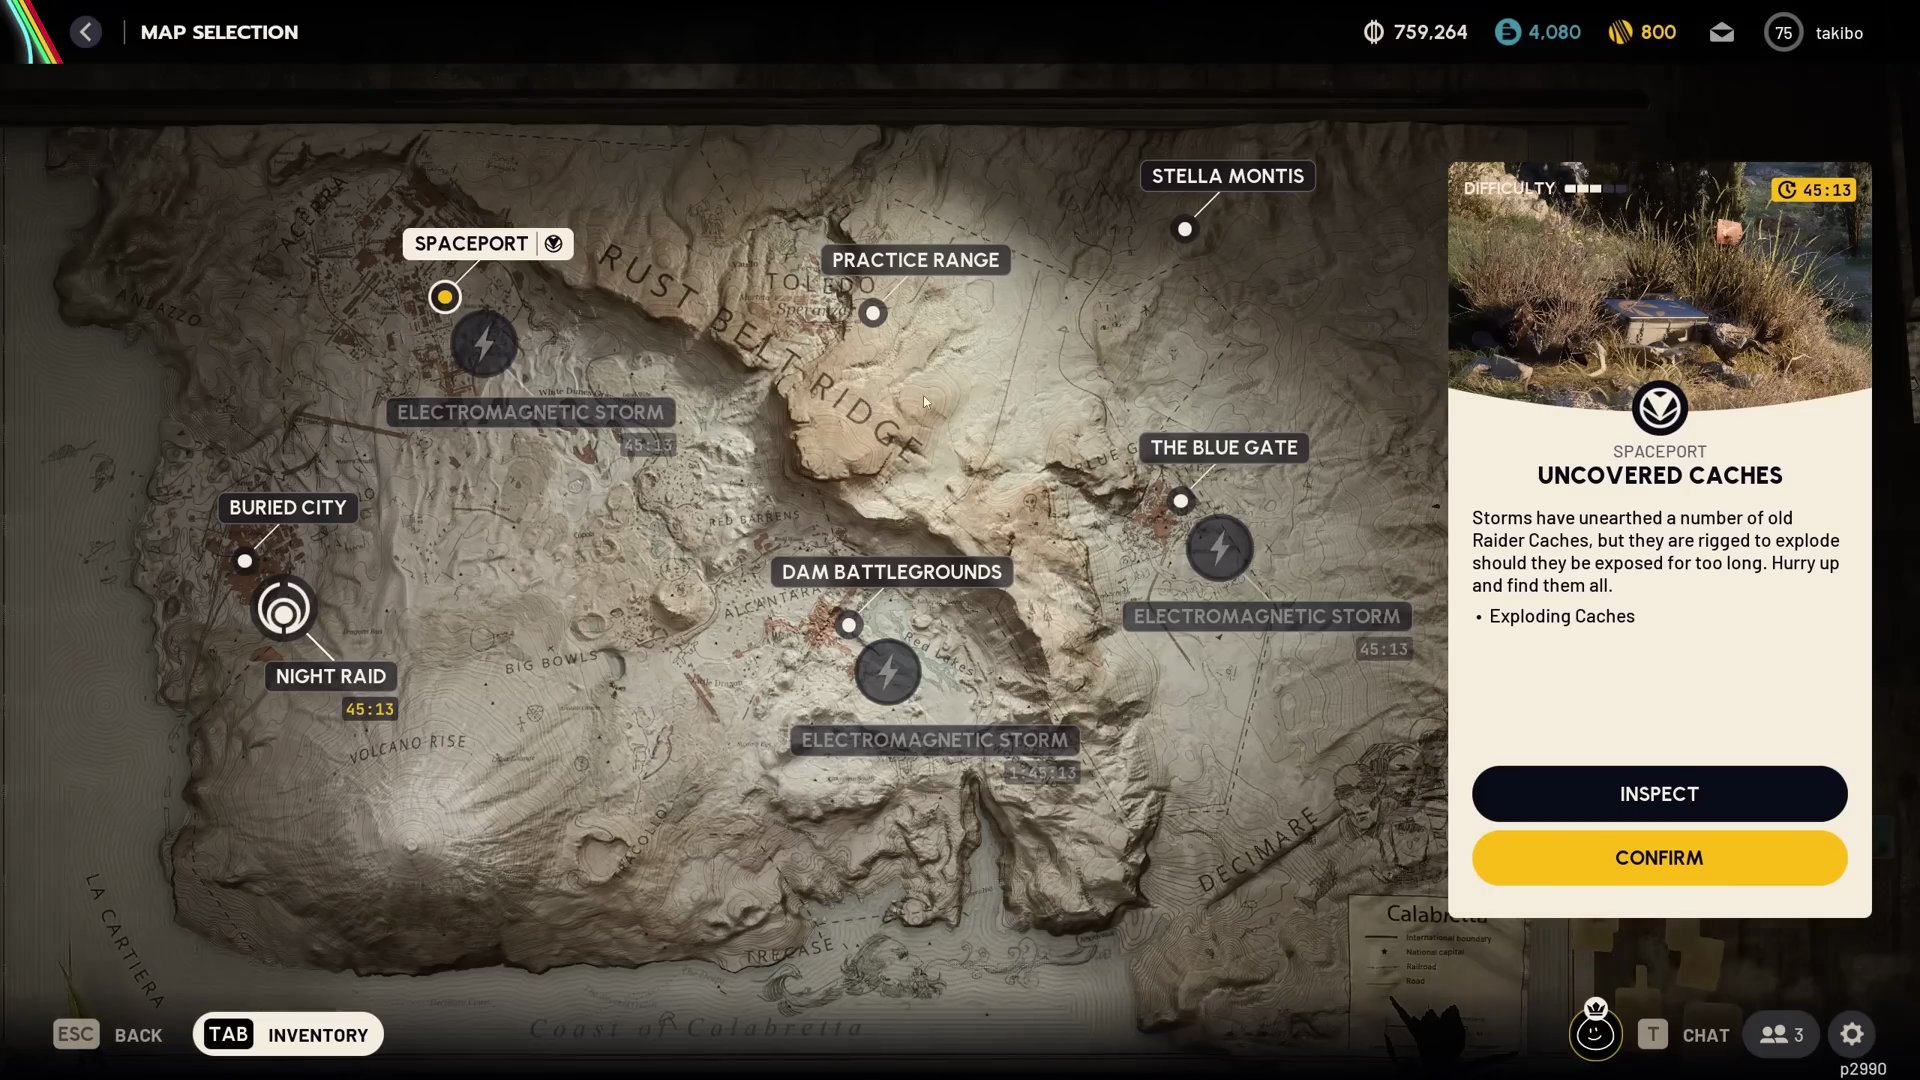
- Strategy:
- This is an aggressive position, so be prepared for PvP encounters.
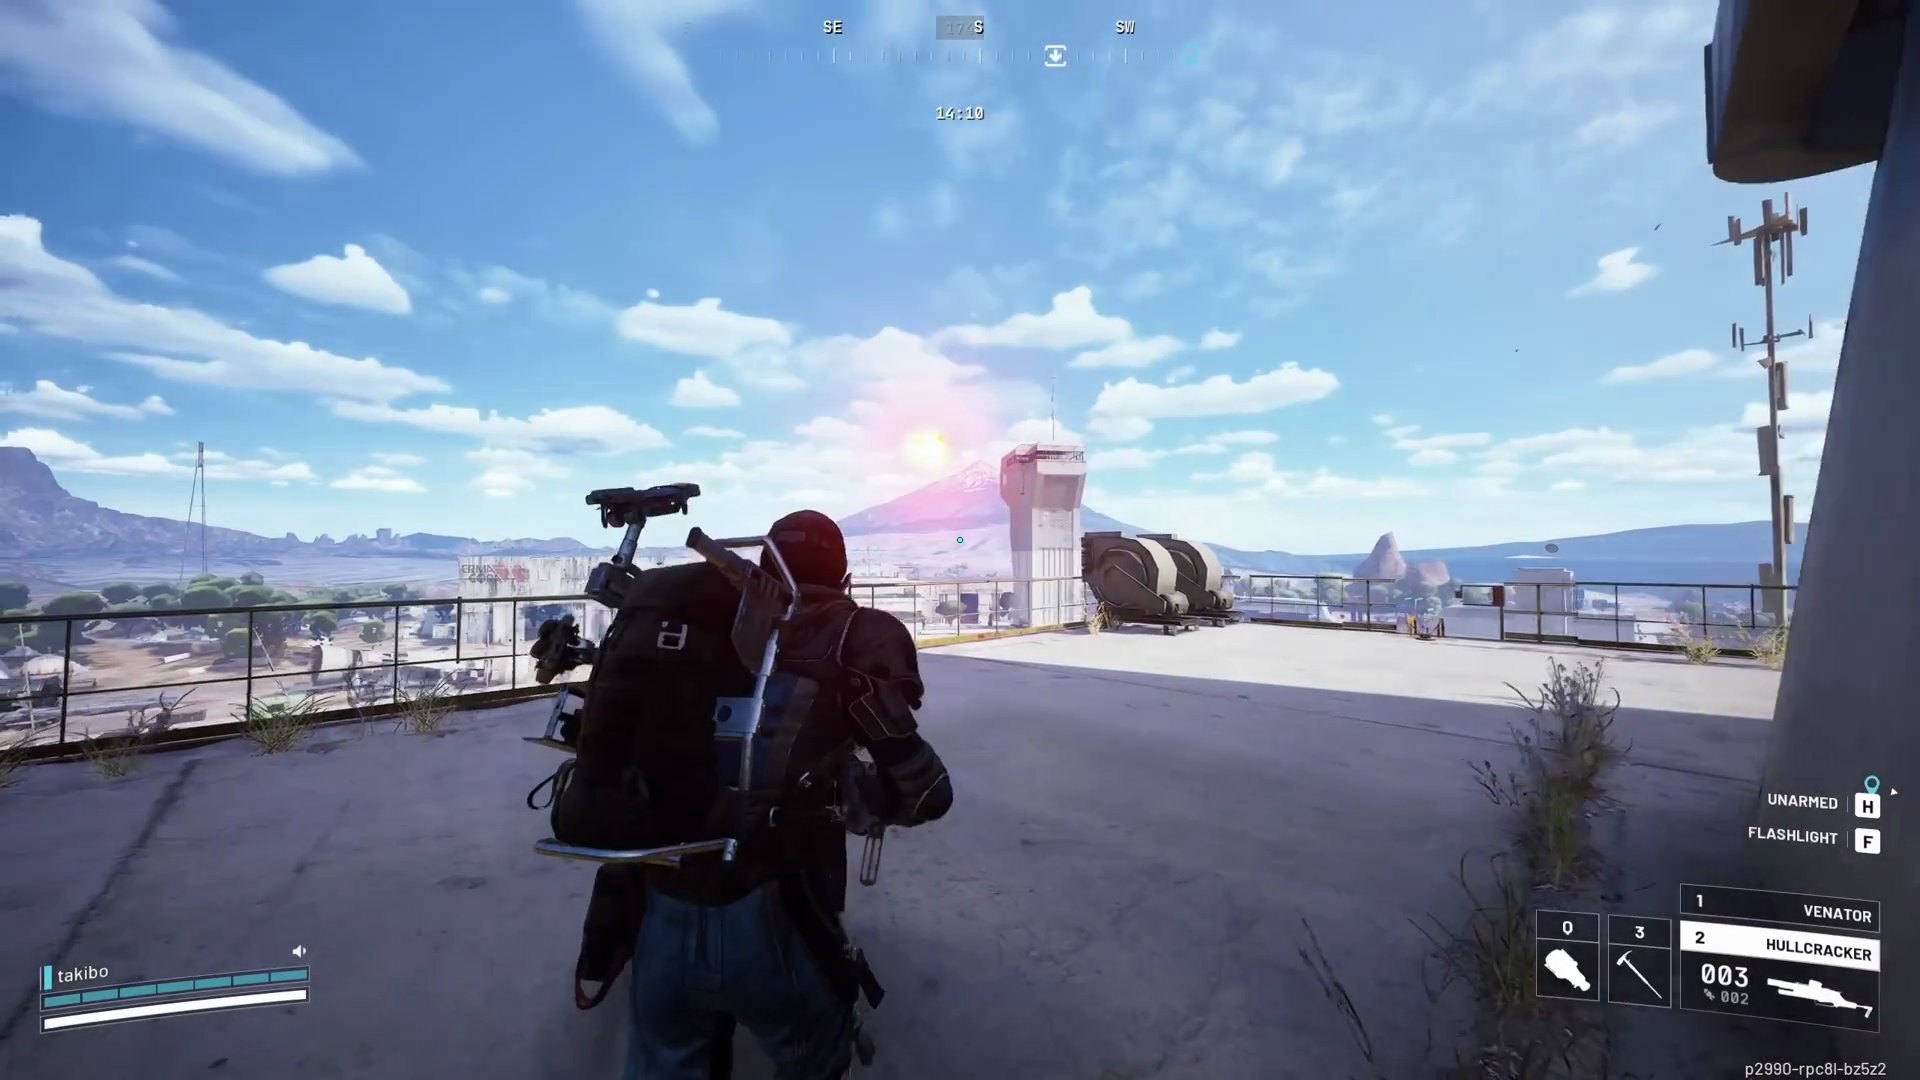
- From the Launch Tower, you can spot 2-3 Leaper spawns, 3 Rocketeer spawns, and even a Bastion spawn.
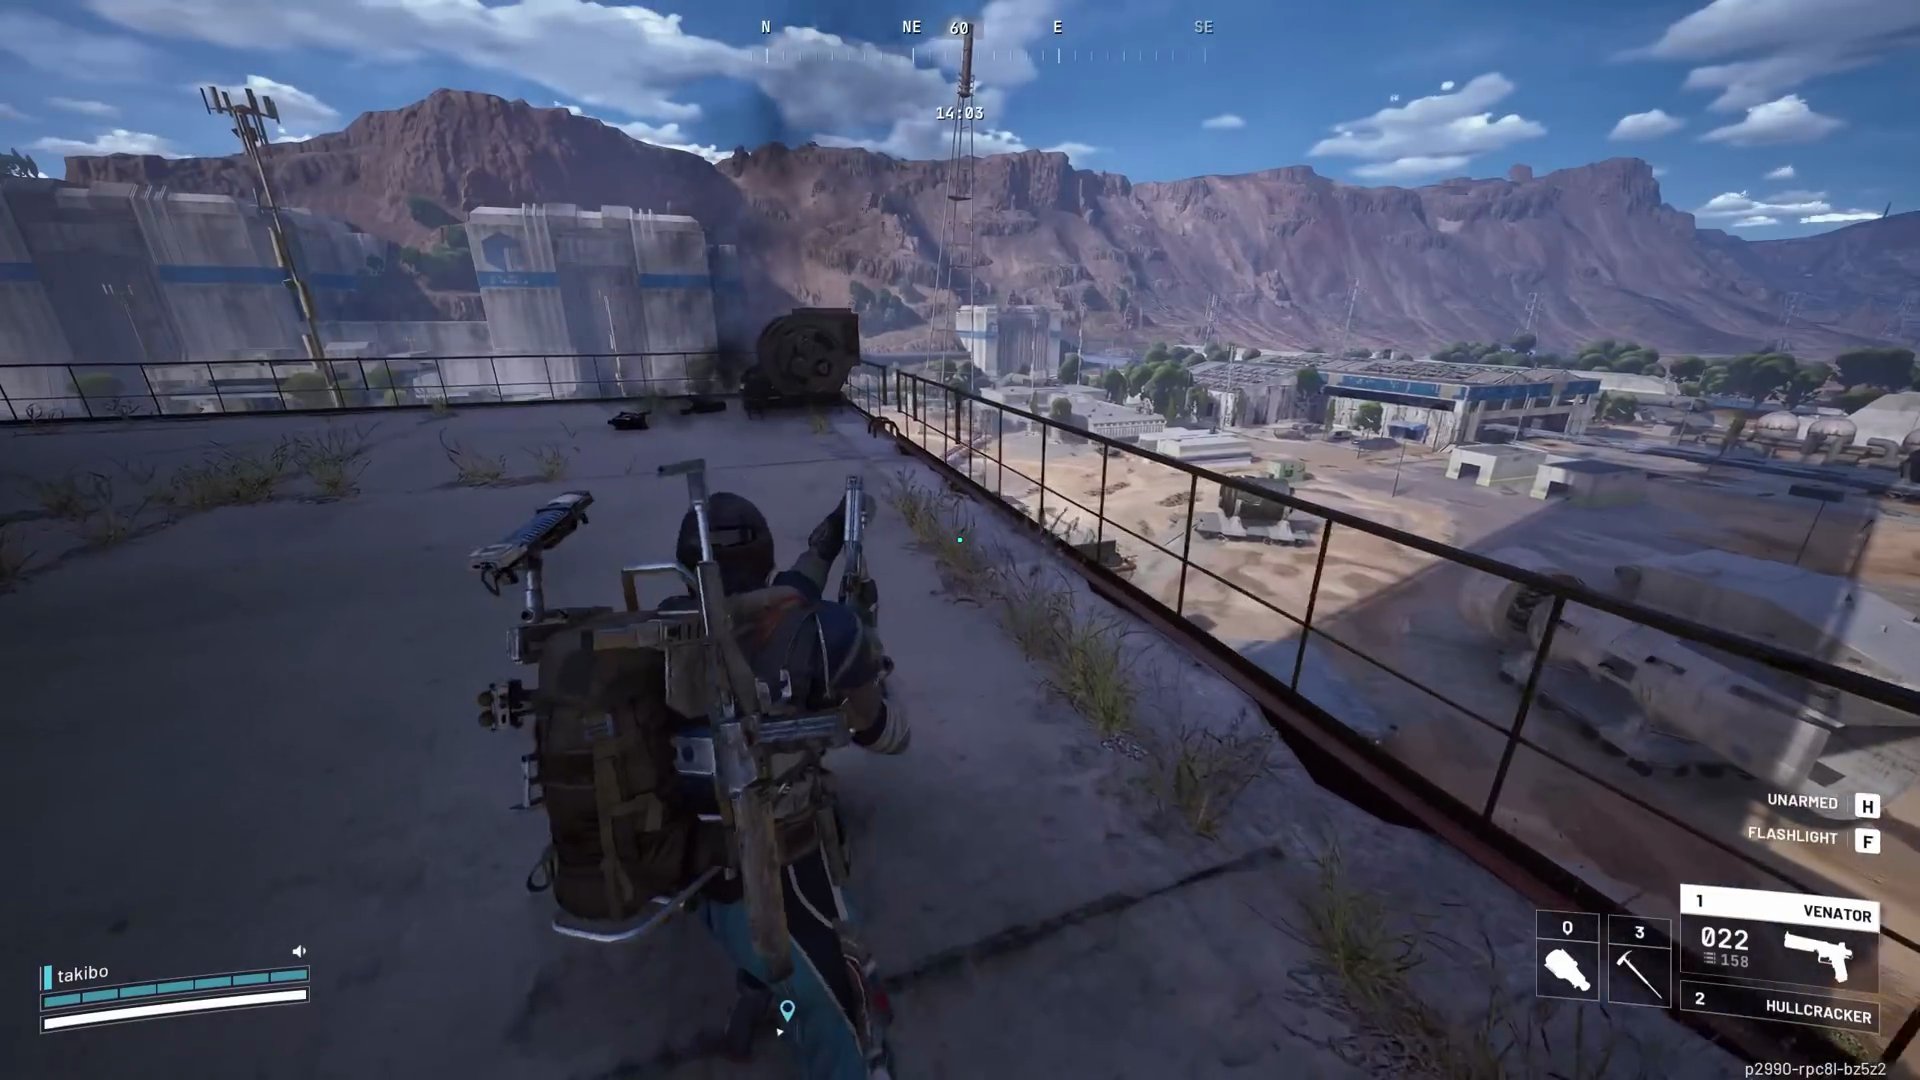
- Hidden Bunker Alternative: The Hidden Bunker map also works for extra time, but beware of Bombardiers in the same areas as Bastions, which can be problematic.
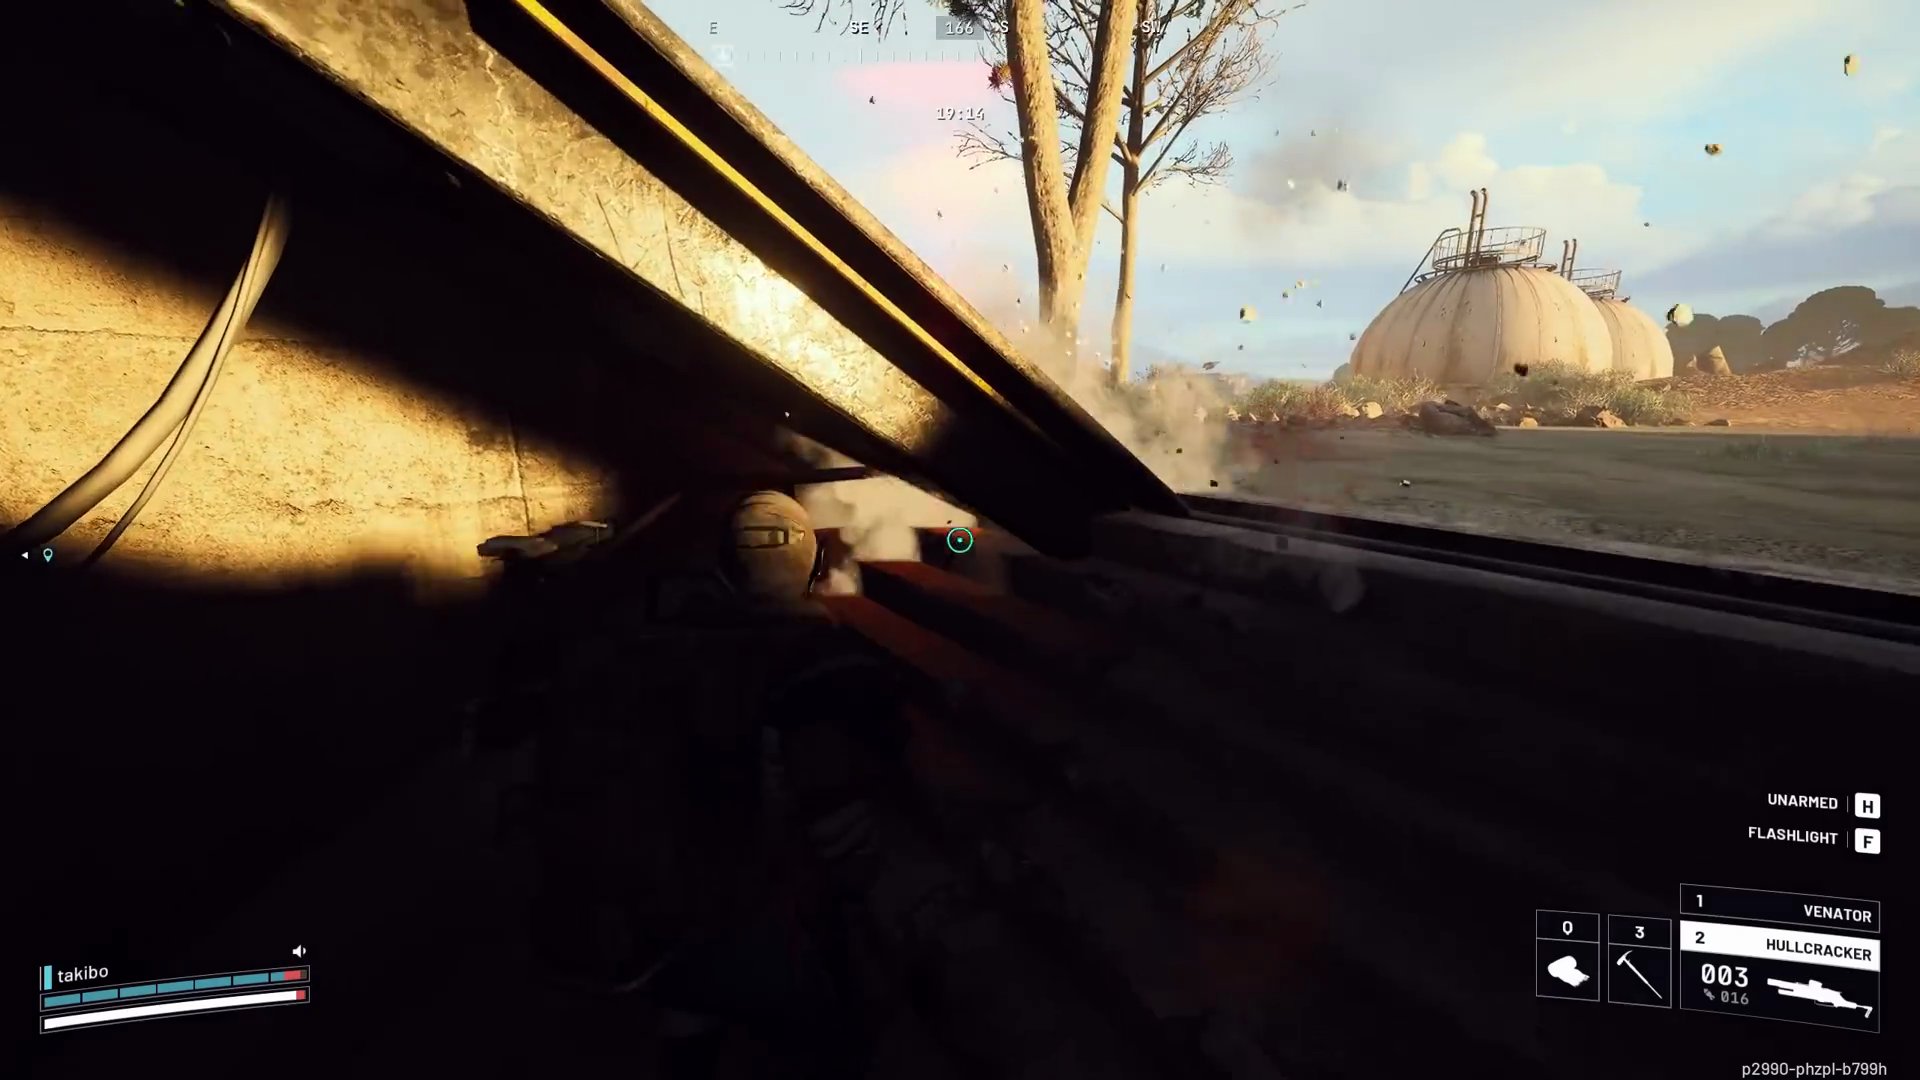
Step 4: Destroy Pops
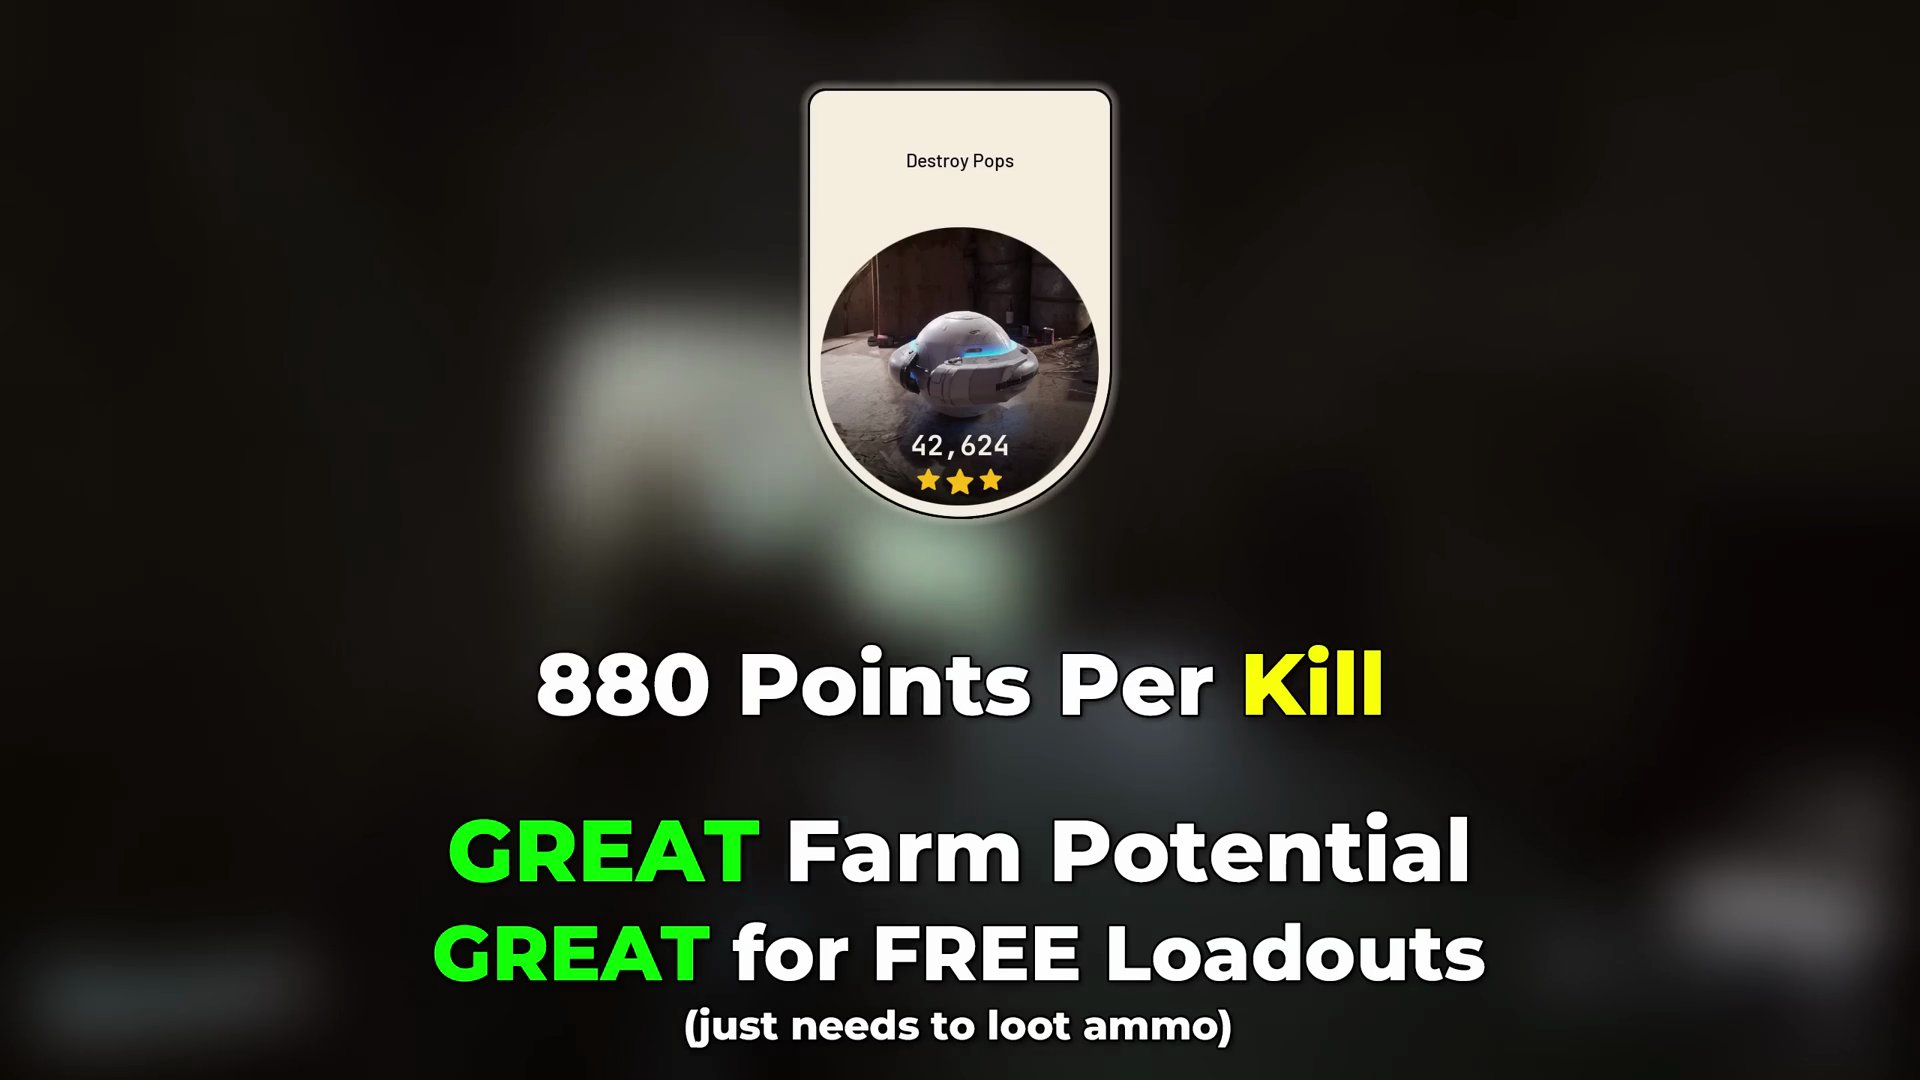
- Points: 880 points per kill. Great farm potential, great for free loadouts (just needs loot ammo).
- Recommended Location: Stella Montis, particularly during a Night Raid map condition.
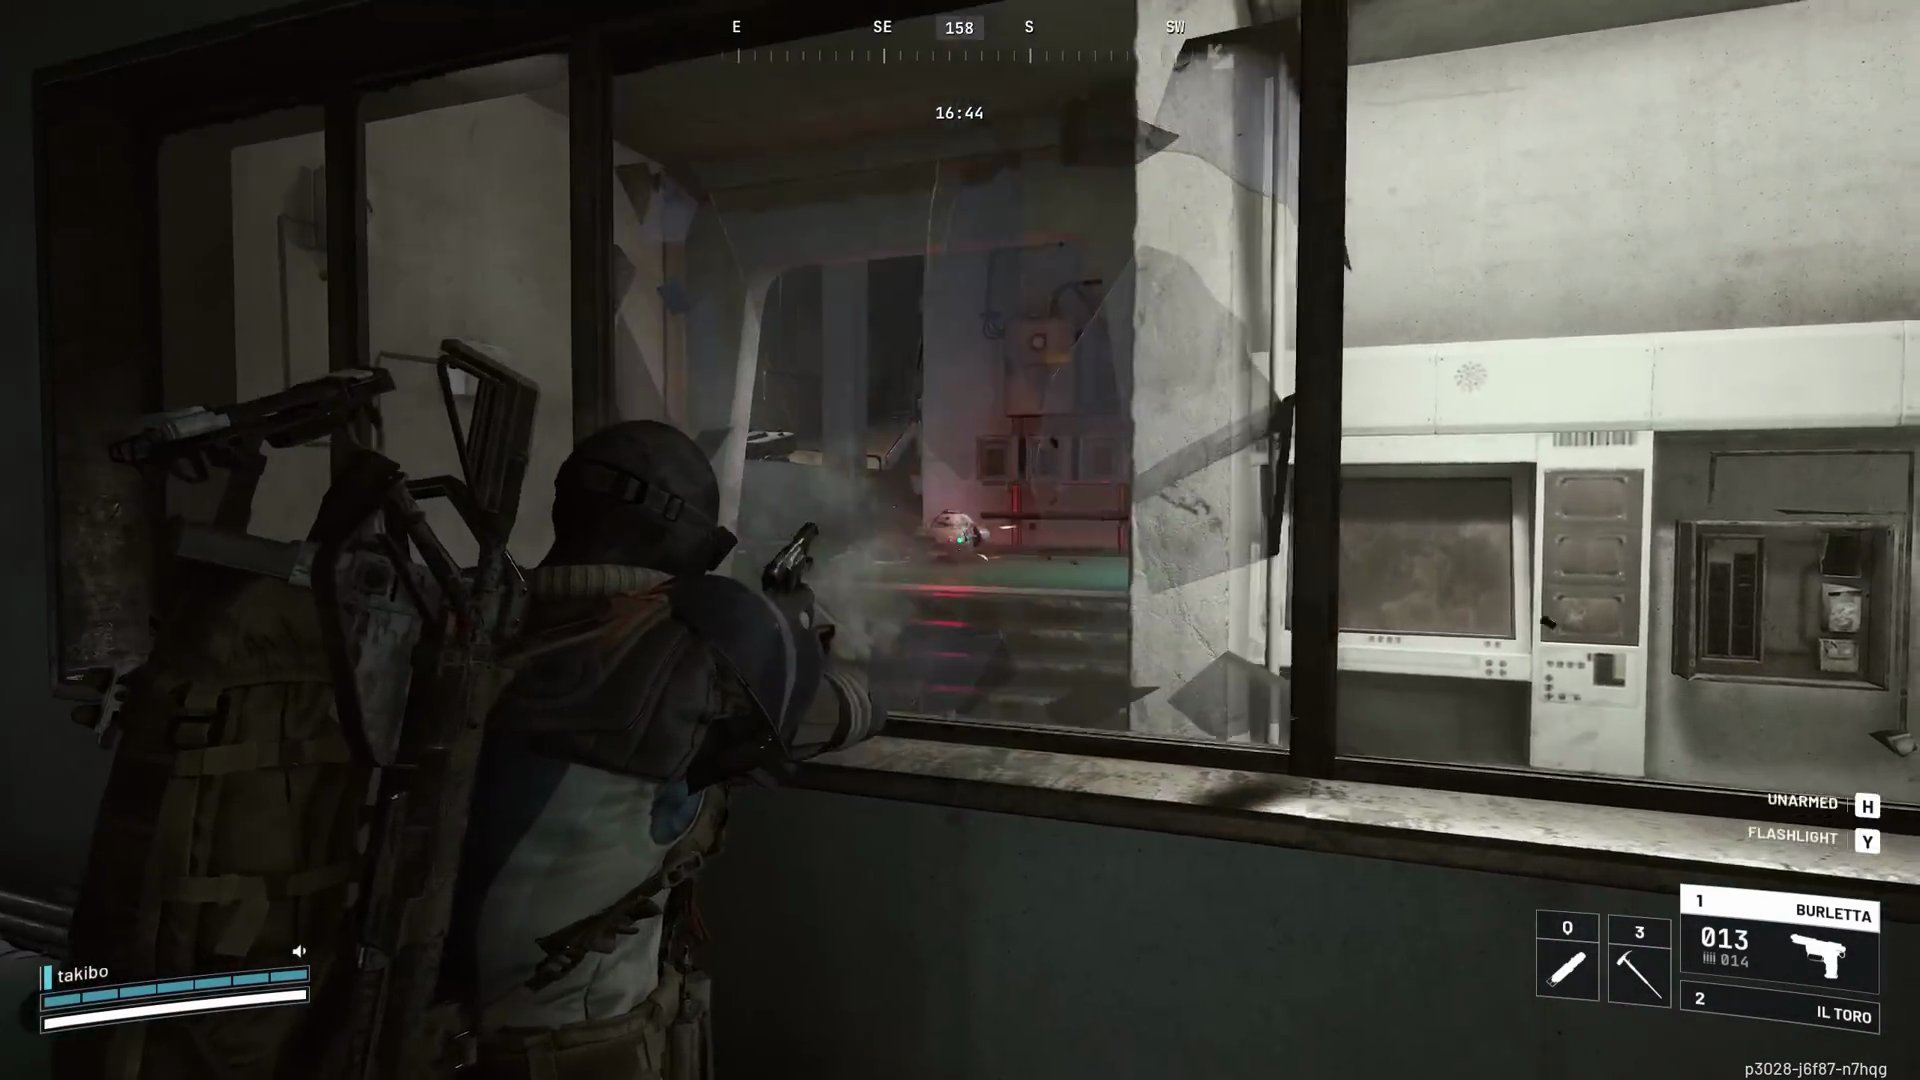
- Strategy:
- Queue for Stella Montis - Night Raid when it's nearing its final minutes or seconds. This can lead to a game that won't respawn new players, creating a quieter lobby for solo farming.
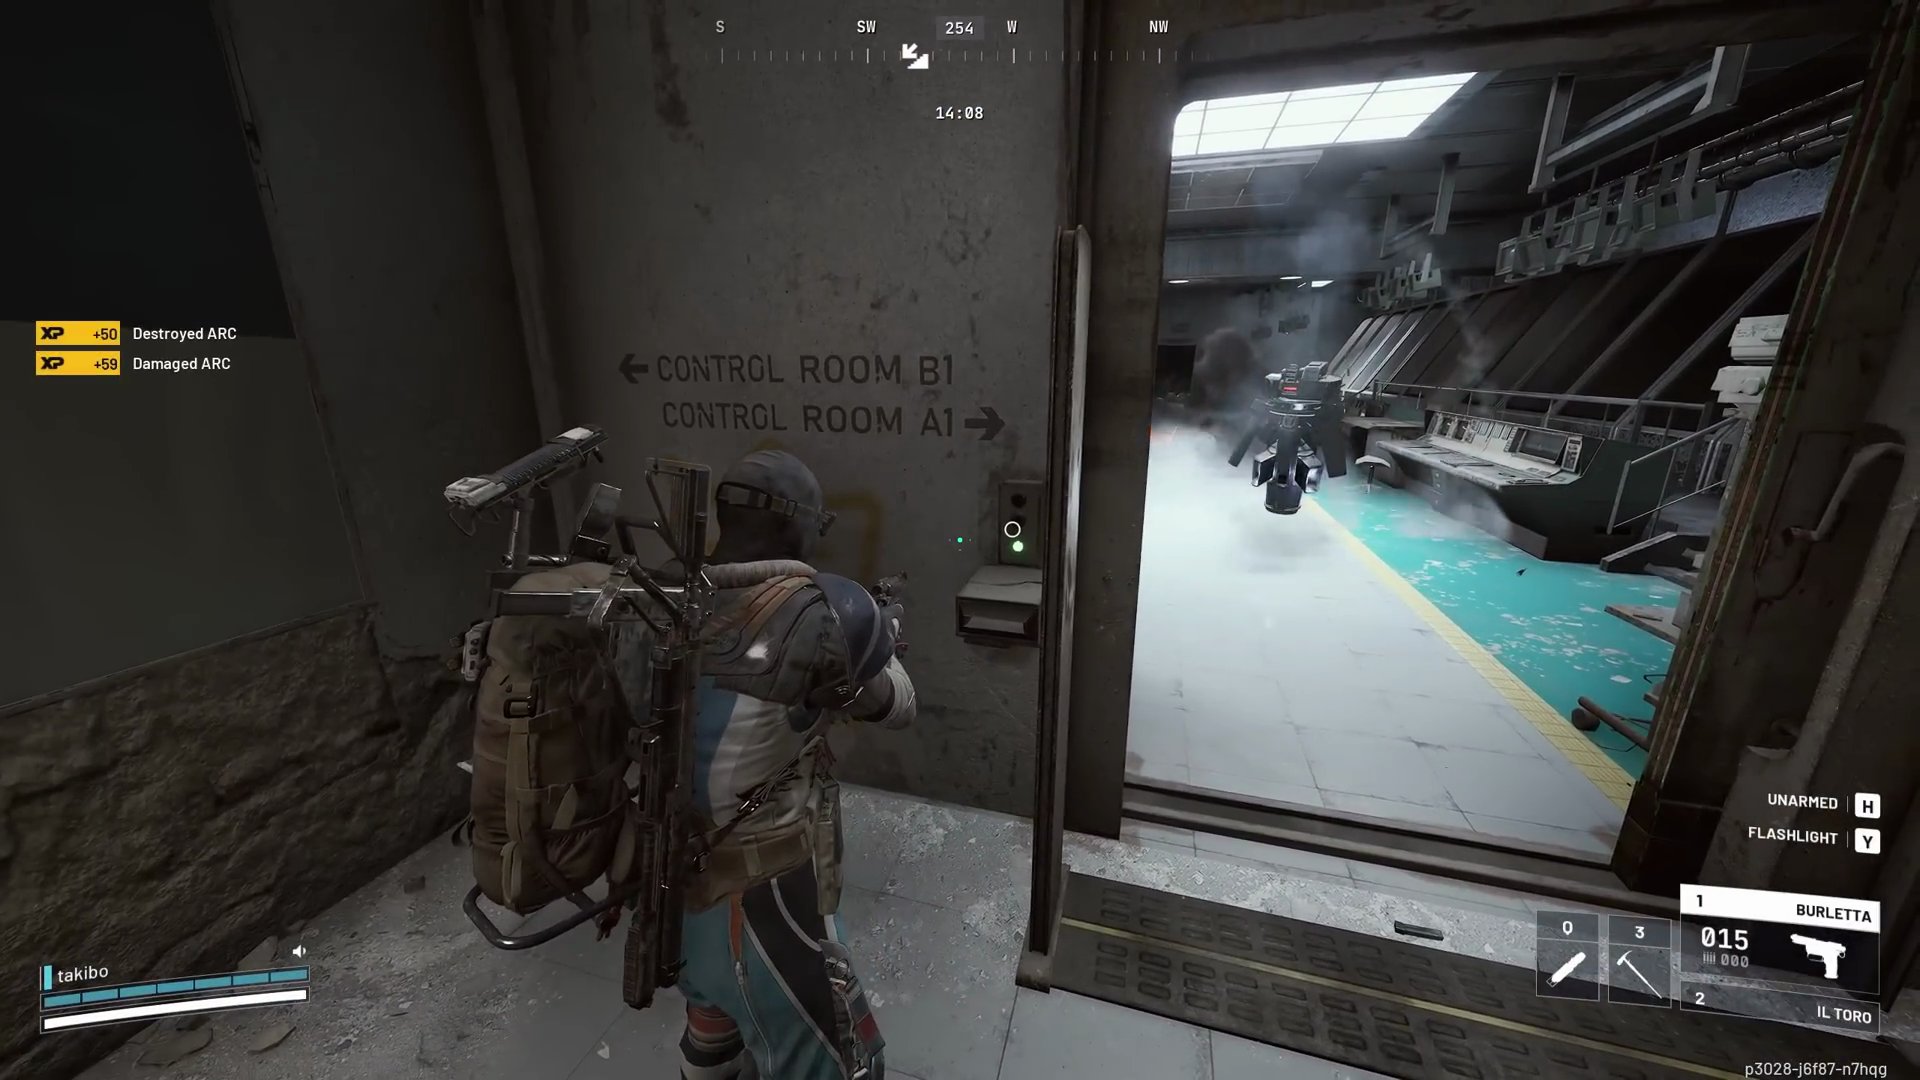
- Remain quiet in the initial minutes to allow other players to fight or extract, shrinking the lobby.
- Once the lobby is smaller, rotate between the two sandbox areas, control areas, and the Metro Station extraction point, as Pops respawn quickly in these areas.
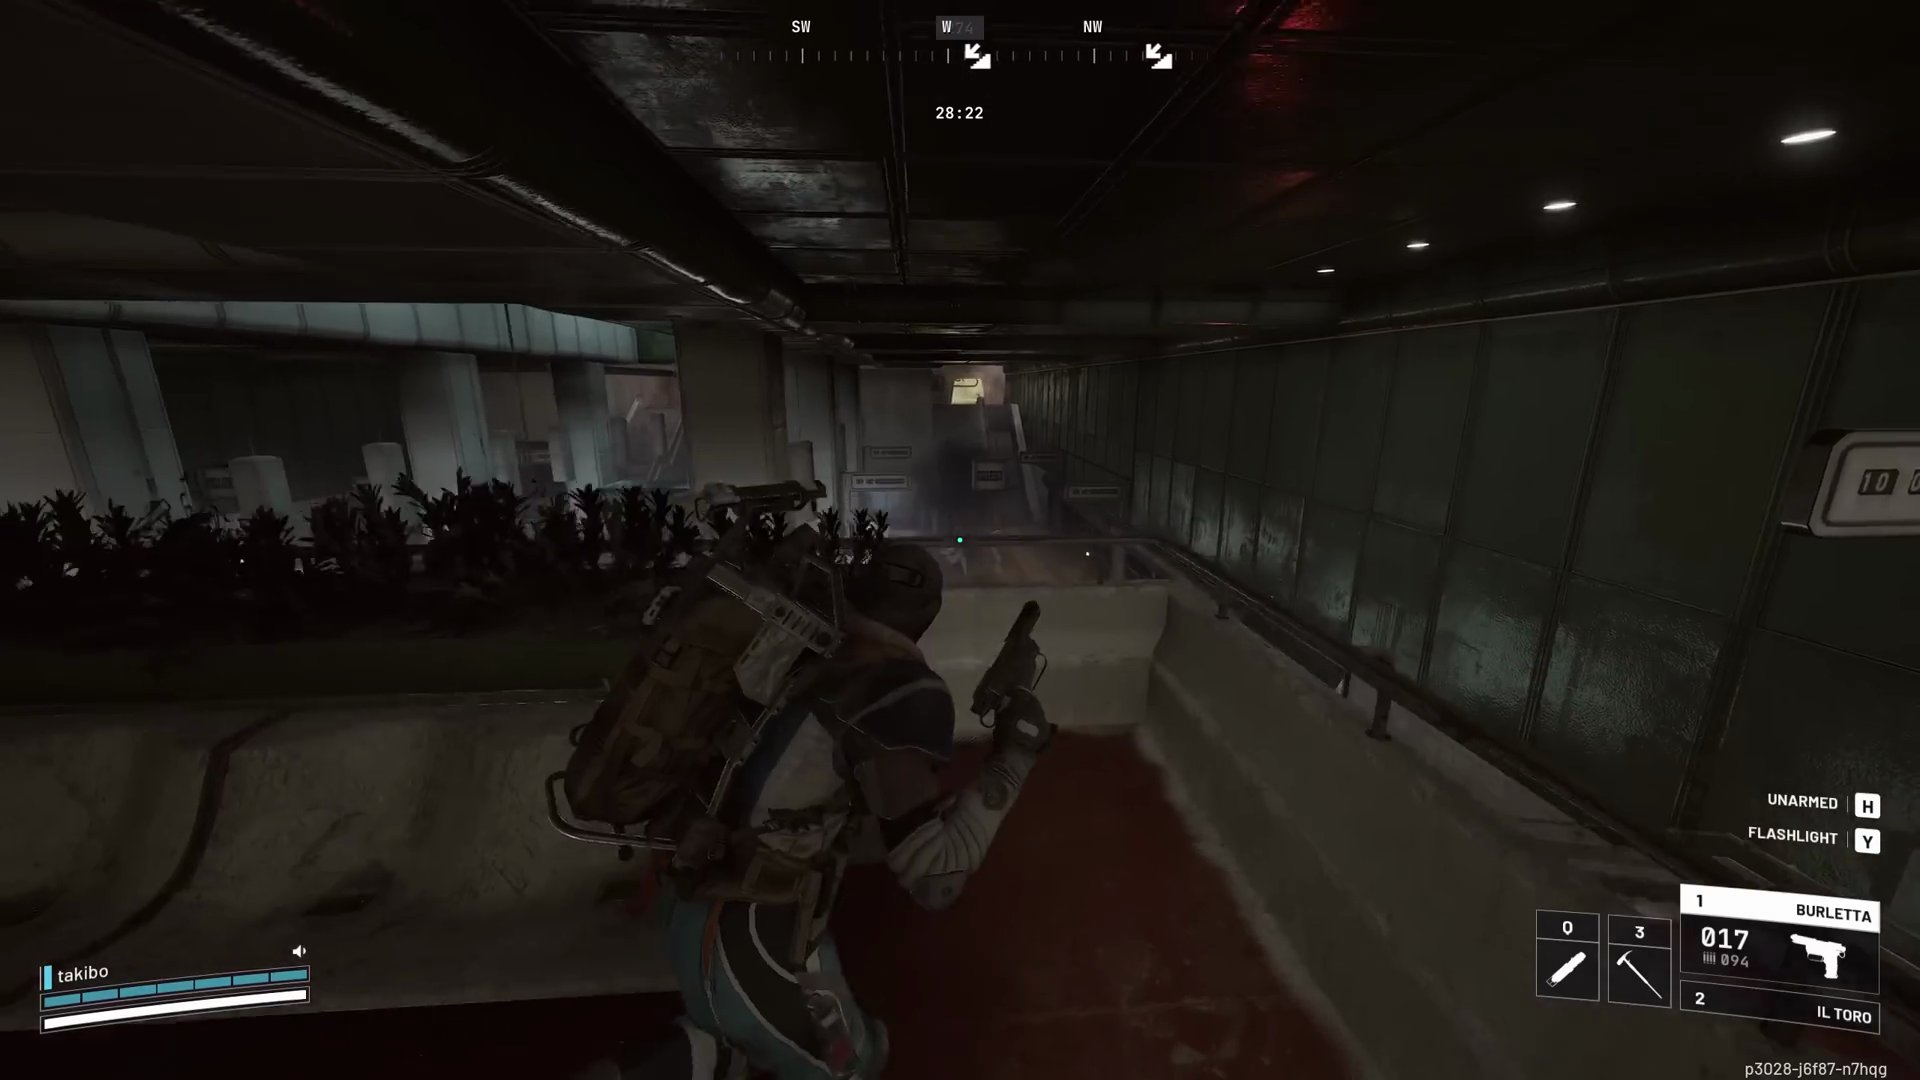
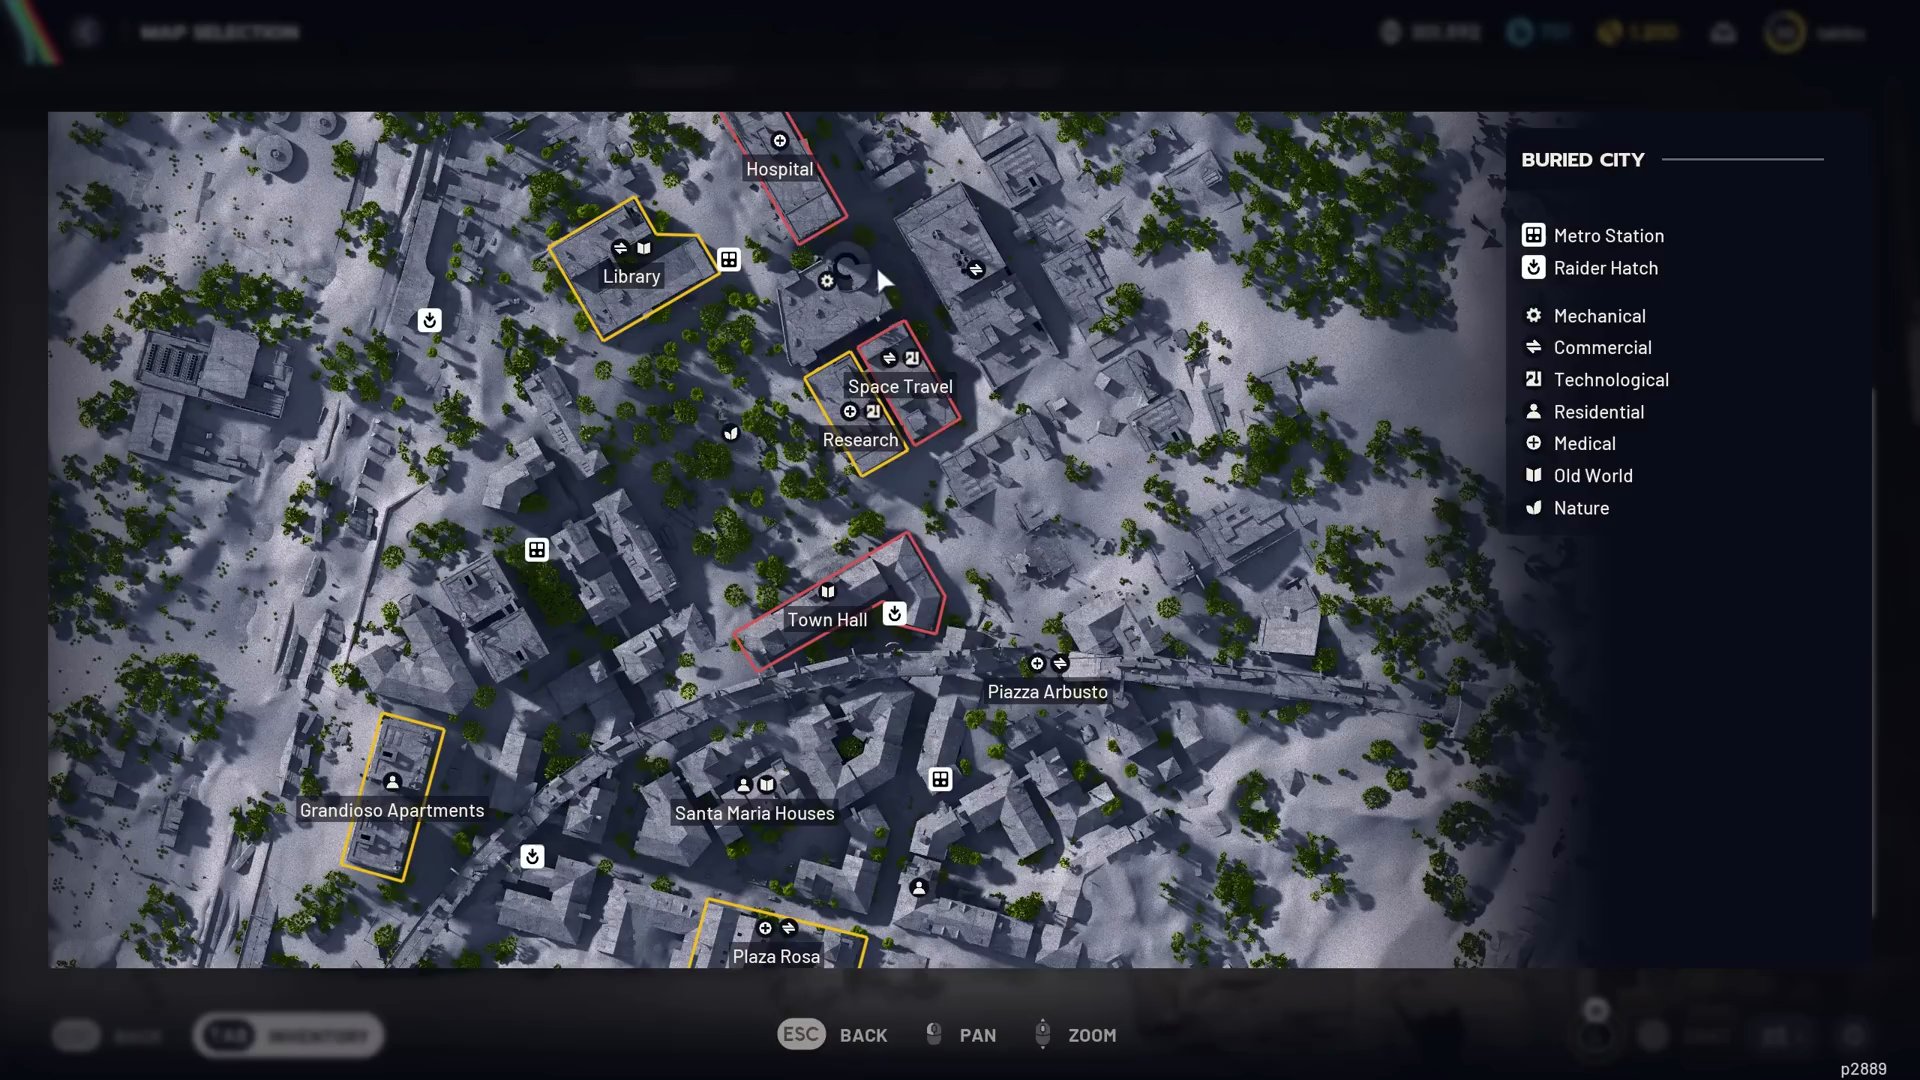
- Alternative: If Stella Montis isn't ideal, Buried City is your second-best option. Focus on Research, Space Travel, Parking Garage, Hospital, and extraction points.
Step 5: Open ARC Probes
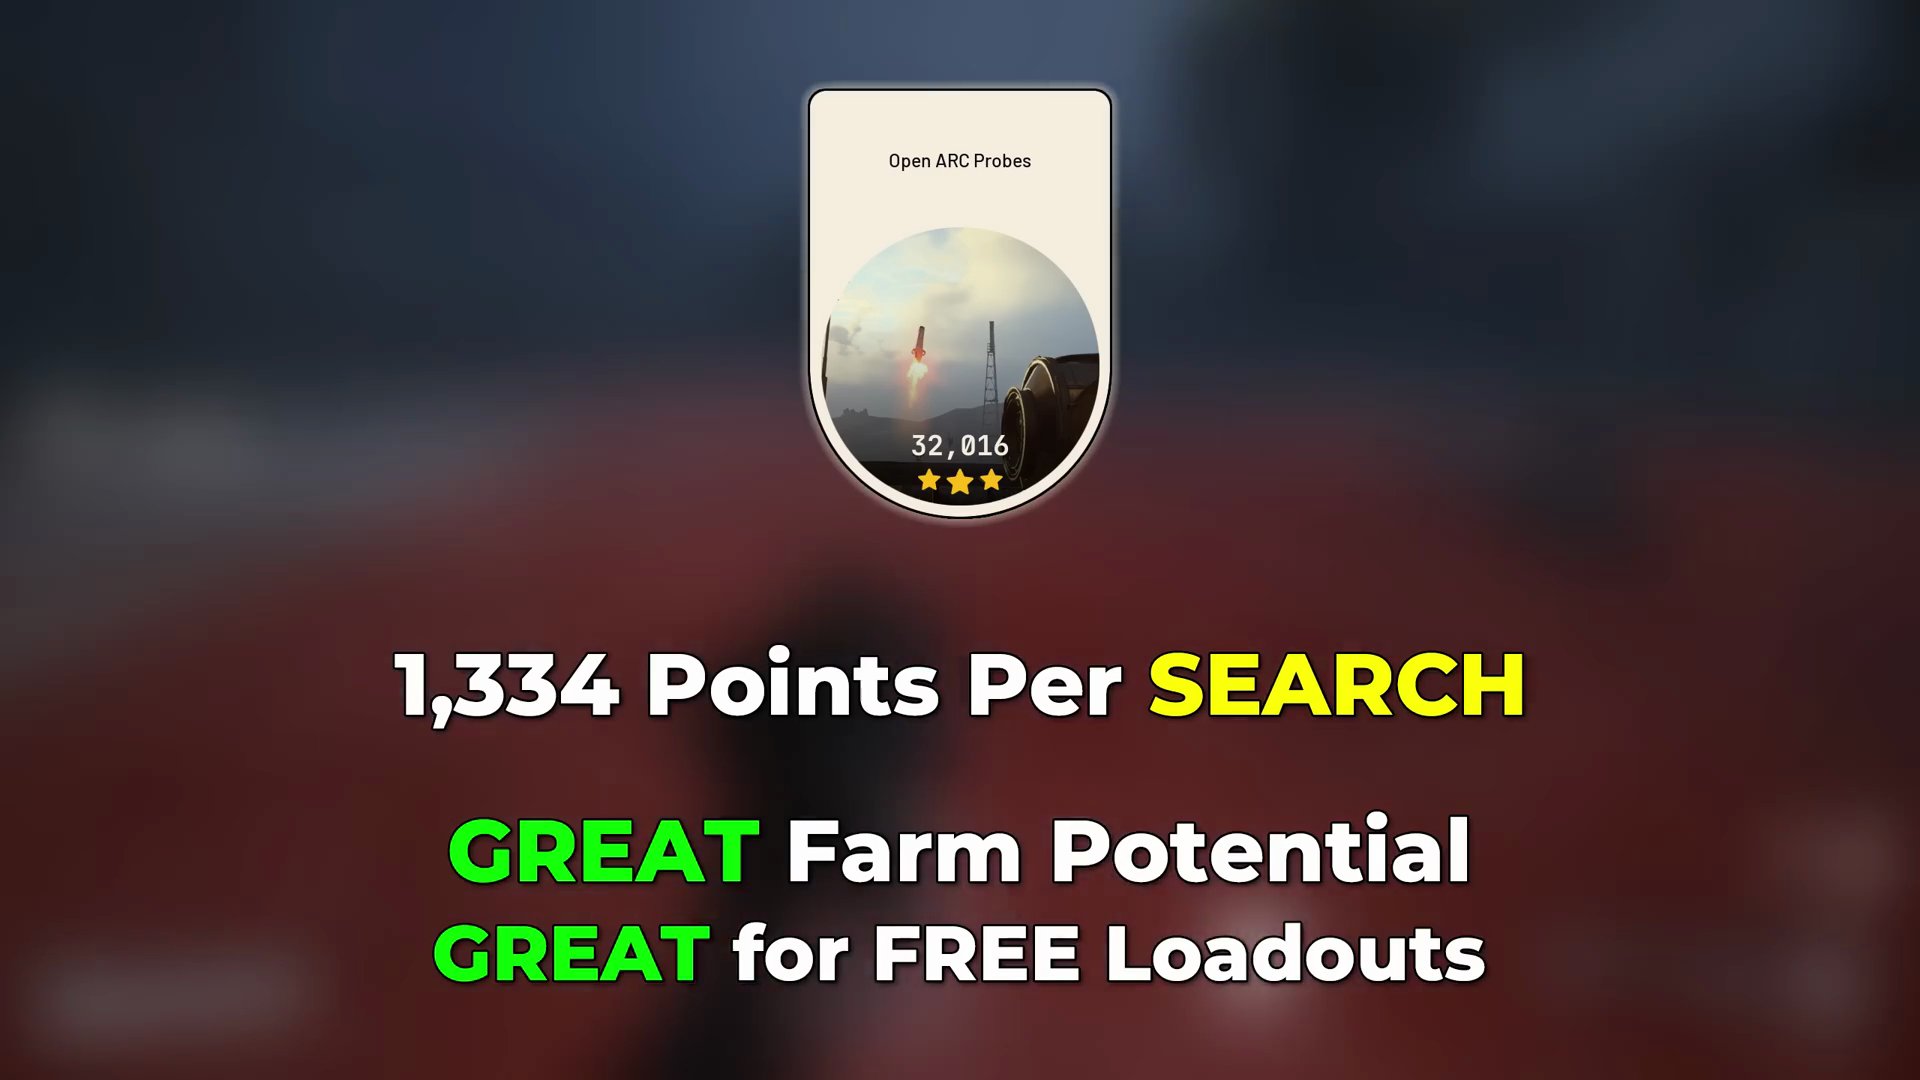
- Points: 1,334 points per search. Extremely free loadout friendly, great farm potential.
- Recommended Map: Dam Battlegrounds on an Electromagnetic Storm. [SCREENSHOT:09:59]
- Strategy:
- Bring a lot of Adrenaline Shots to quickly cover the map.
- In Electromagnetic Storms, probes often spawn in packs of two or three. [SCREENSHOT:10:07]
- You don't need an interactive map; simply pay attention to the dark smoke coming from breached ARCs and constantly open your map.
- ARC probes will show up on your map when you zoom in, even if they're far away.
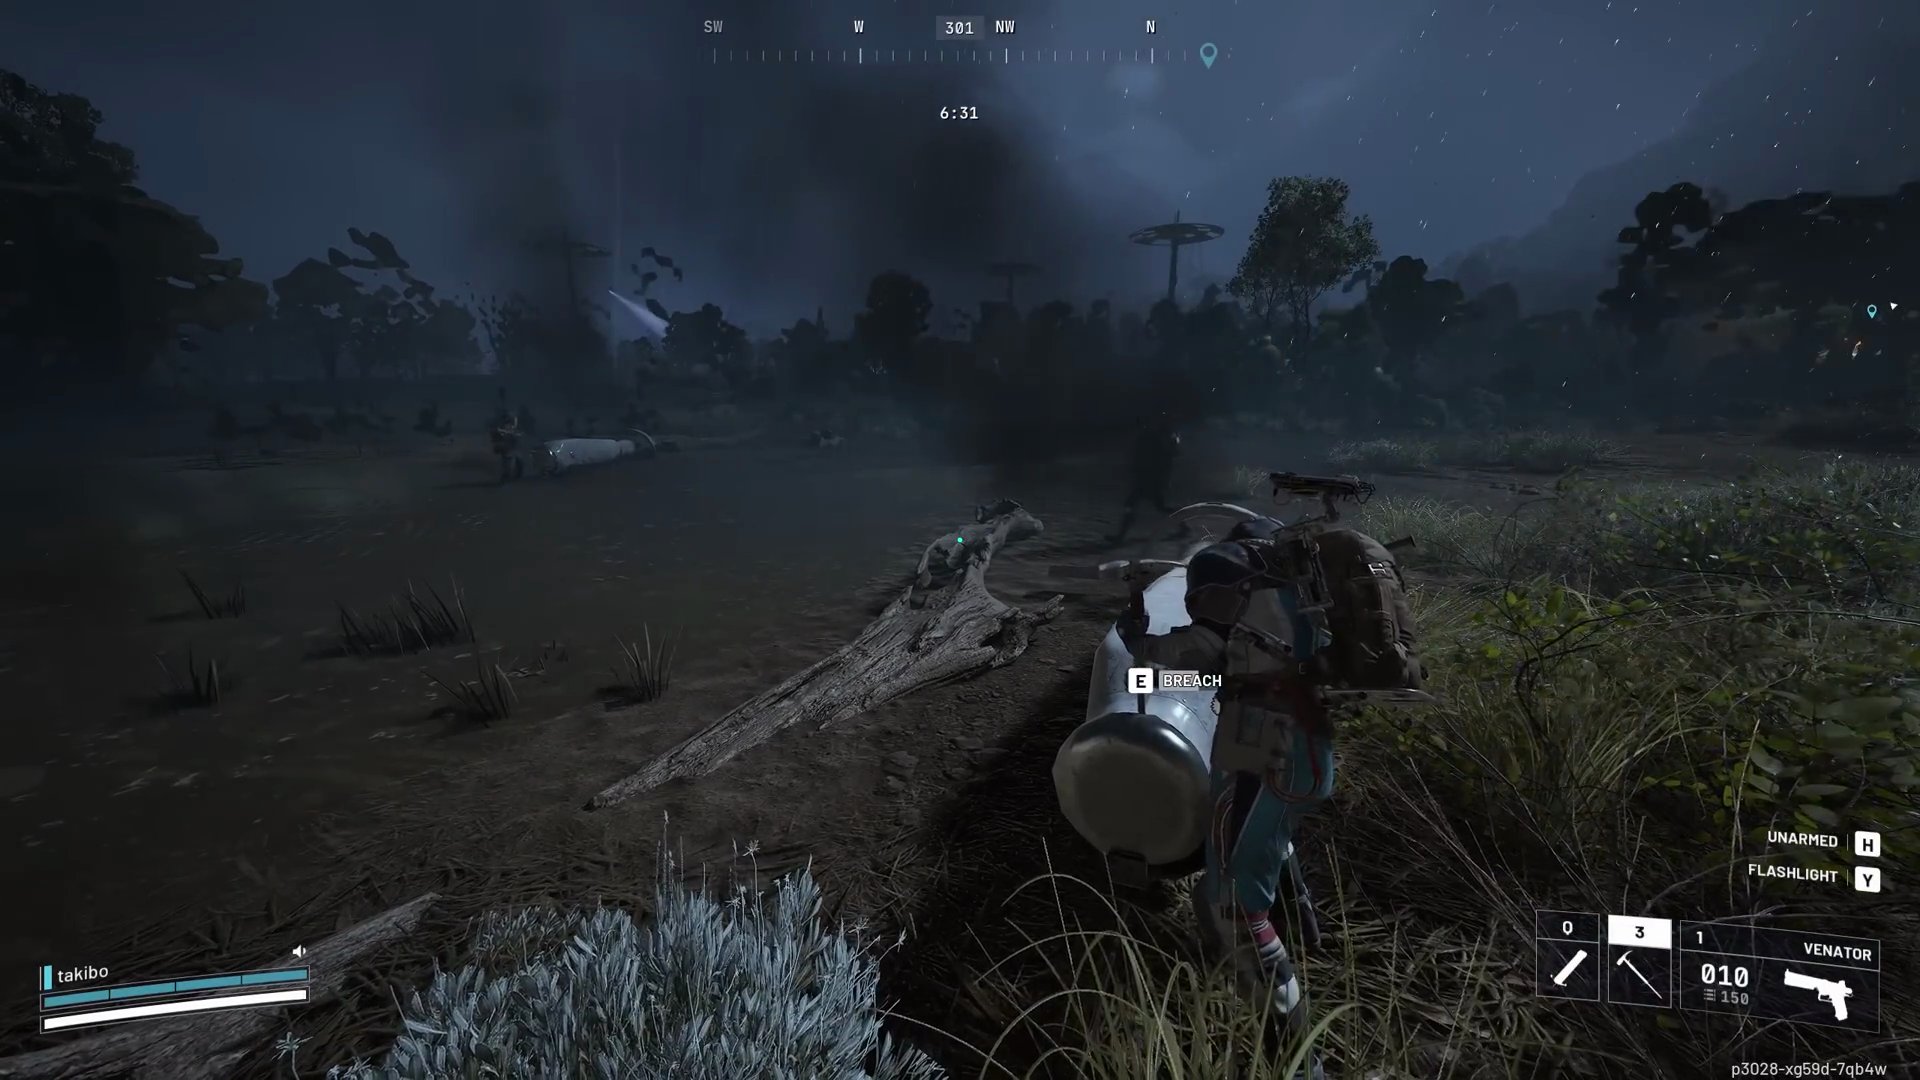
- Important: It's about 'searching' the probe, not 'breaching' it. If another player has already breached a probe, you can still search it for points.