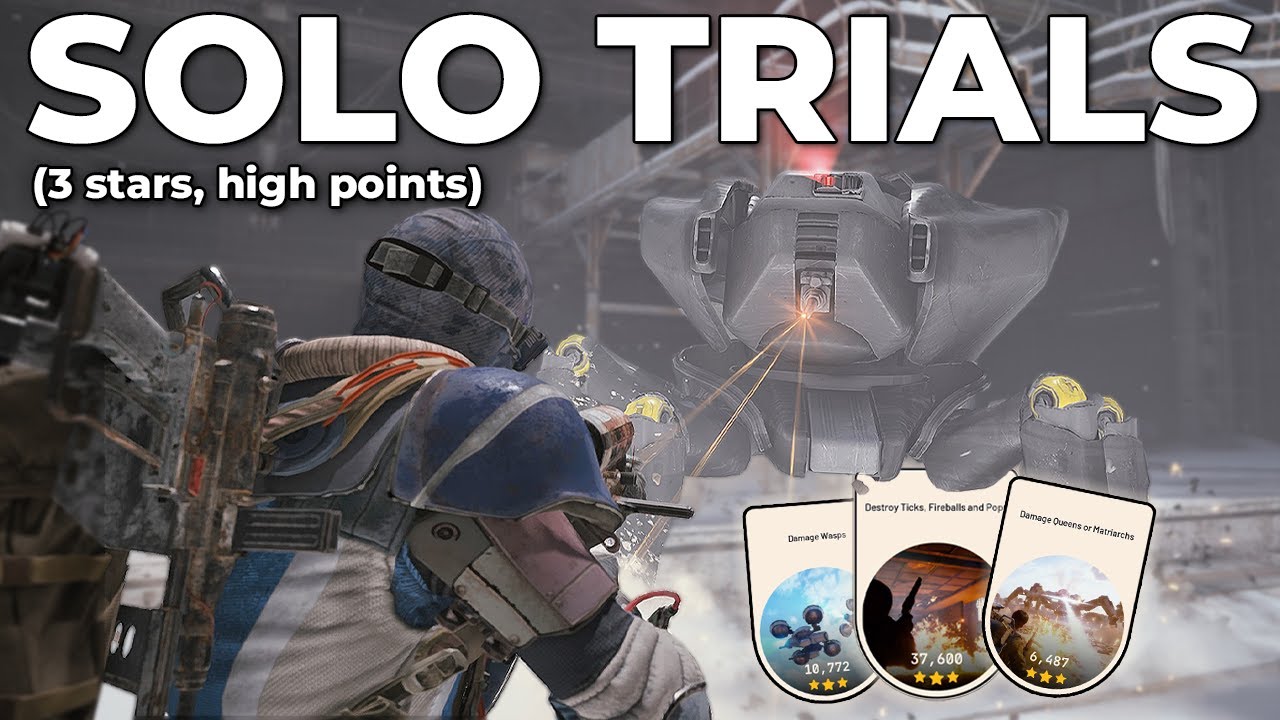
General Guide
Trials Week 7
December 8, 2025
Overview: Weekly Trials Week 7
This week marks the final week for Trials in Season 1, extending until Tuesday, offering players an extra day to complete objectives. The primary focus for many will be maintaining their current rank, though pushing for higher ranks is still possible. For maximum points, prioritize trials within major map conditions like Night Raids or Electromagnetic Storms, which grant double points. Queen/Matriarch trials, however, should be tackled in their specific minor map conditions (Harvester or Matriarch events).
Destroy Ticks, Fireballs, and Pops
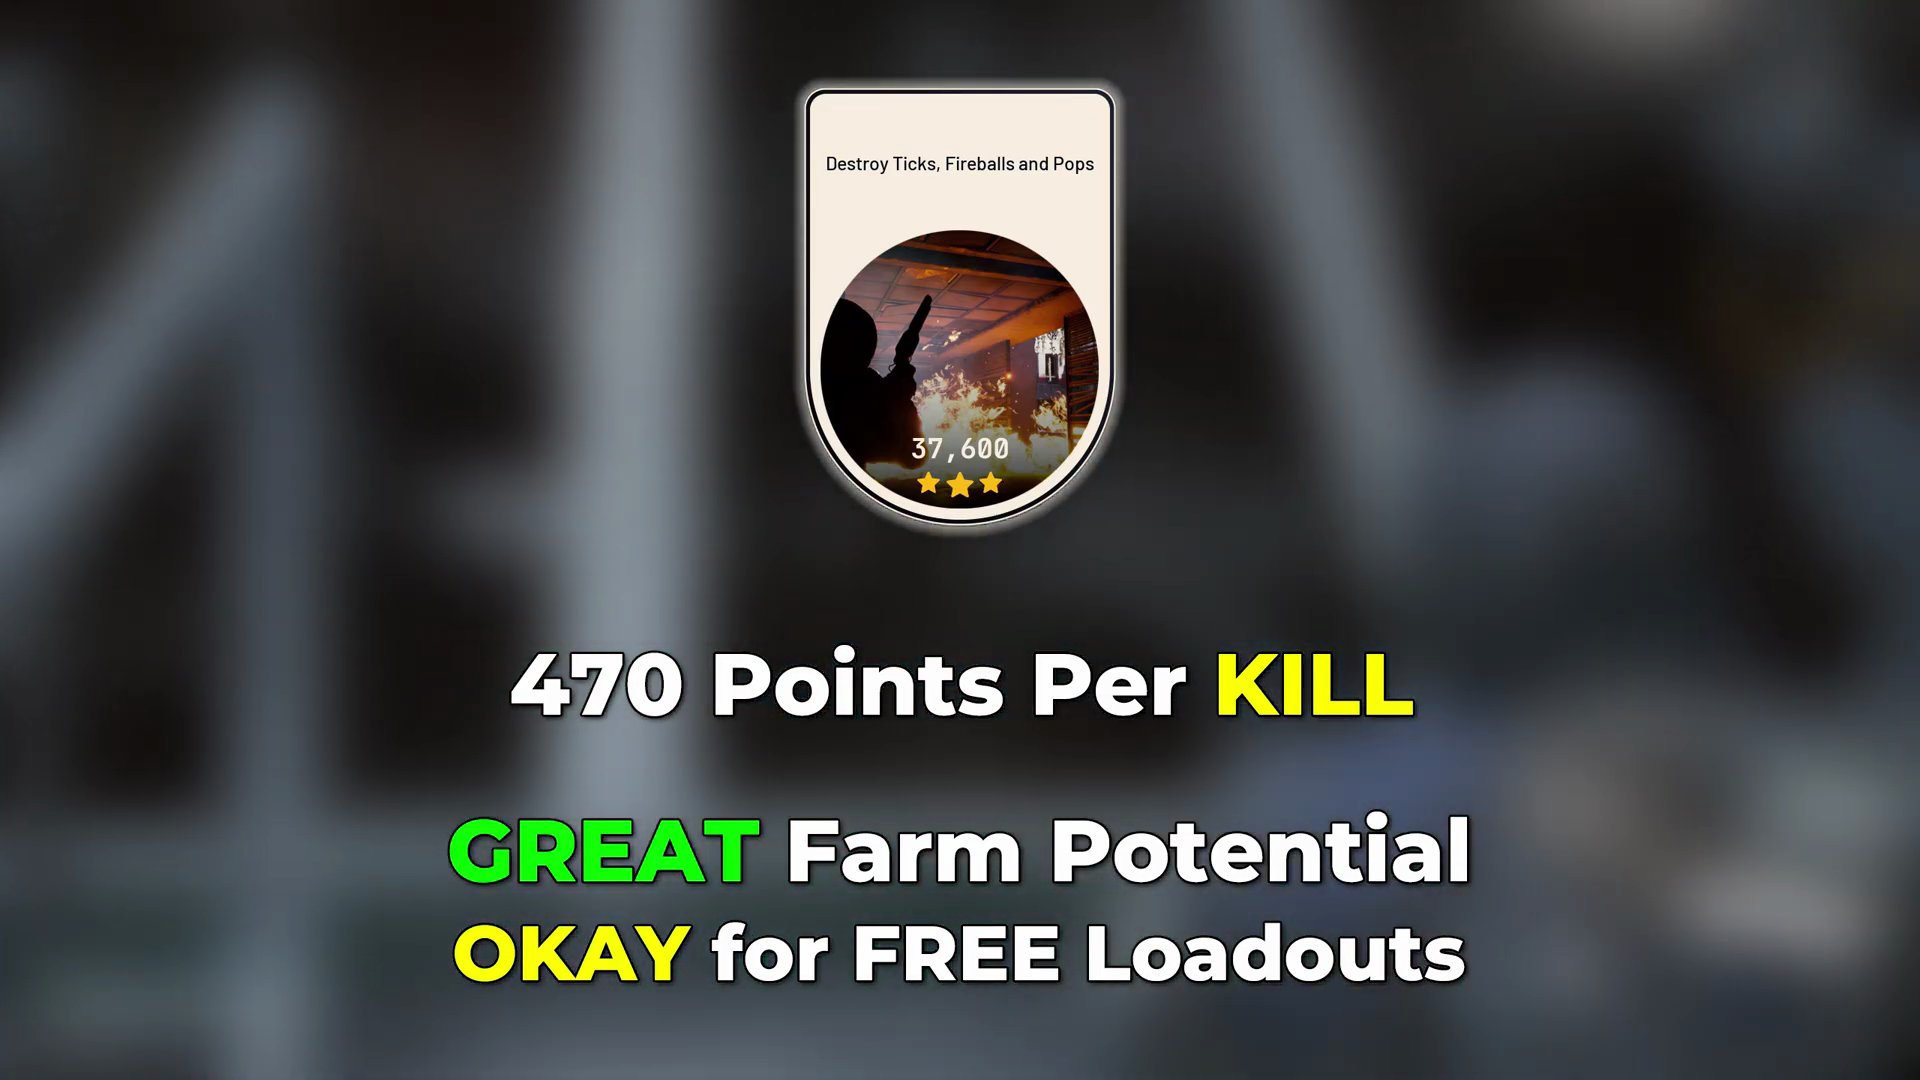
- Each kill grants 470 points.
- The best map for this challenge is Stella Montis, specifically during a Night Raid event.
- Stella Montis is densely populated with Ticks, Pops, and Fireballs.
- Strategic Queuing: Queue for a Night Raid on Stella Montis when it's nearing its final seconds or minutes. This can lead to an empty lobby with no mid-raid player respawns, allowing you to clear ARCs solo without PvP interference.
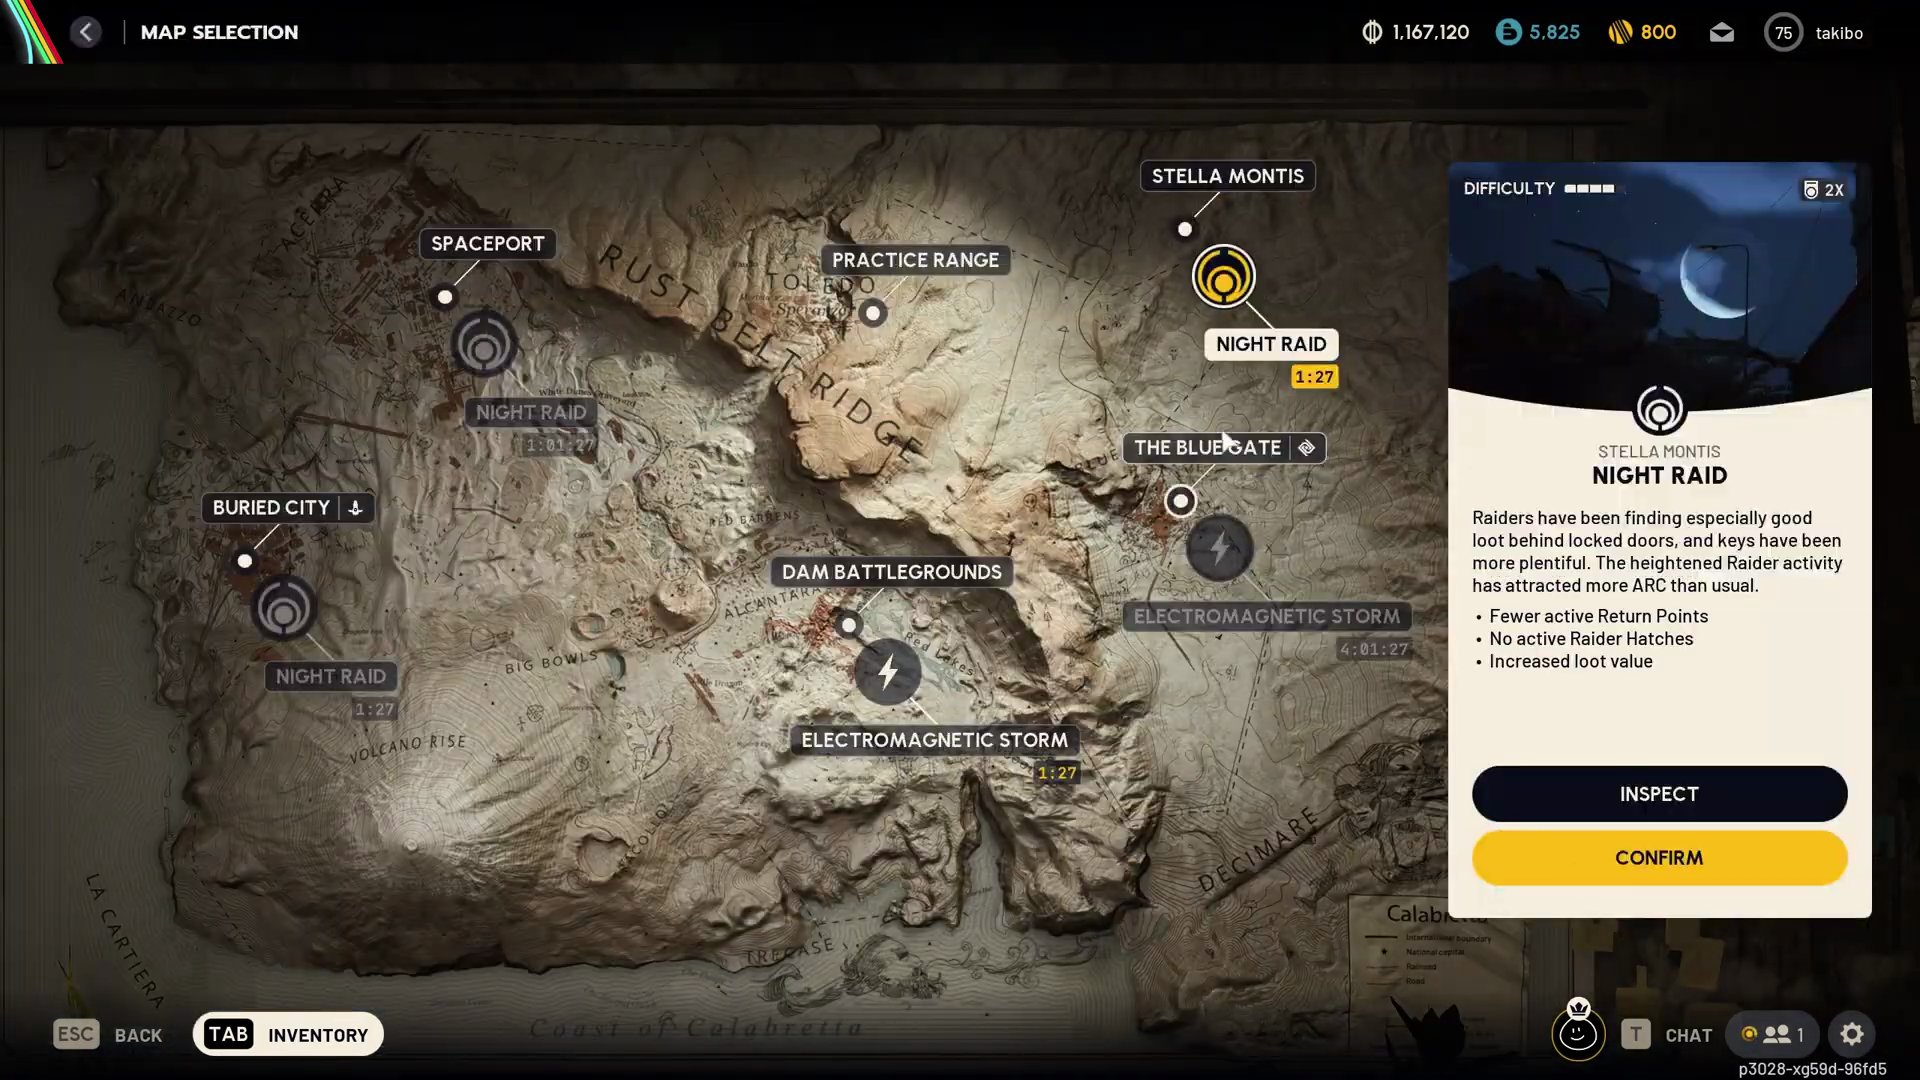
- Recommended Locations:
- The Seed Vault has about 6-8 Ticks.
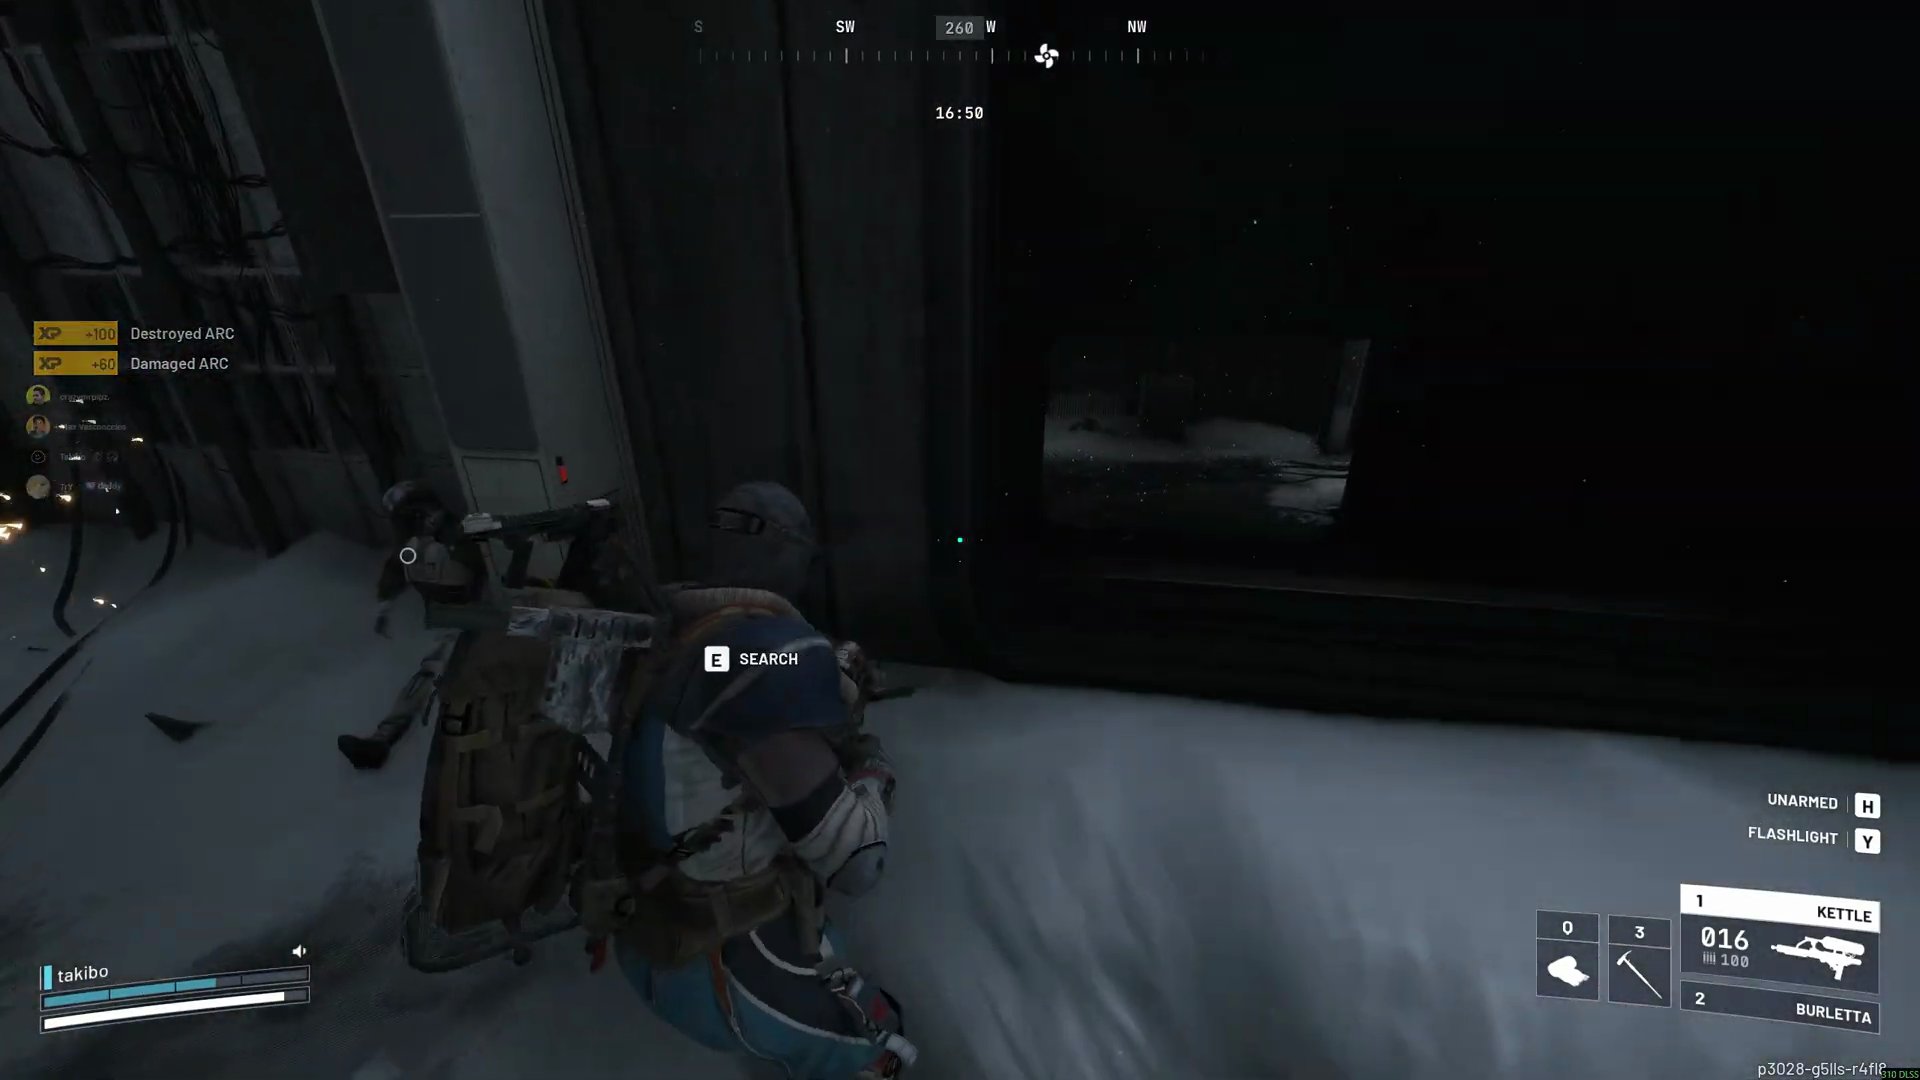
- Archives is rich with Pops, Fireballs, and mini Ticks, particularly on the ceiling.
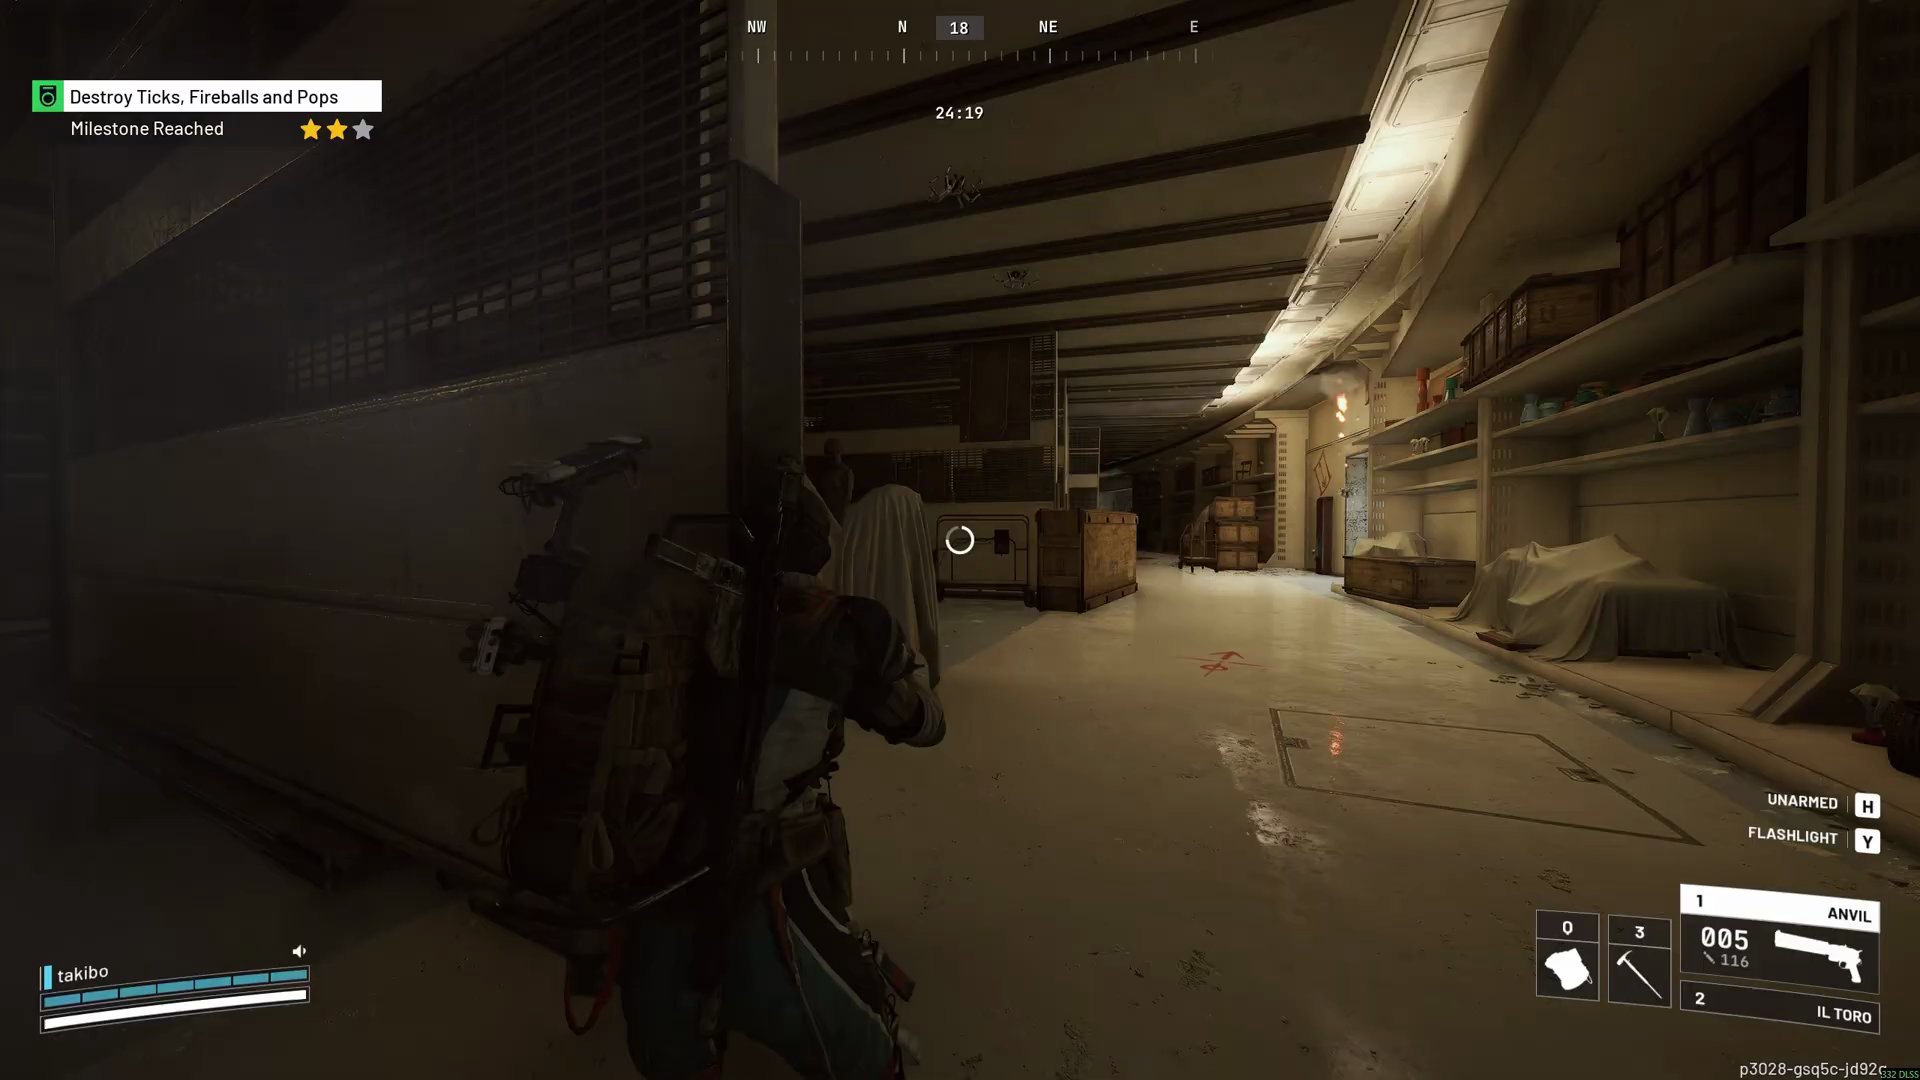
- The Control Rooms are also excellent spots for Pops and Fireballs.
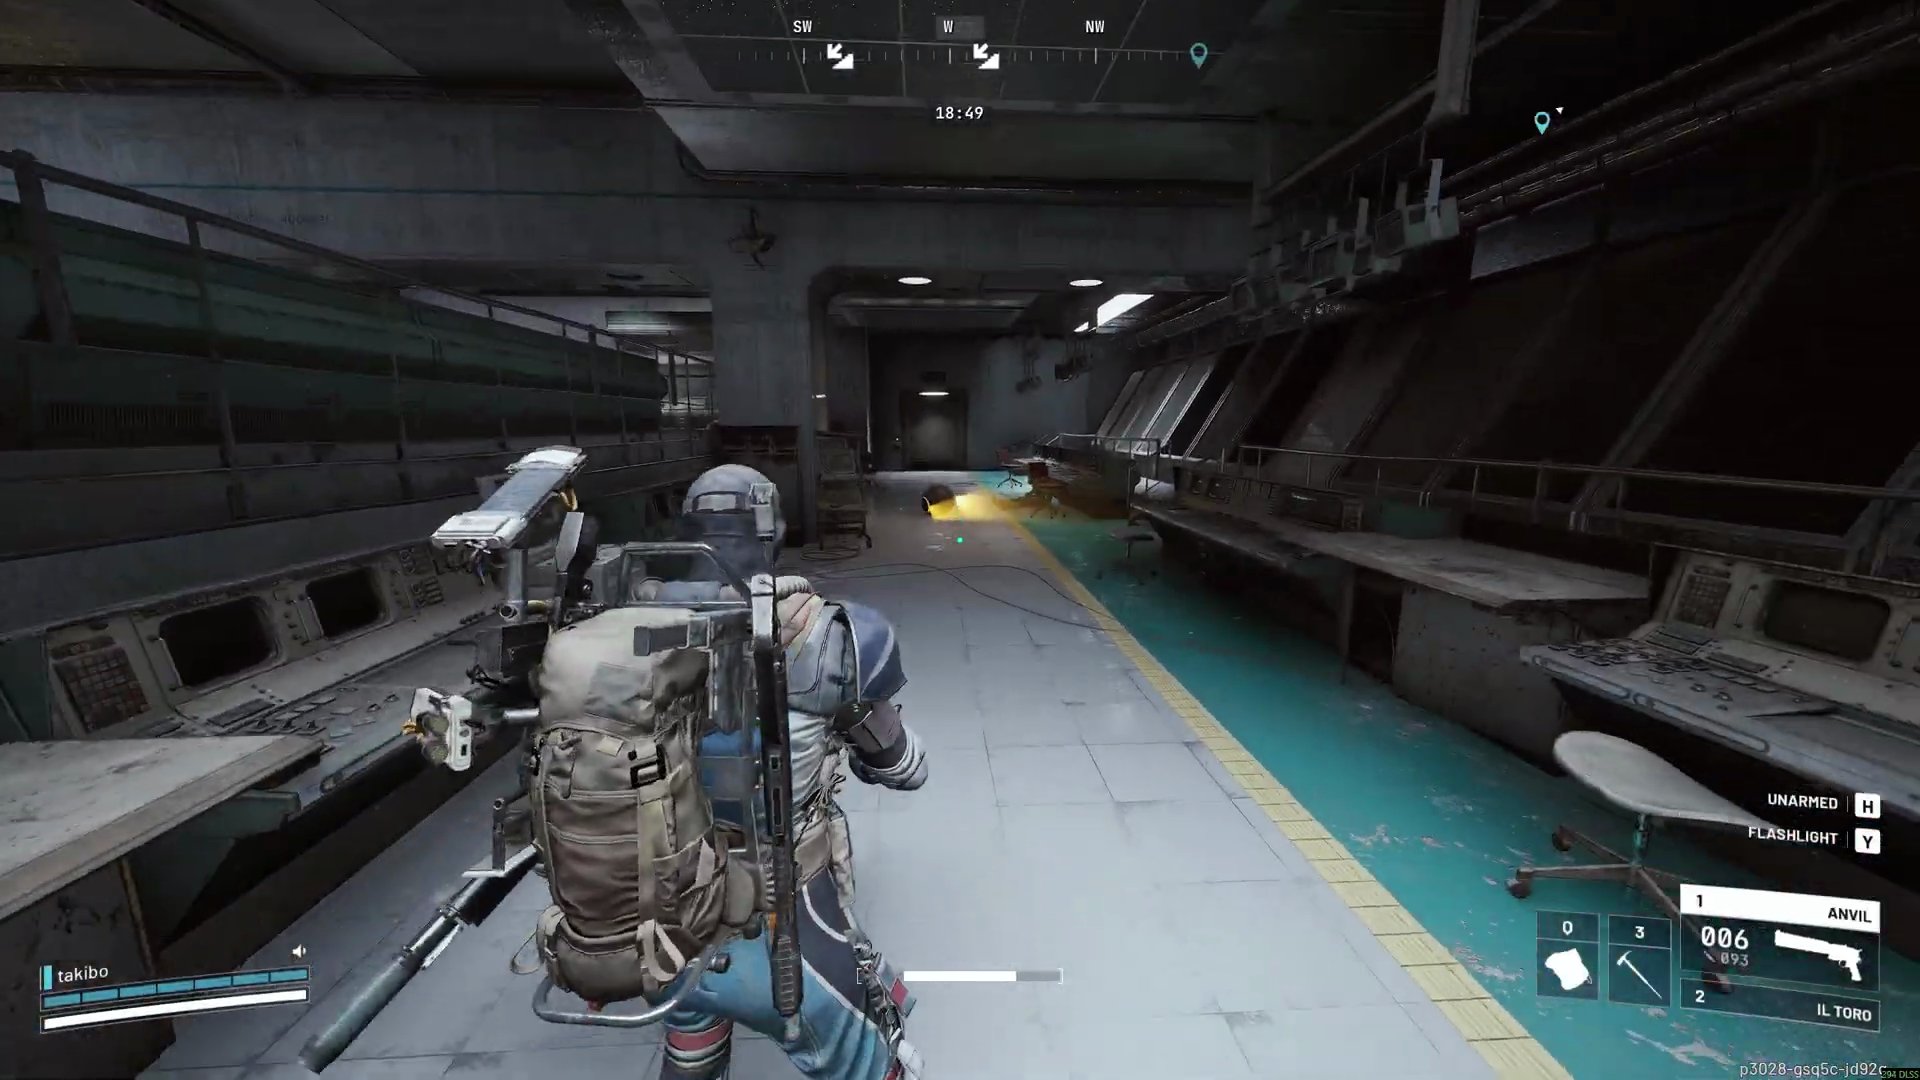
- PvP Avoidance: Avoid high PvP areas like the Lobby, Medical Research, and Loading Bay. If you hear gunshots, change direction.
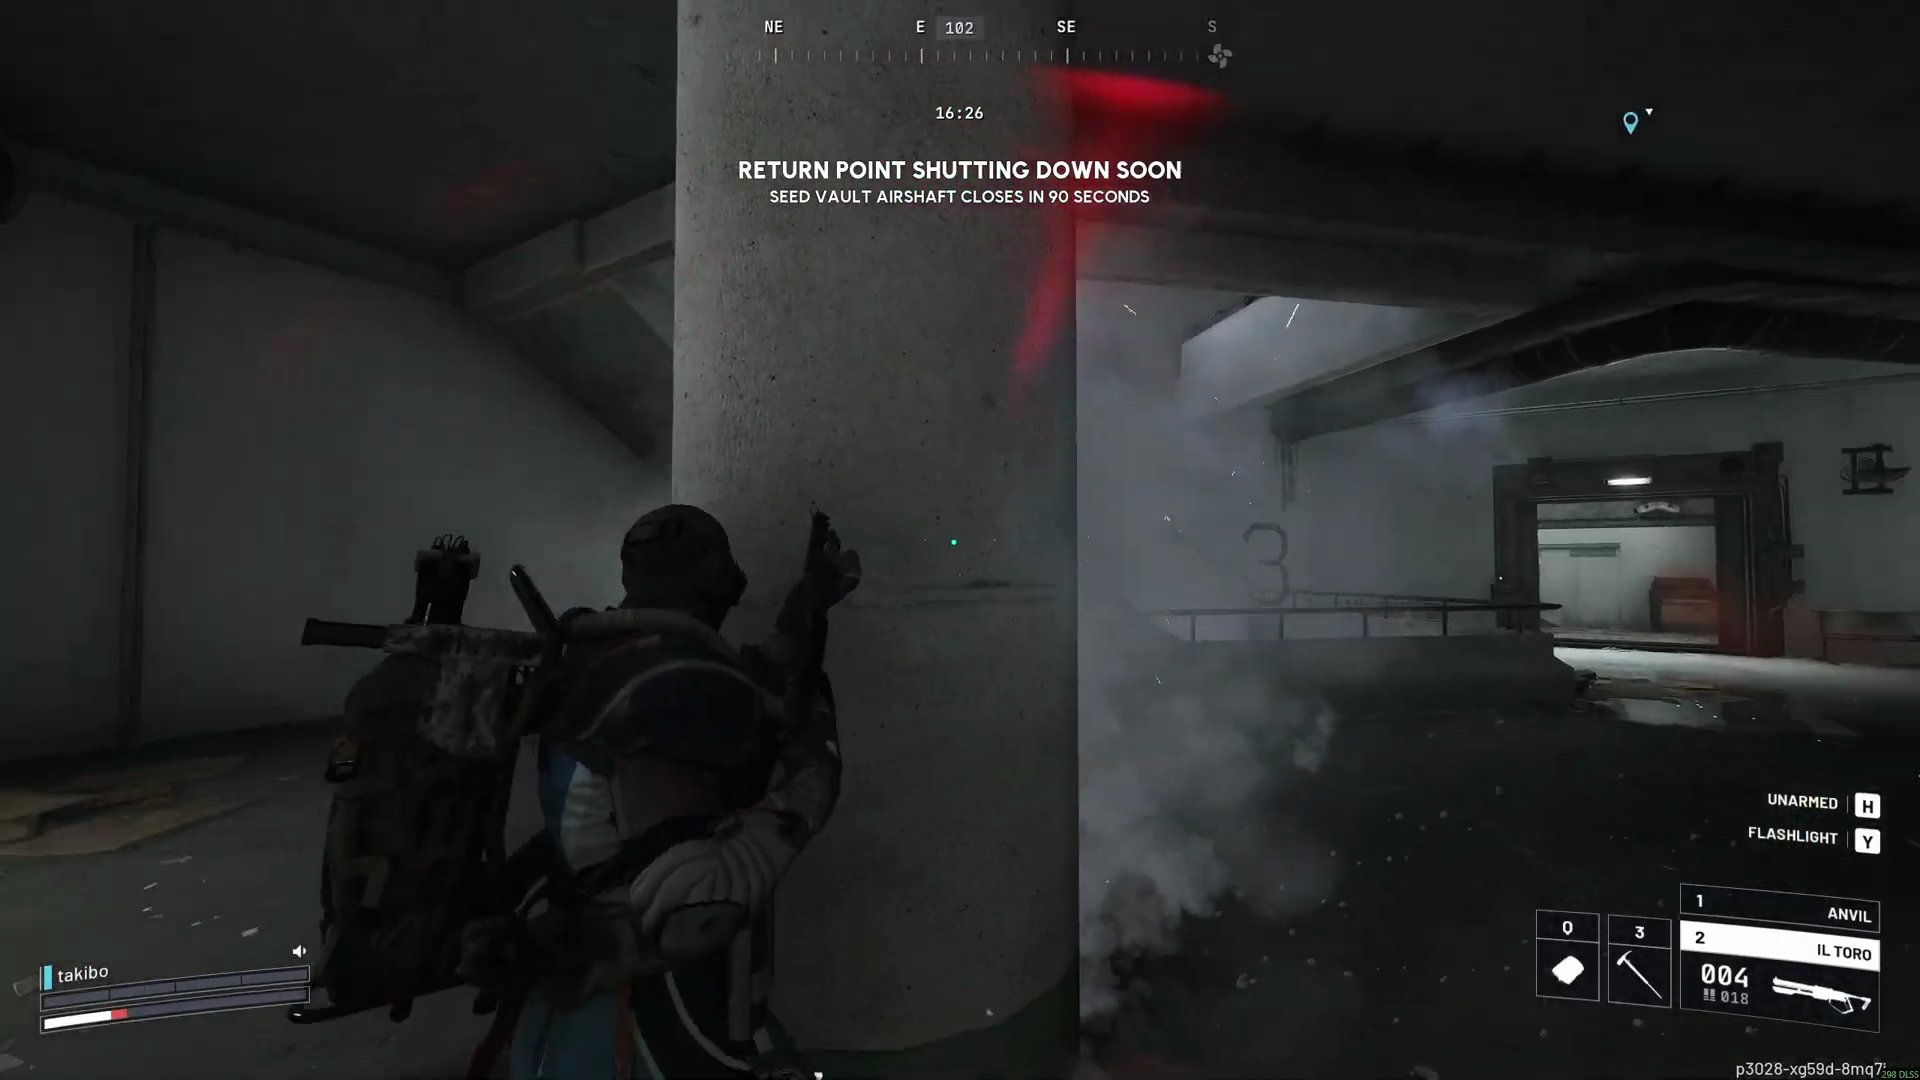 Once the lobby starts to clear up, you can extend your search.
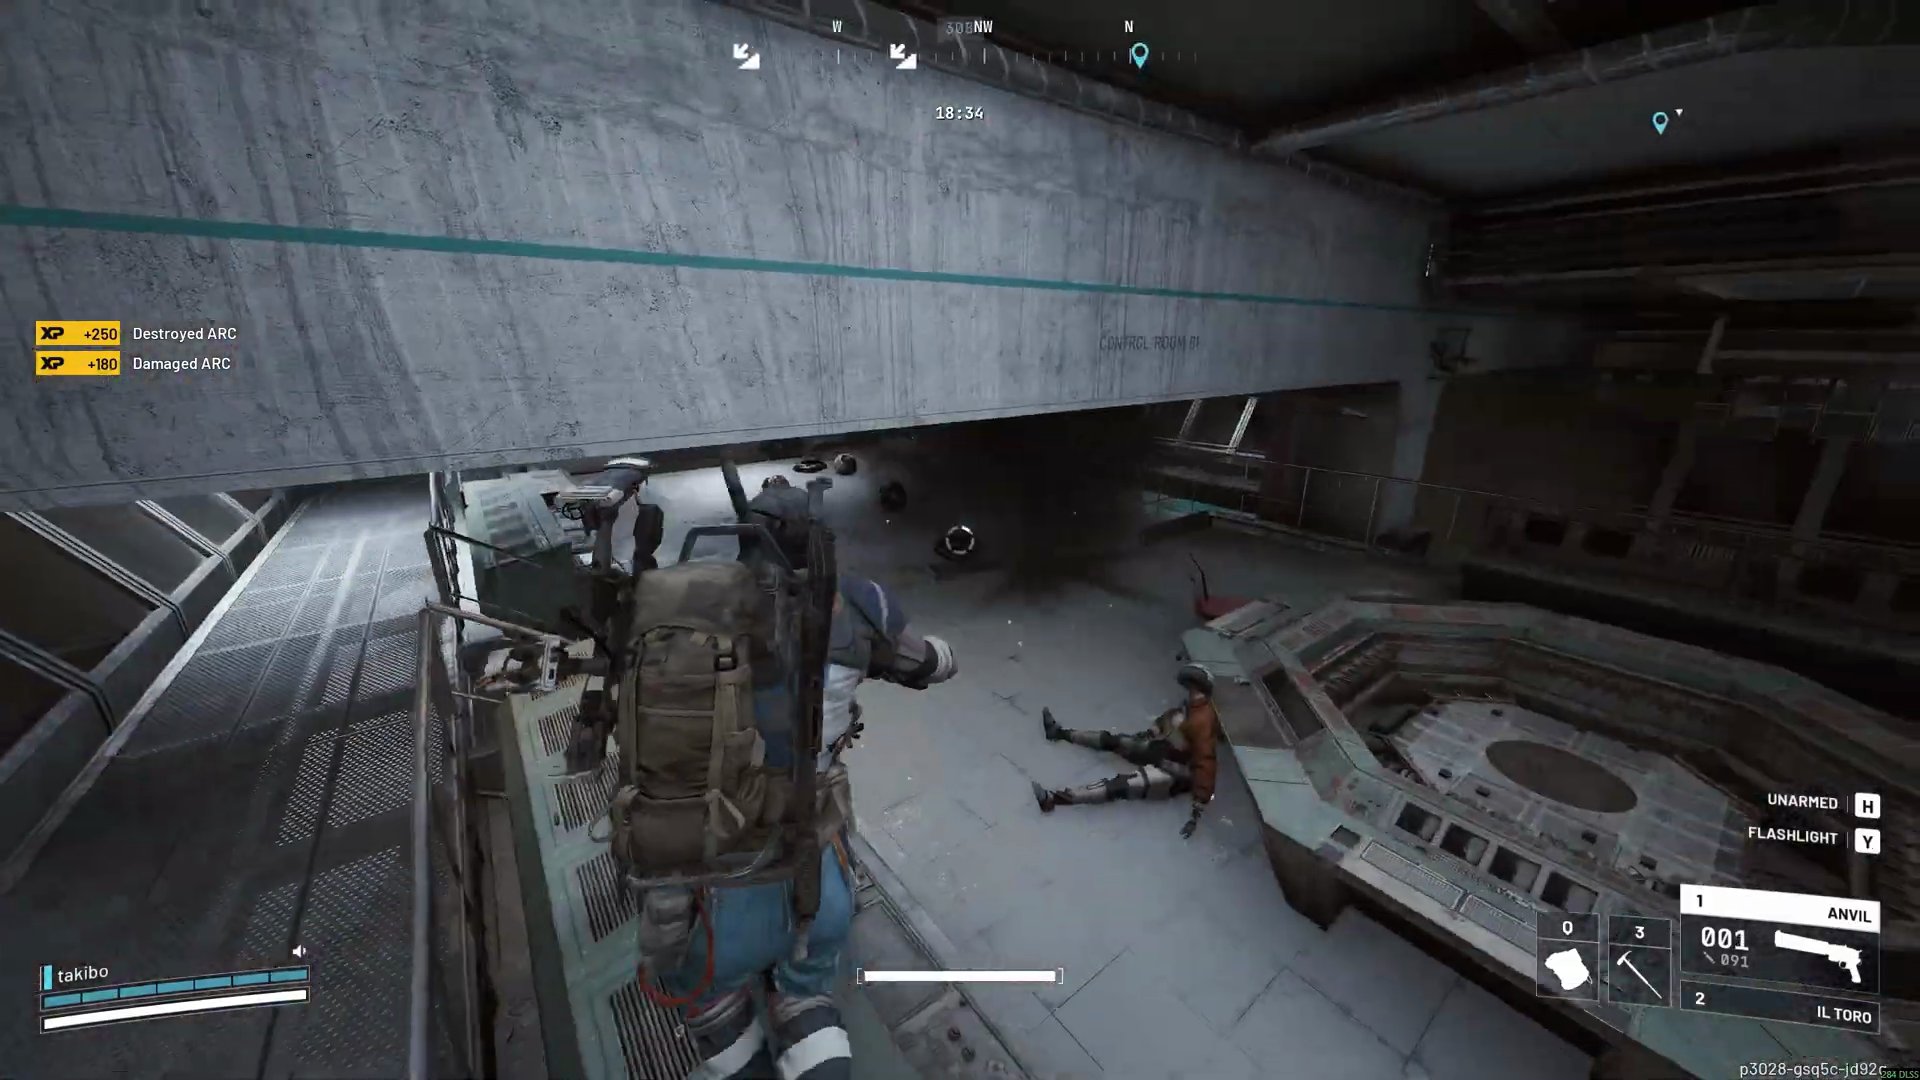
Search Supply Drops
- Each Supply Pod searched grants 1600 points.
- This trial is highly RNG-dependent; there isn't one definitive best map. Spaceport has historically been consistent, though the video demonstrates a run on Dam Battlegrounds.
- Identifying Supply Stations: Look for a glowing white bulb shining on top of the station to indicate it hasn't been used yet.
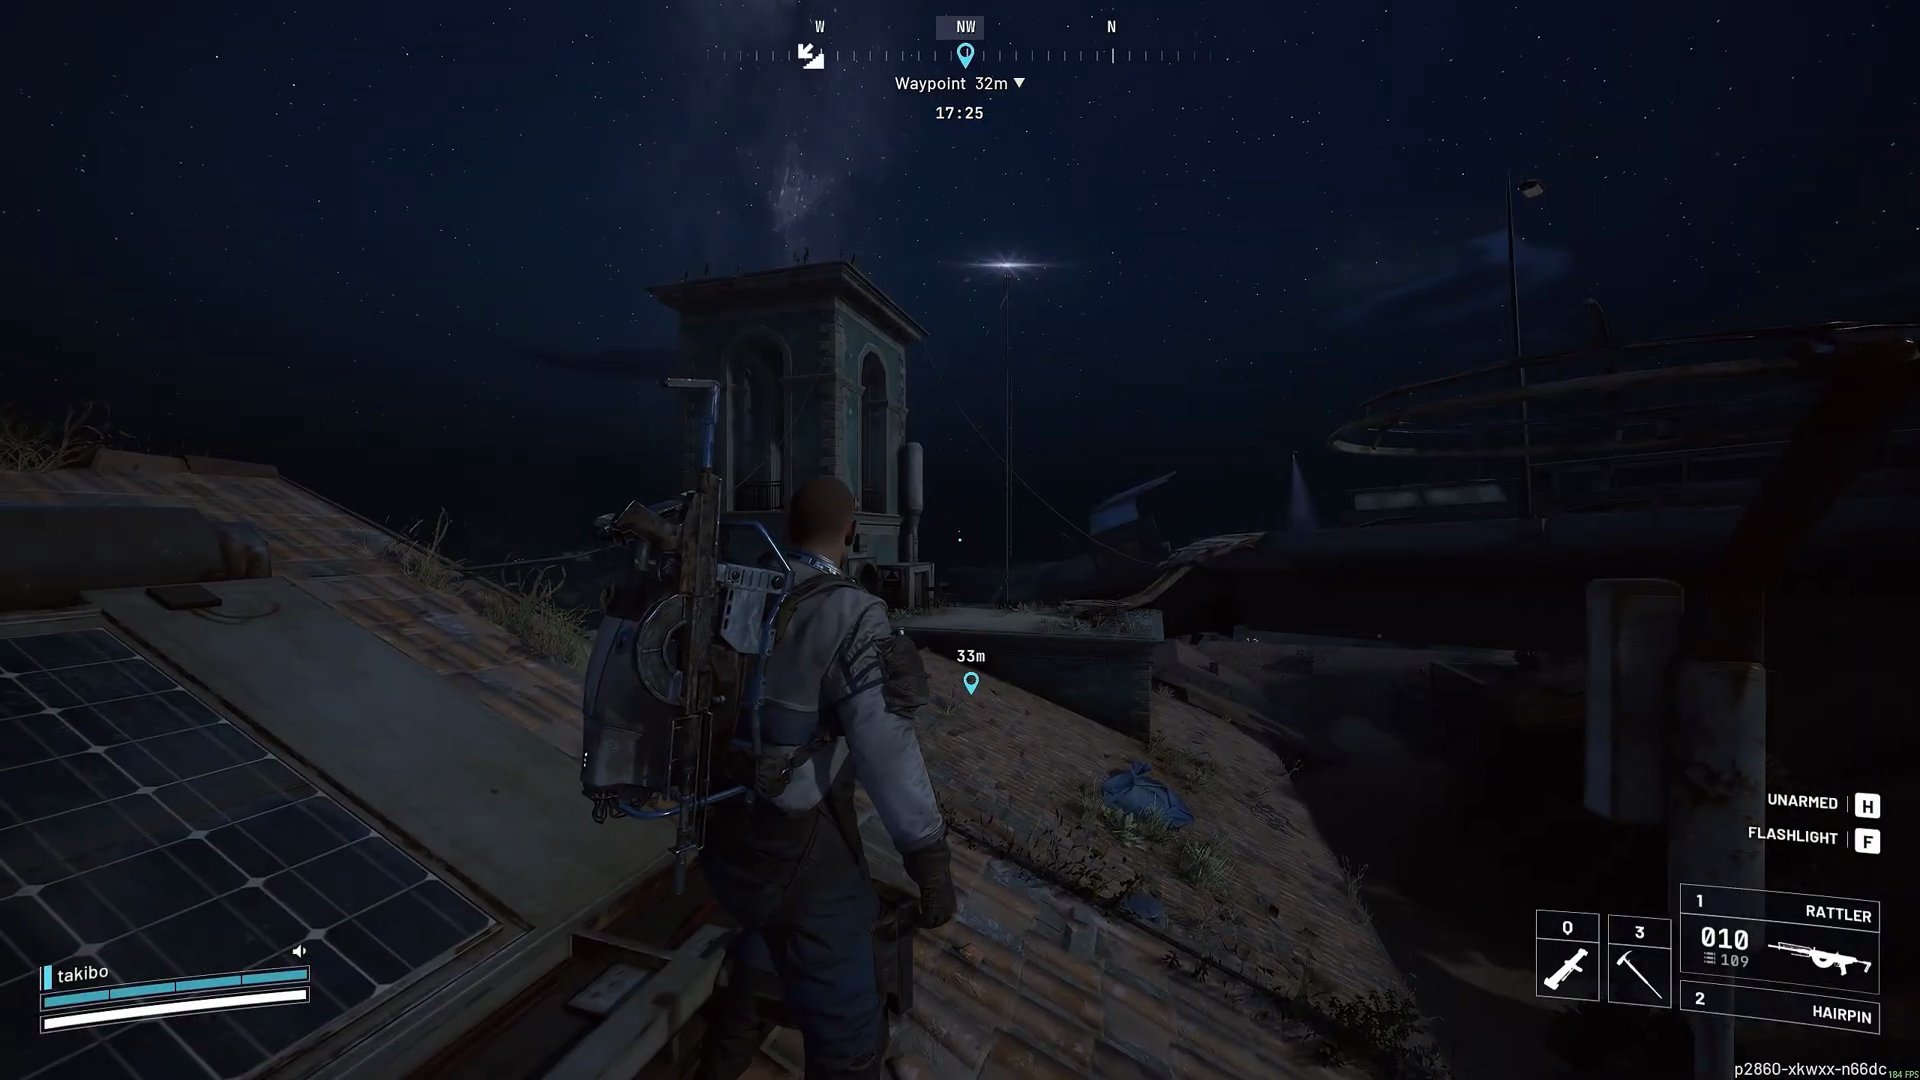
- Gaining Points: You only need to 'tap' (loot) the supply pod to gain points; you don't need to call it in yourself.
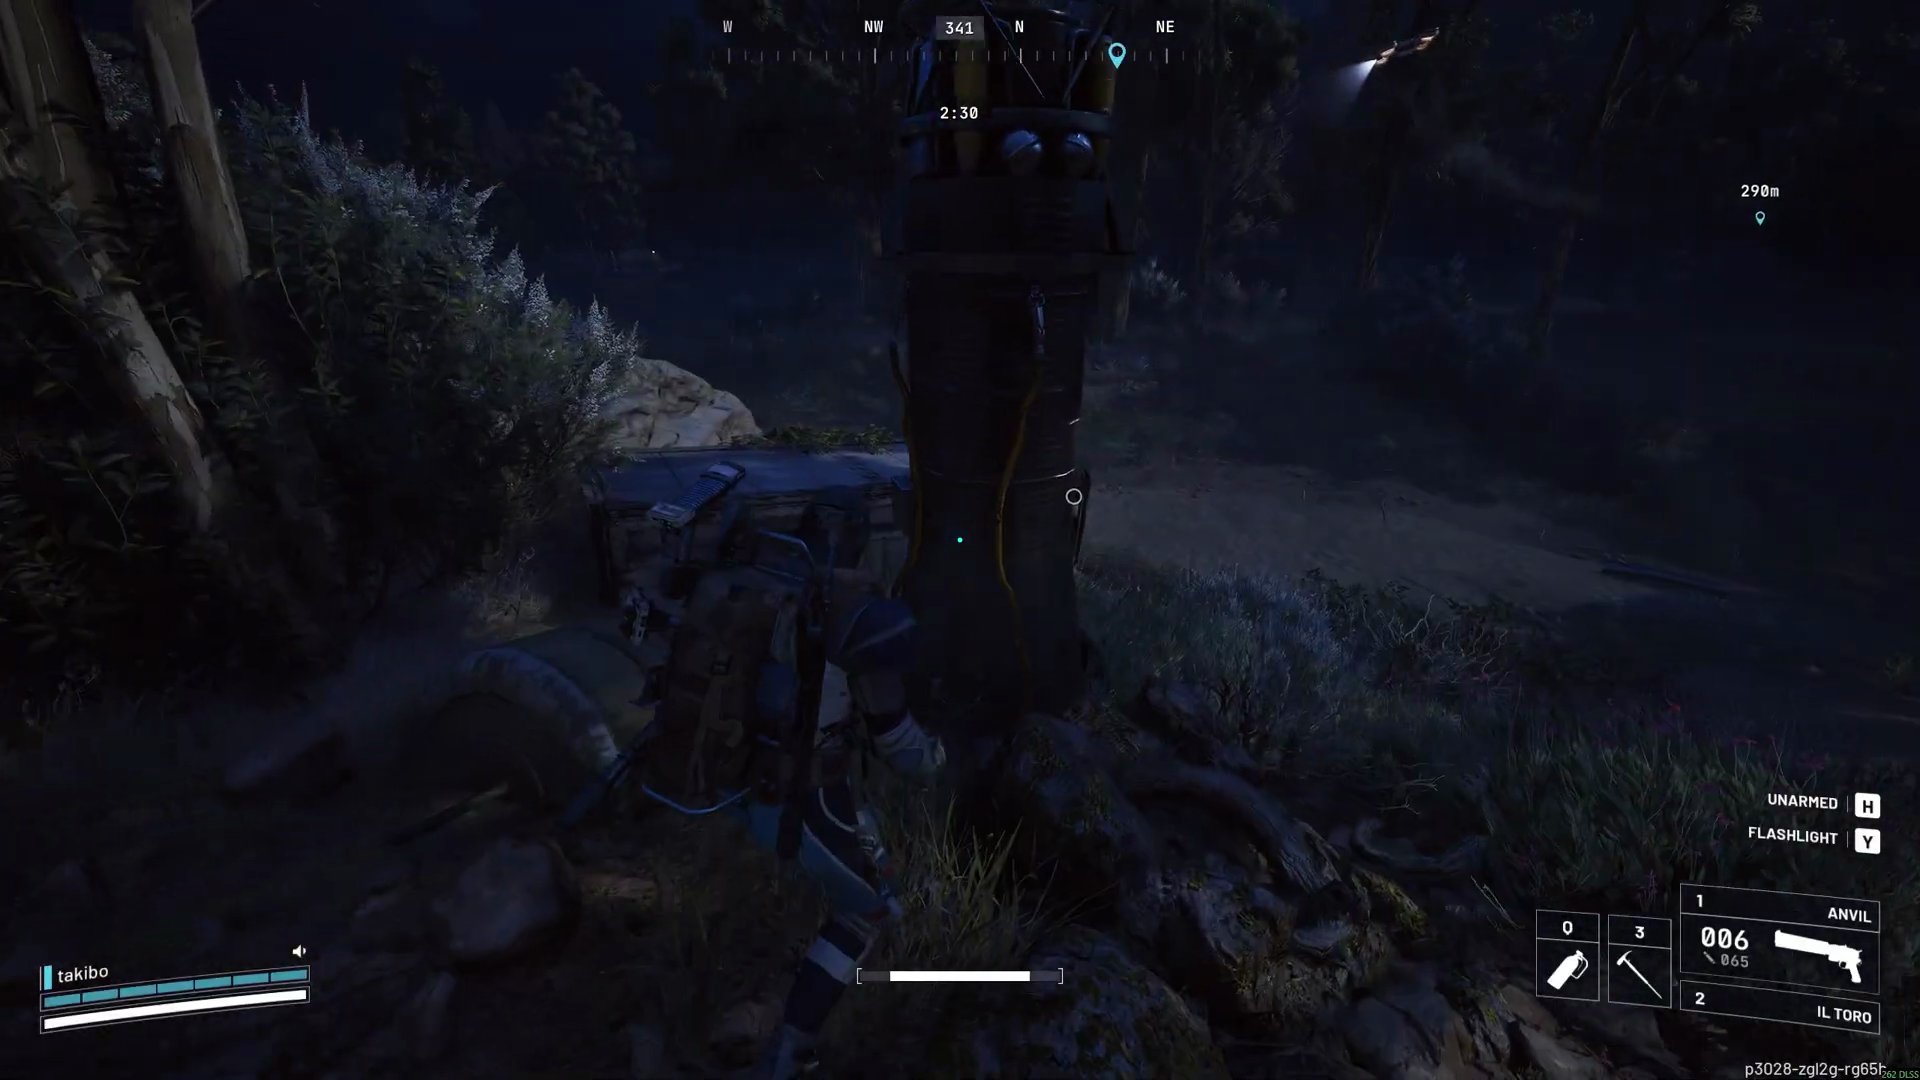
- Our interactive map can show potential spawn locations for them
Damage Wasps
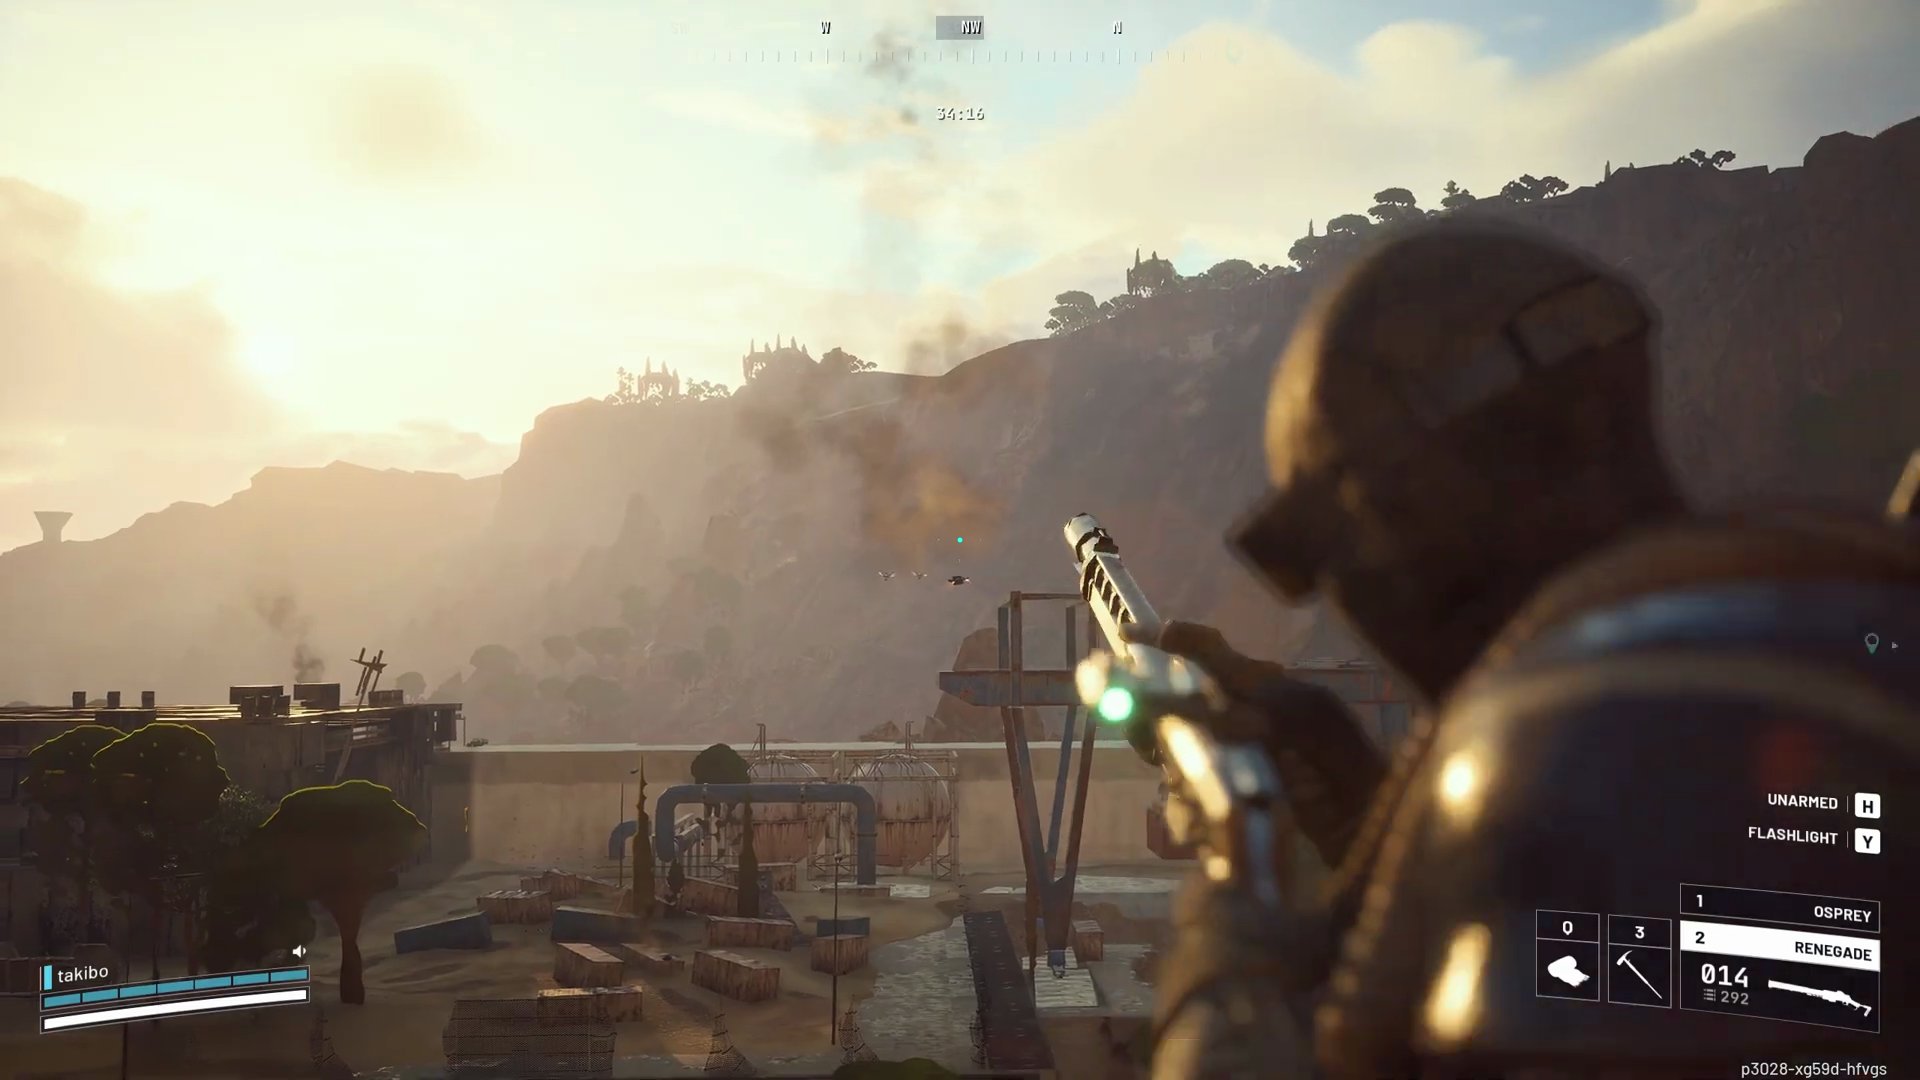
- Each Wasp main body kill grants ~440 points.
- The ideal location is Hidden Bunker when it's activated, as it spawns Wasps.
- Alternatively, Spaceport during a Night Raid or Electromagnetic Storm event is a strong choice, focusing on the Launch Tower or Control Tower areas.
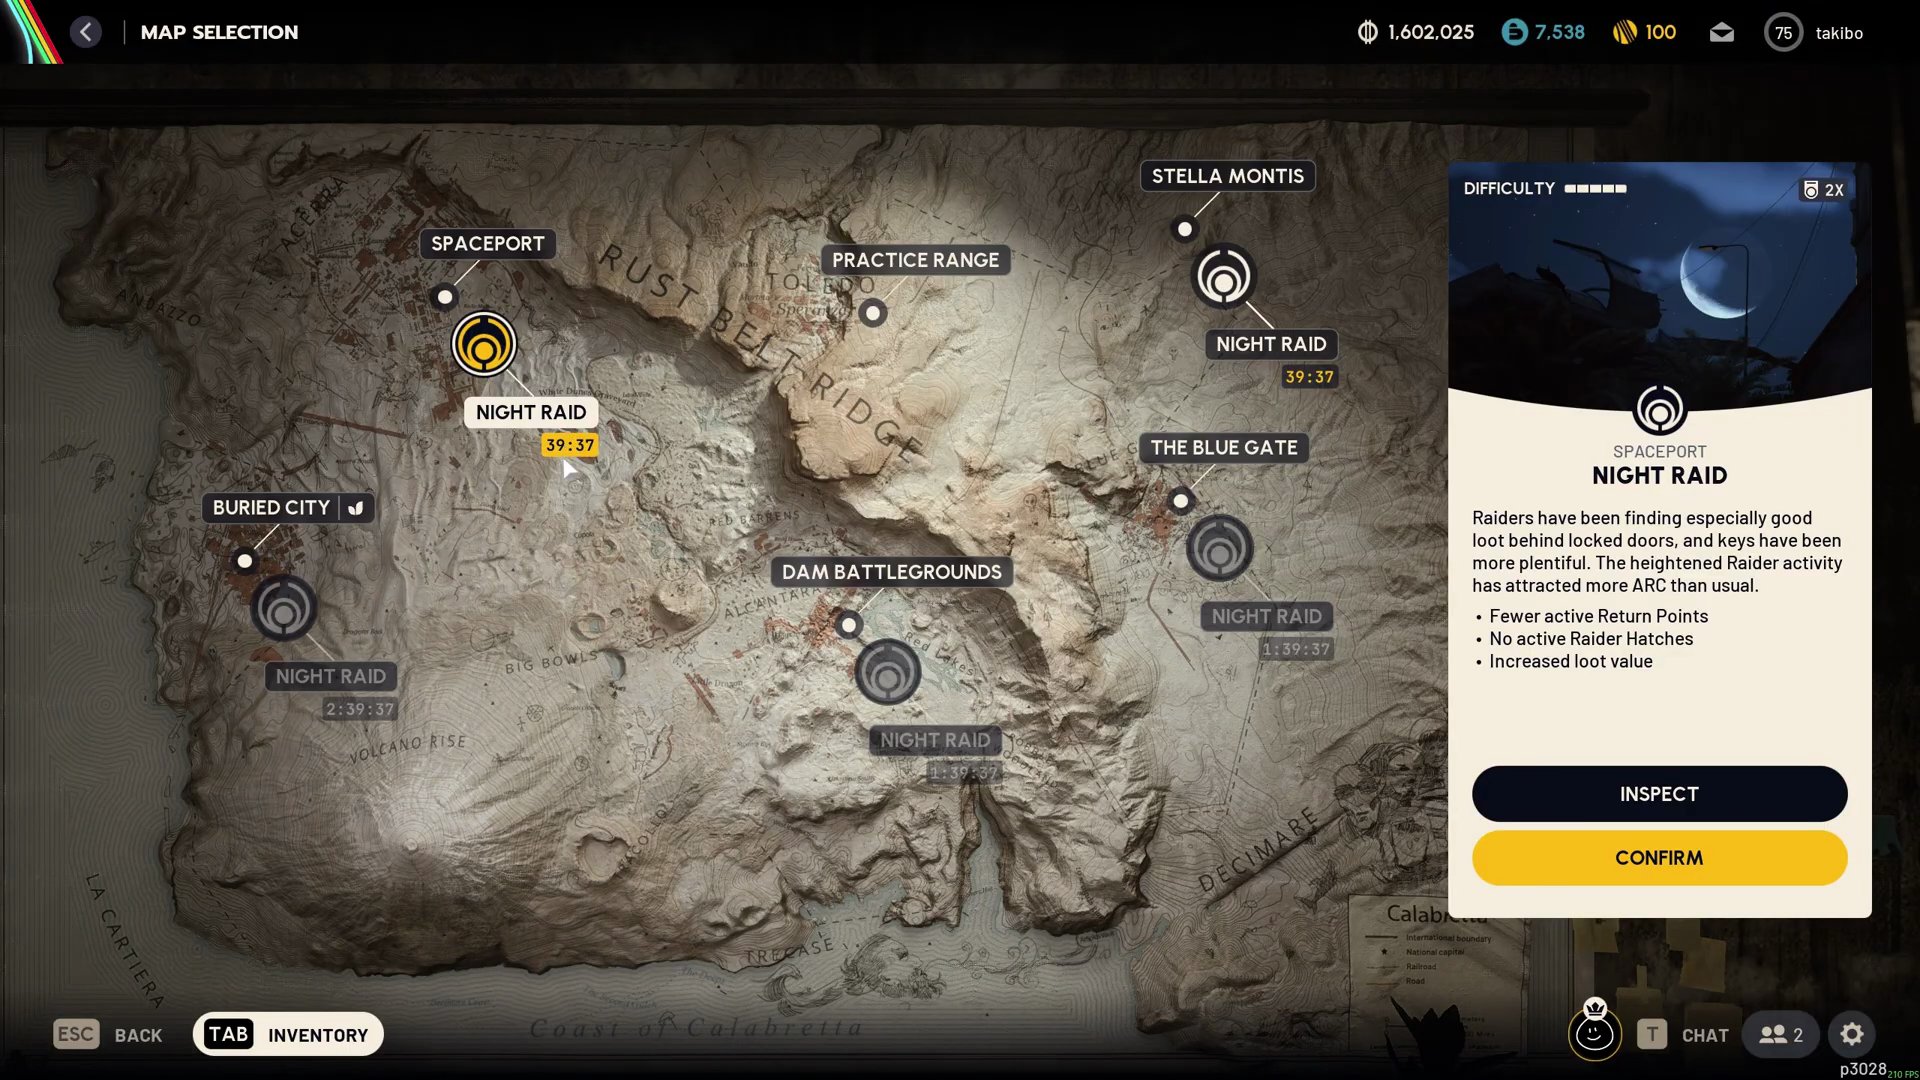
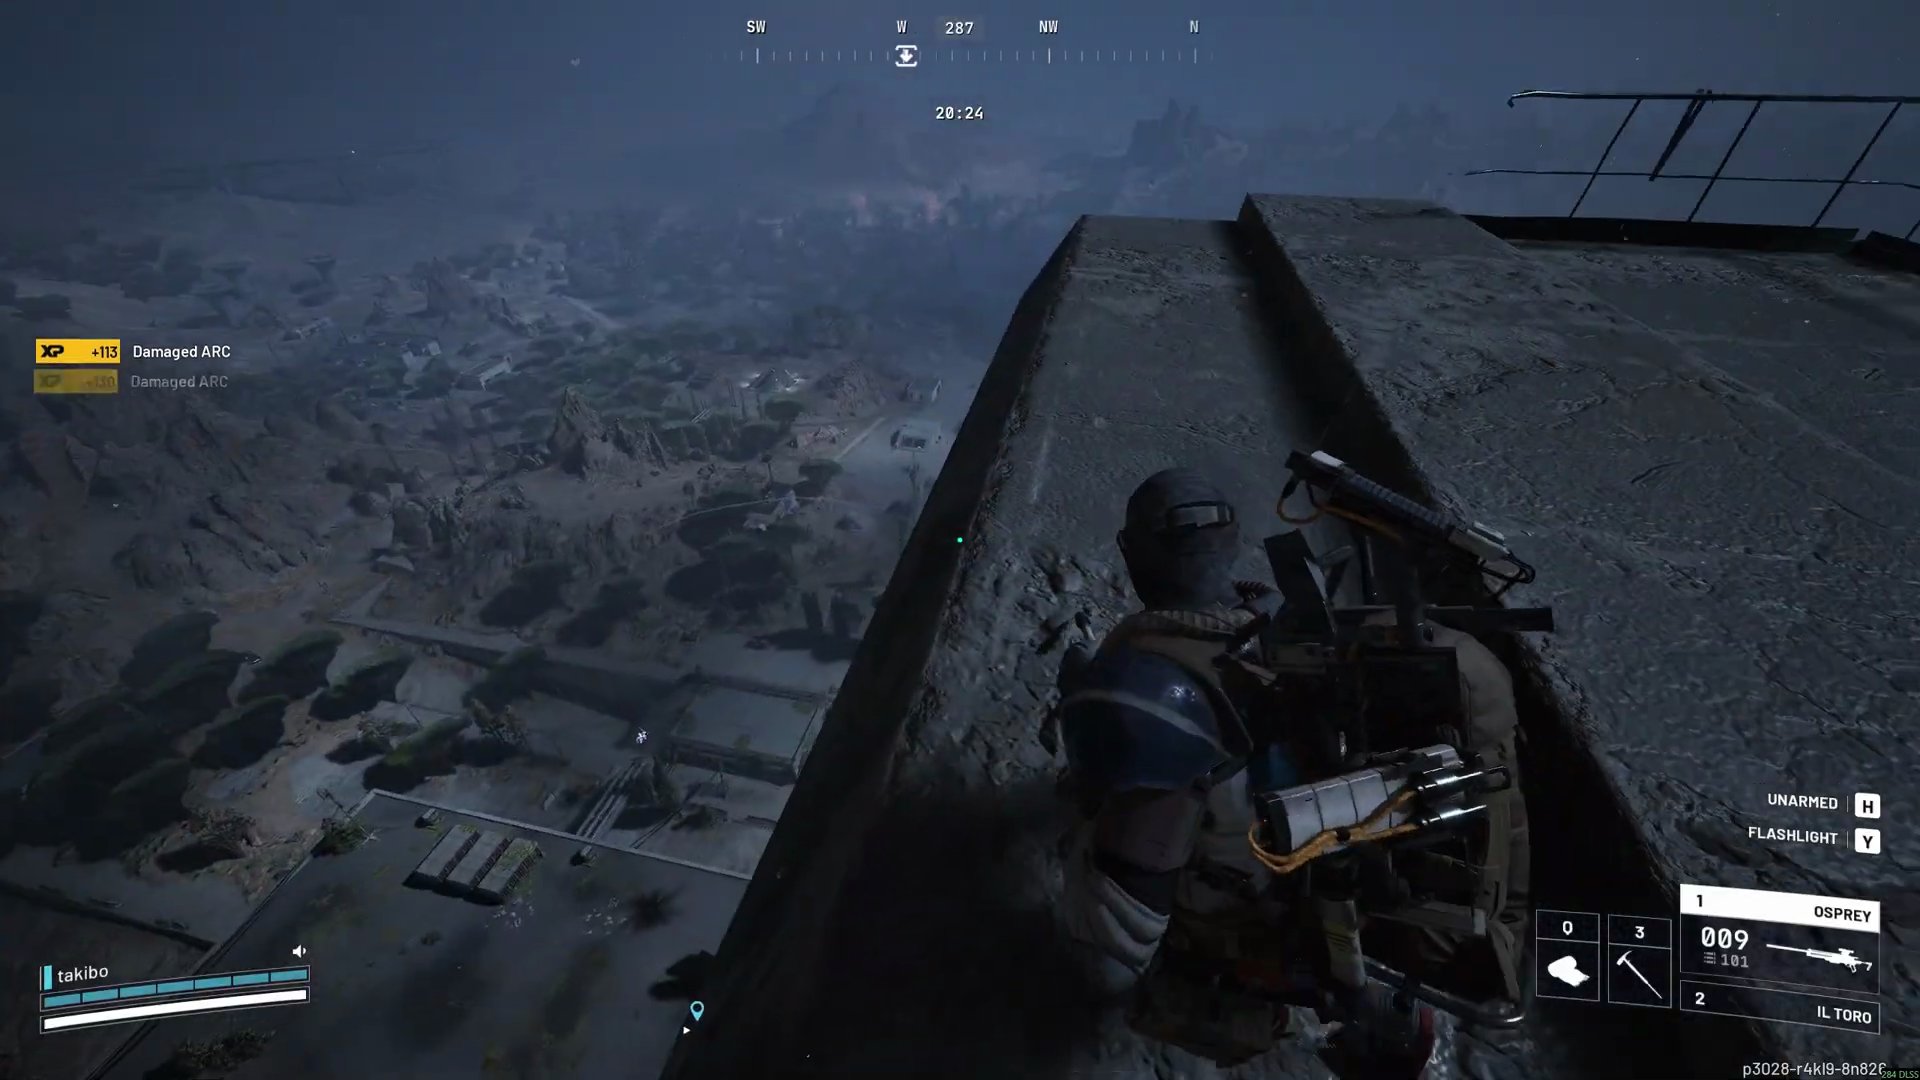
- Strategy with Snitch Scanners: Hoard multiple Snitch Scanners, then position yourself on a high vantage point like the top of a tower on Spaceport. Deploy traps at entrances and use scanners to detect and eliminate Wasps as they appear. This is highly consistent for points.
- Strategy without Scanners: Take high ground (e.g., a tower), use traps to protect yourself, and attract Snitches. Snitches will call in two extra Wasps per reinforcement, helping you meet the ~10 Wasps needed for three stars.
Damage Bastions
- Each Bastion kill grants ~4510 points.
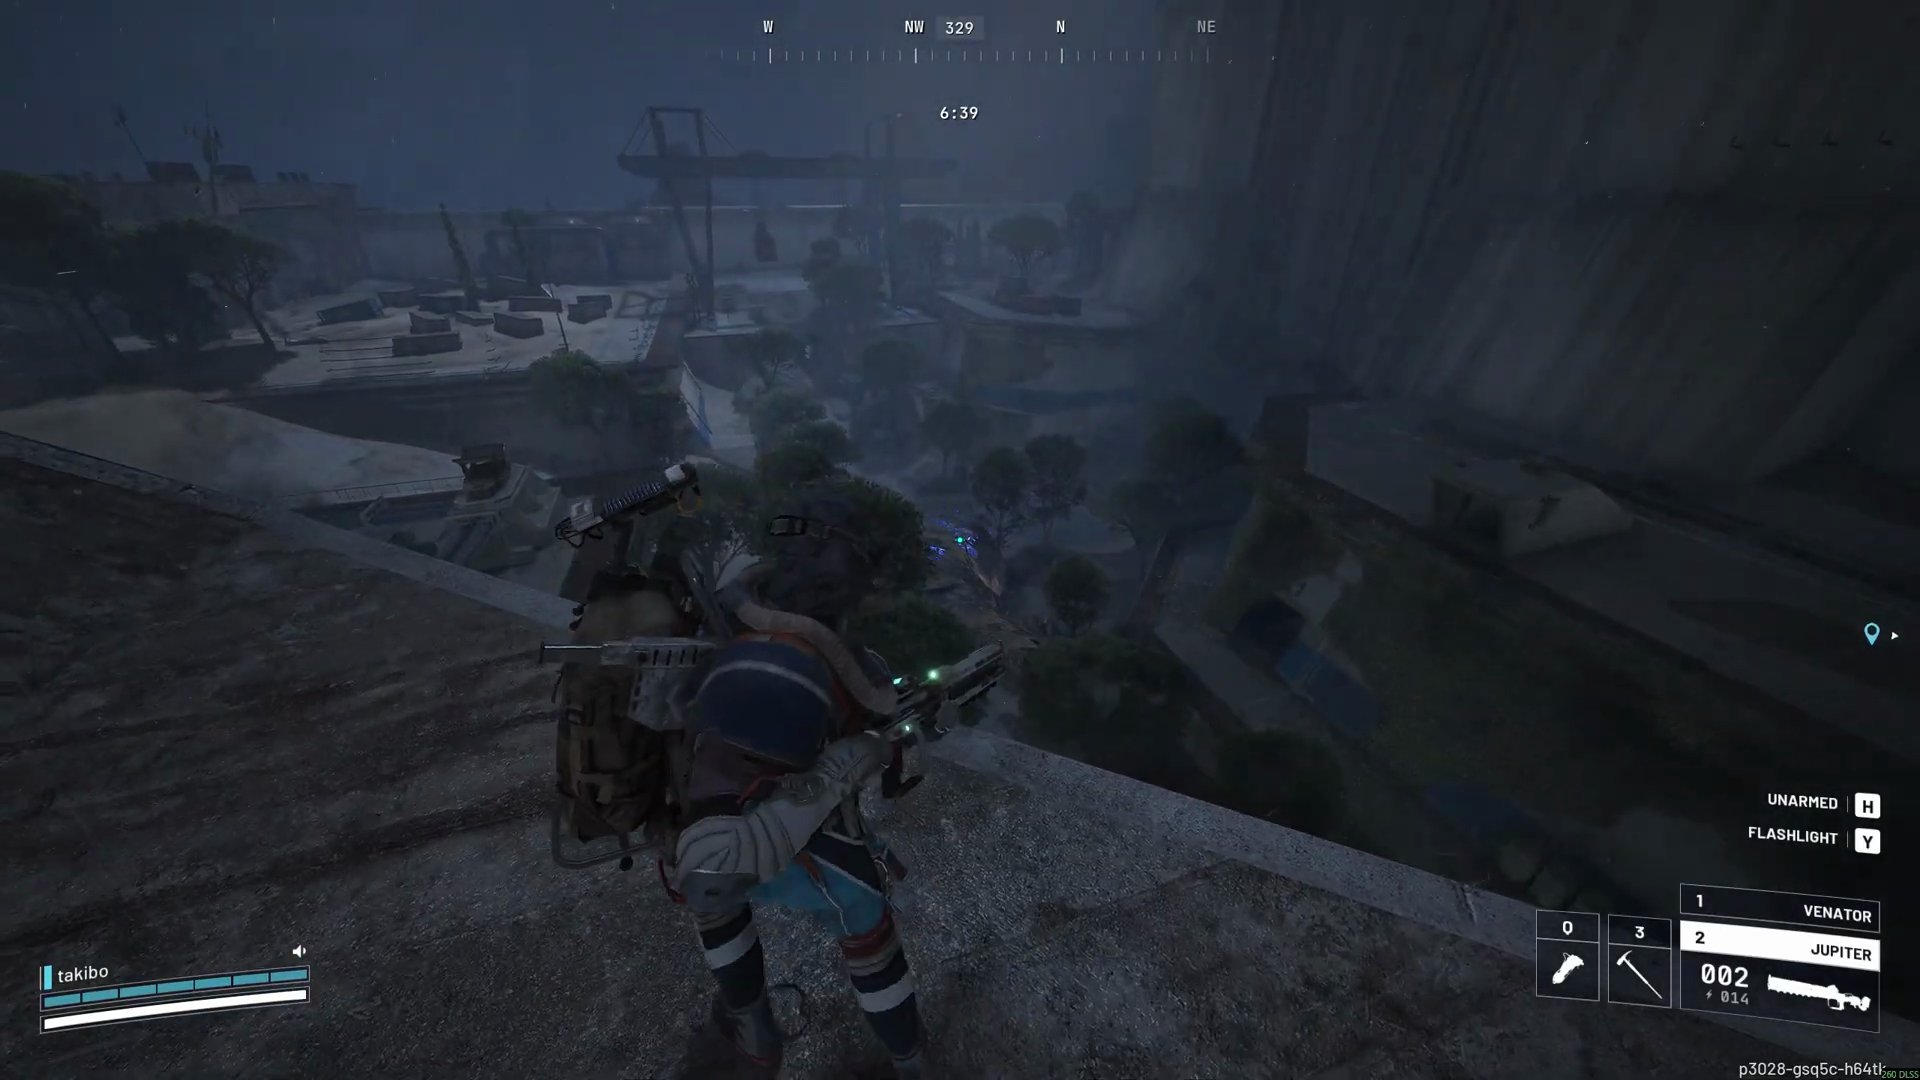
- Hidden Bunker, if active, is ideal as it spawns two Bastions directly on top, allowing for continuous farming.
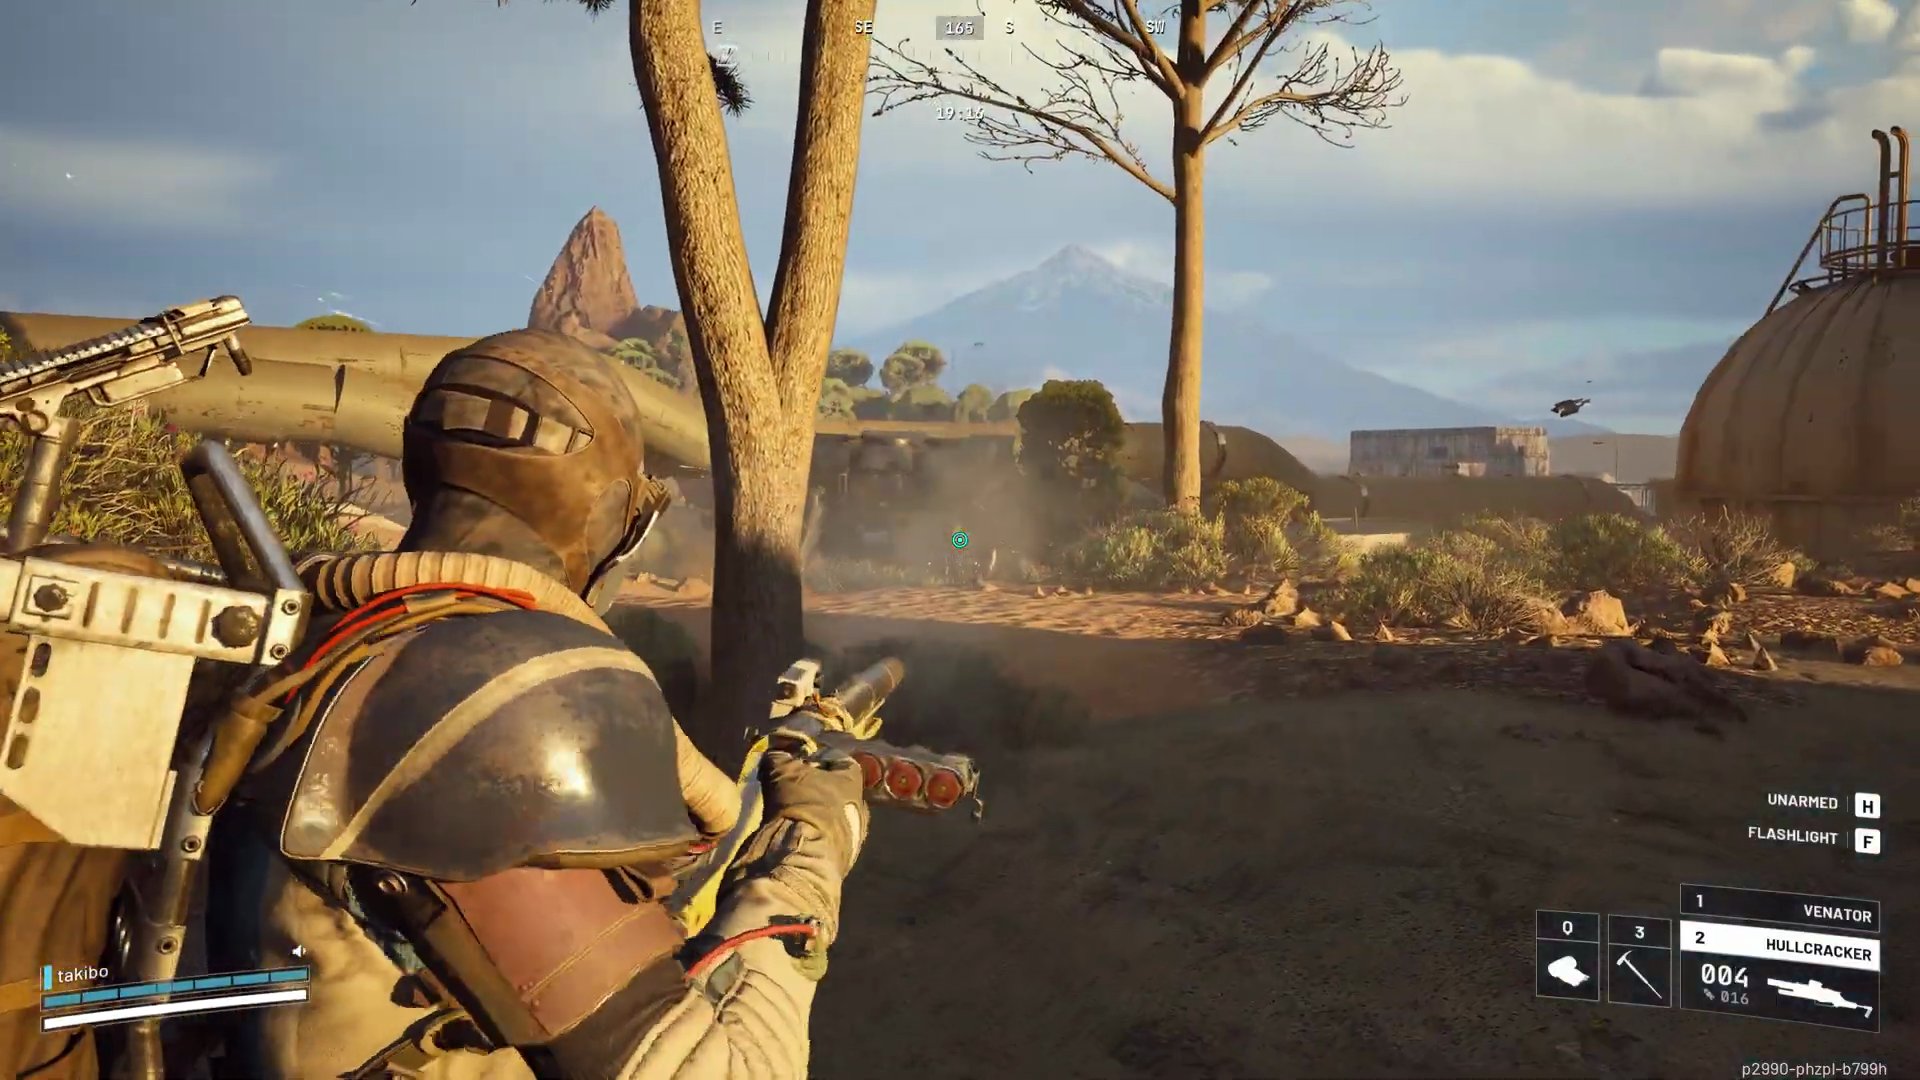
- Spaceport is also an excellent choice, with a solid six potential spawn locations, typically guaranteeing two Bastions per game. You can rotate between kills and allowing them to respawn.
- Easy 3-Star Method: Bring 2-3 Wolfpacks; throwing them at a Bastion will instantly kill it, allowing for a quick extraction.
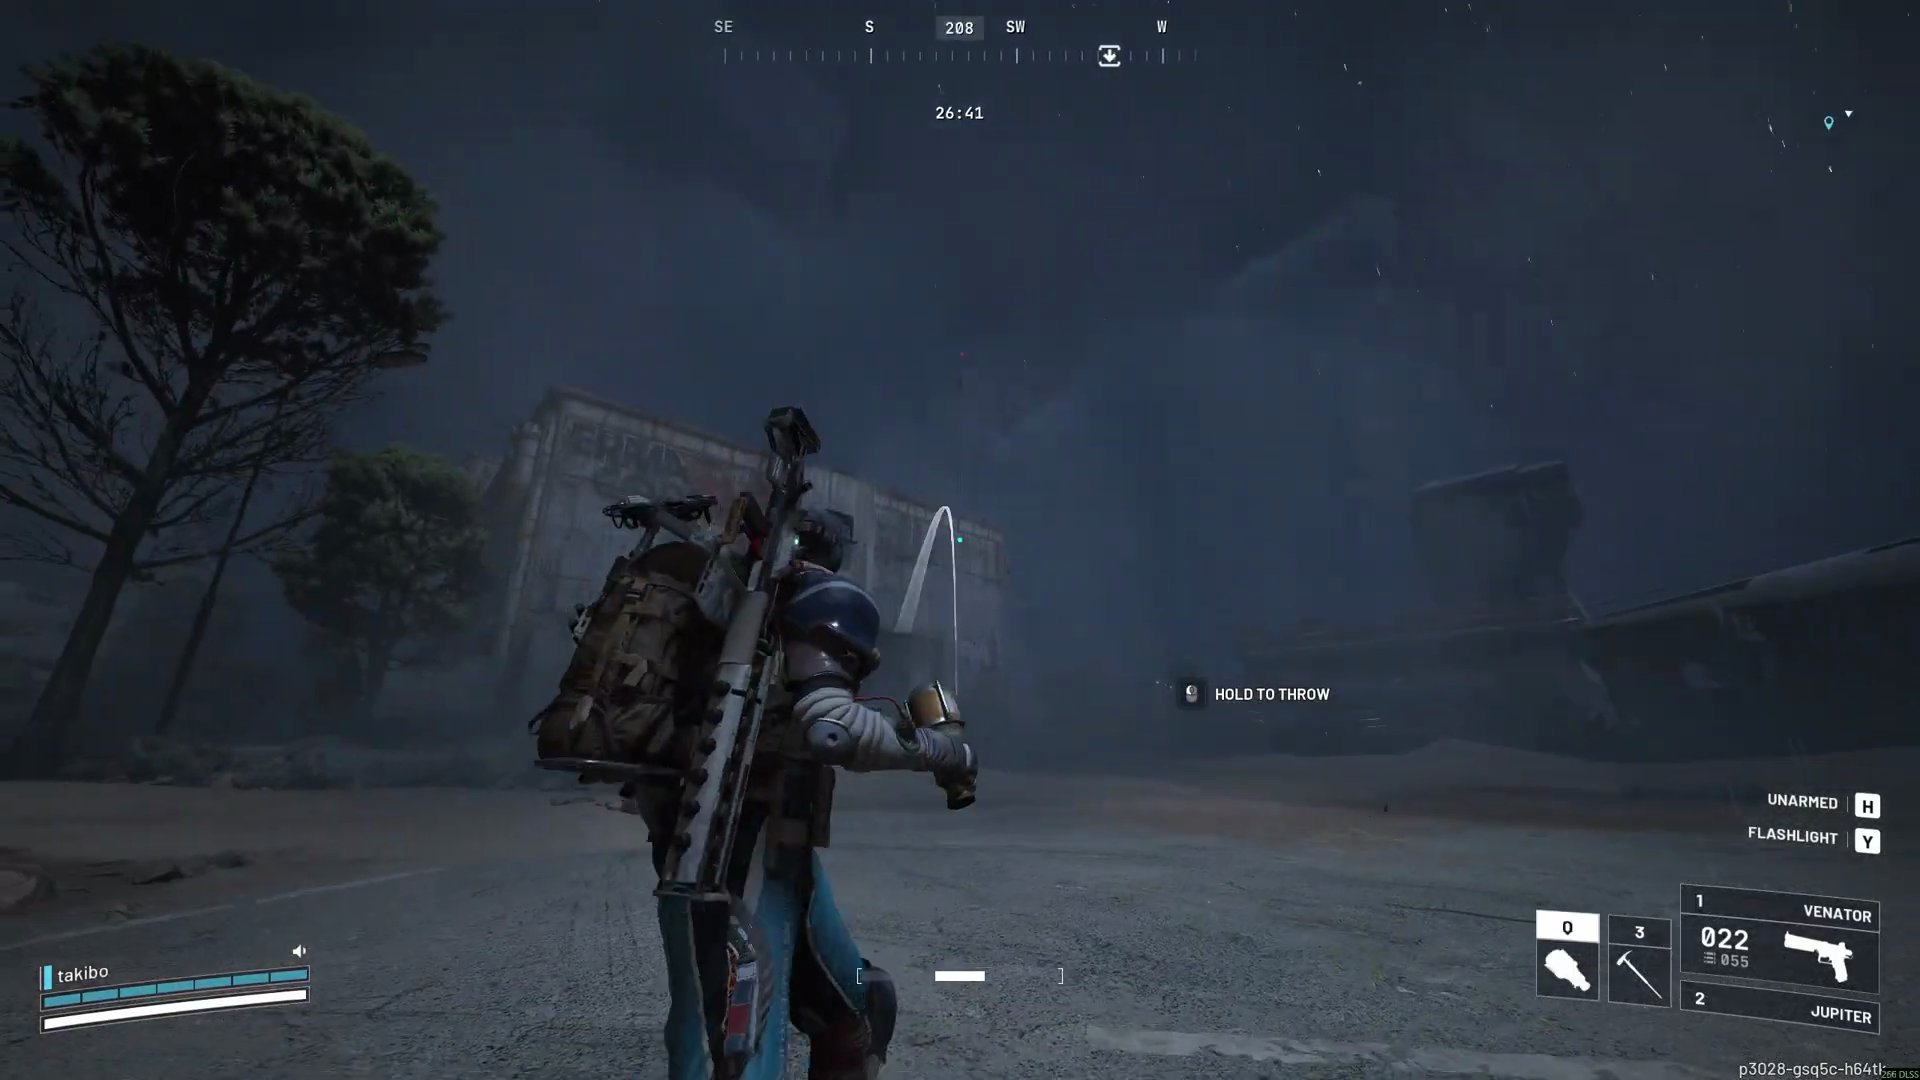
- Farming Strategy (Spaceport): For sustained point farming, either sit on top of Trench Tower and kill the Bastion below it or bunker up on Container Storage.
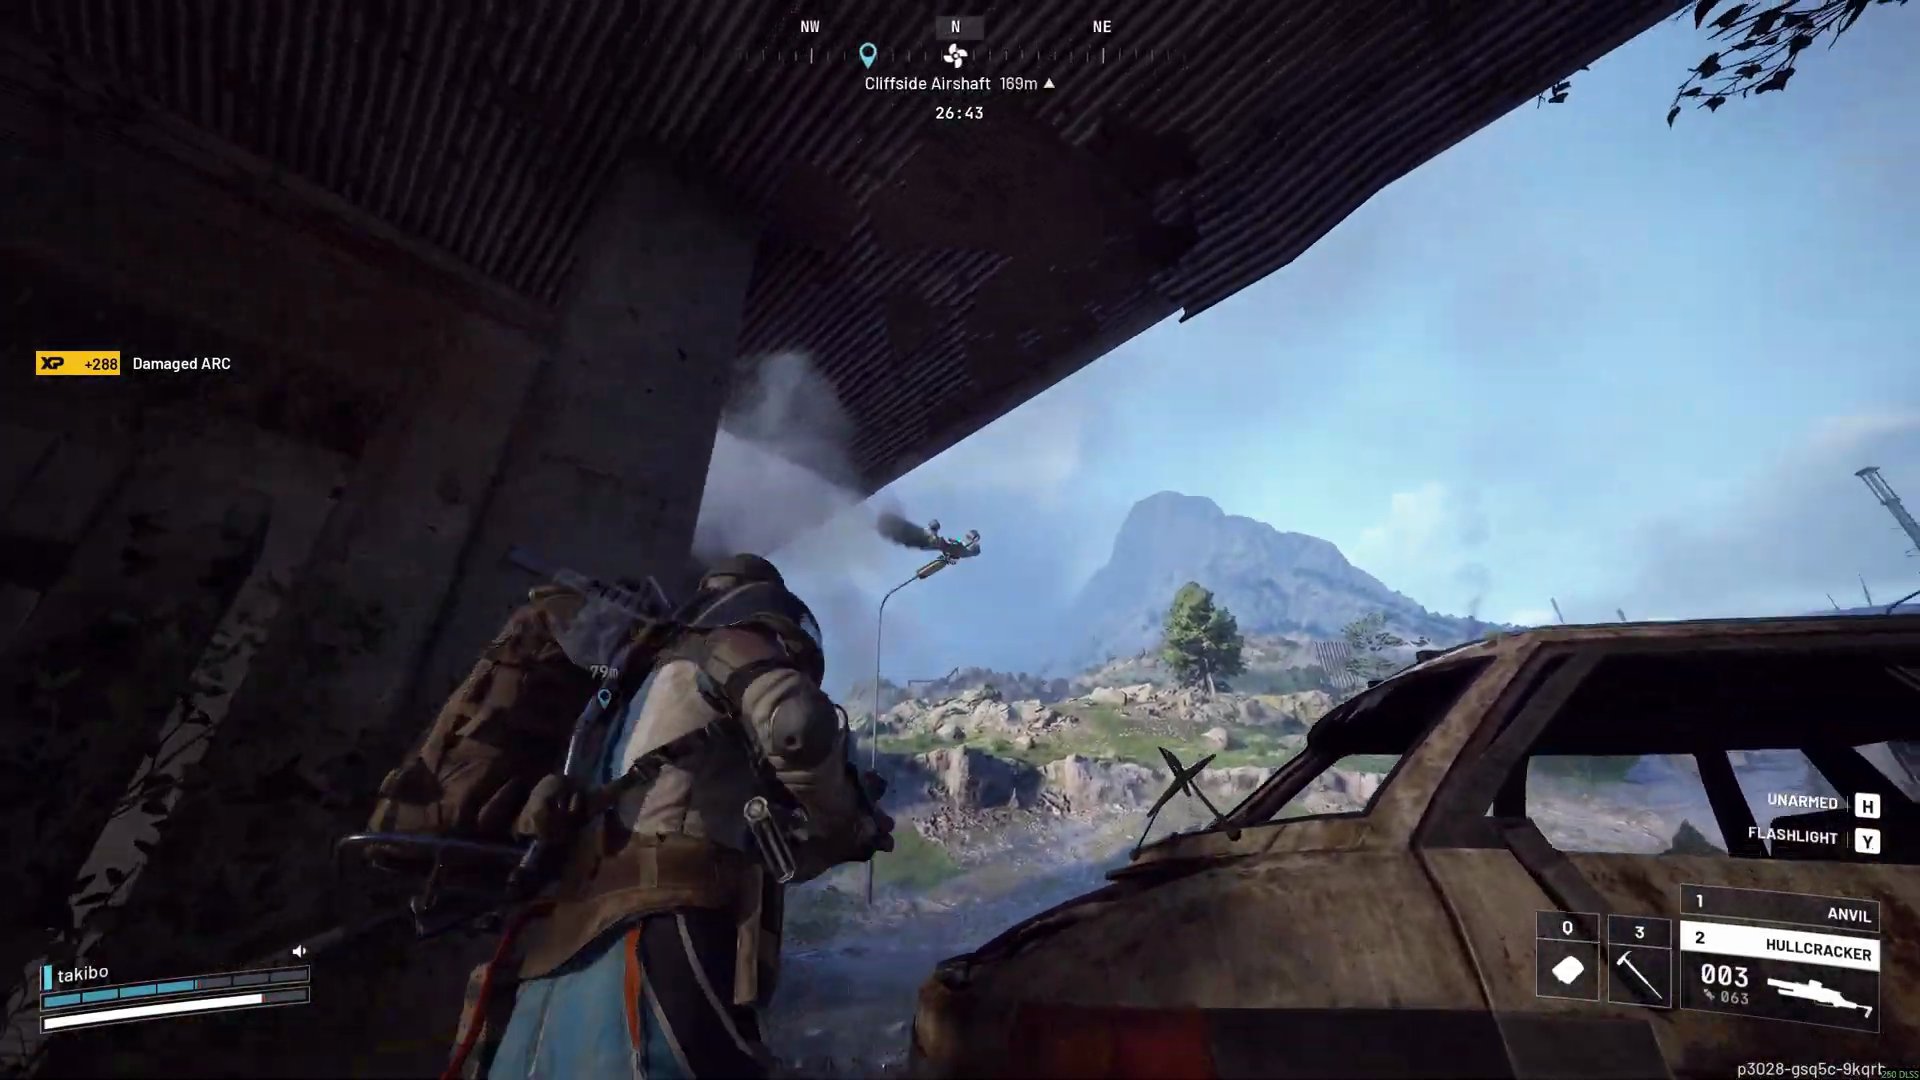
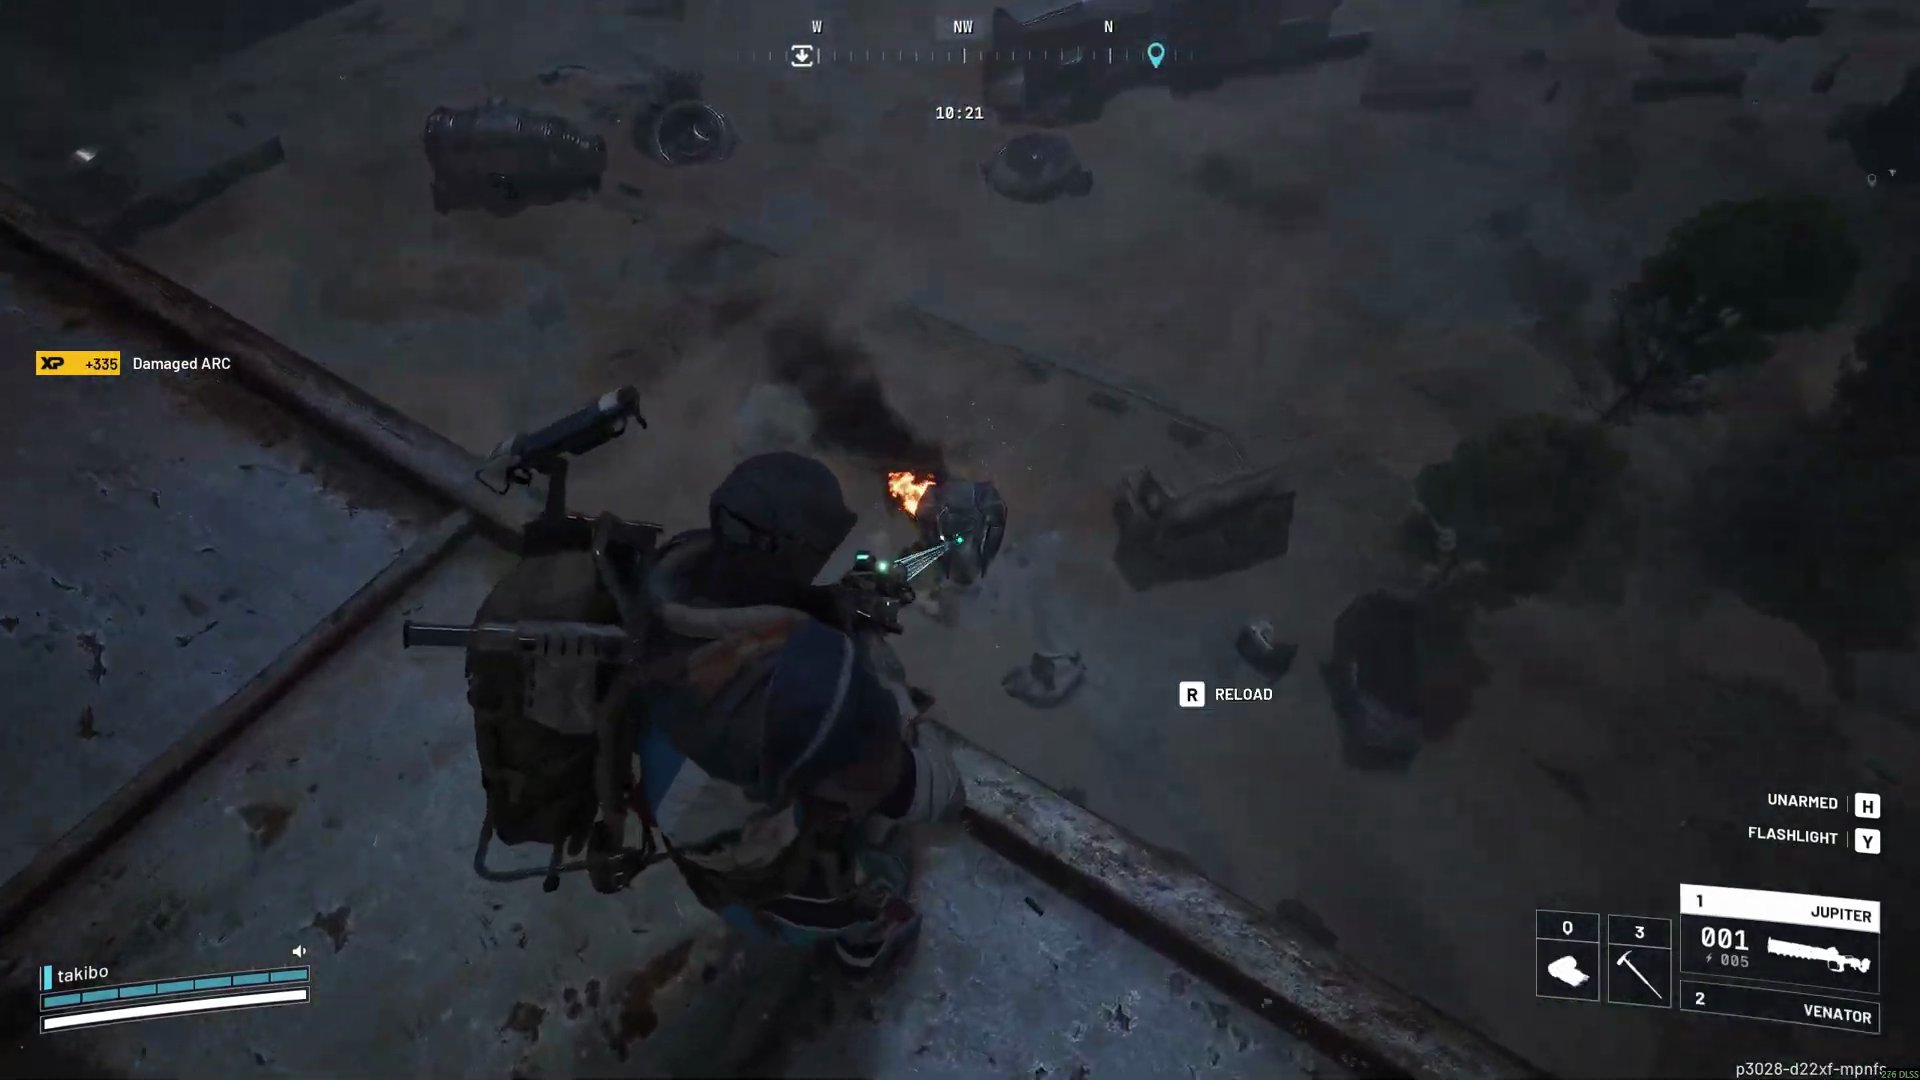 Be mindful of PvP, as heavy weapons like the Hullcracker attract attention.
- If aiming for 3 stars without min-maxing, two Bastion kills are sufficient for over 8,000 points.
Damage Queens or Matriarchs
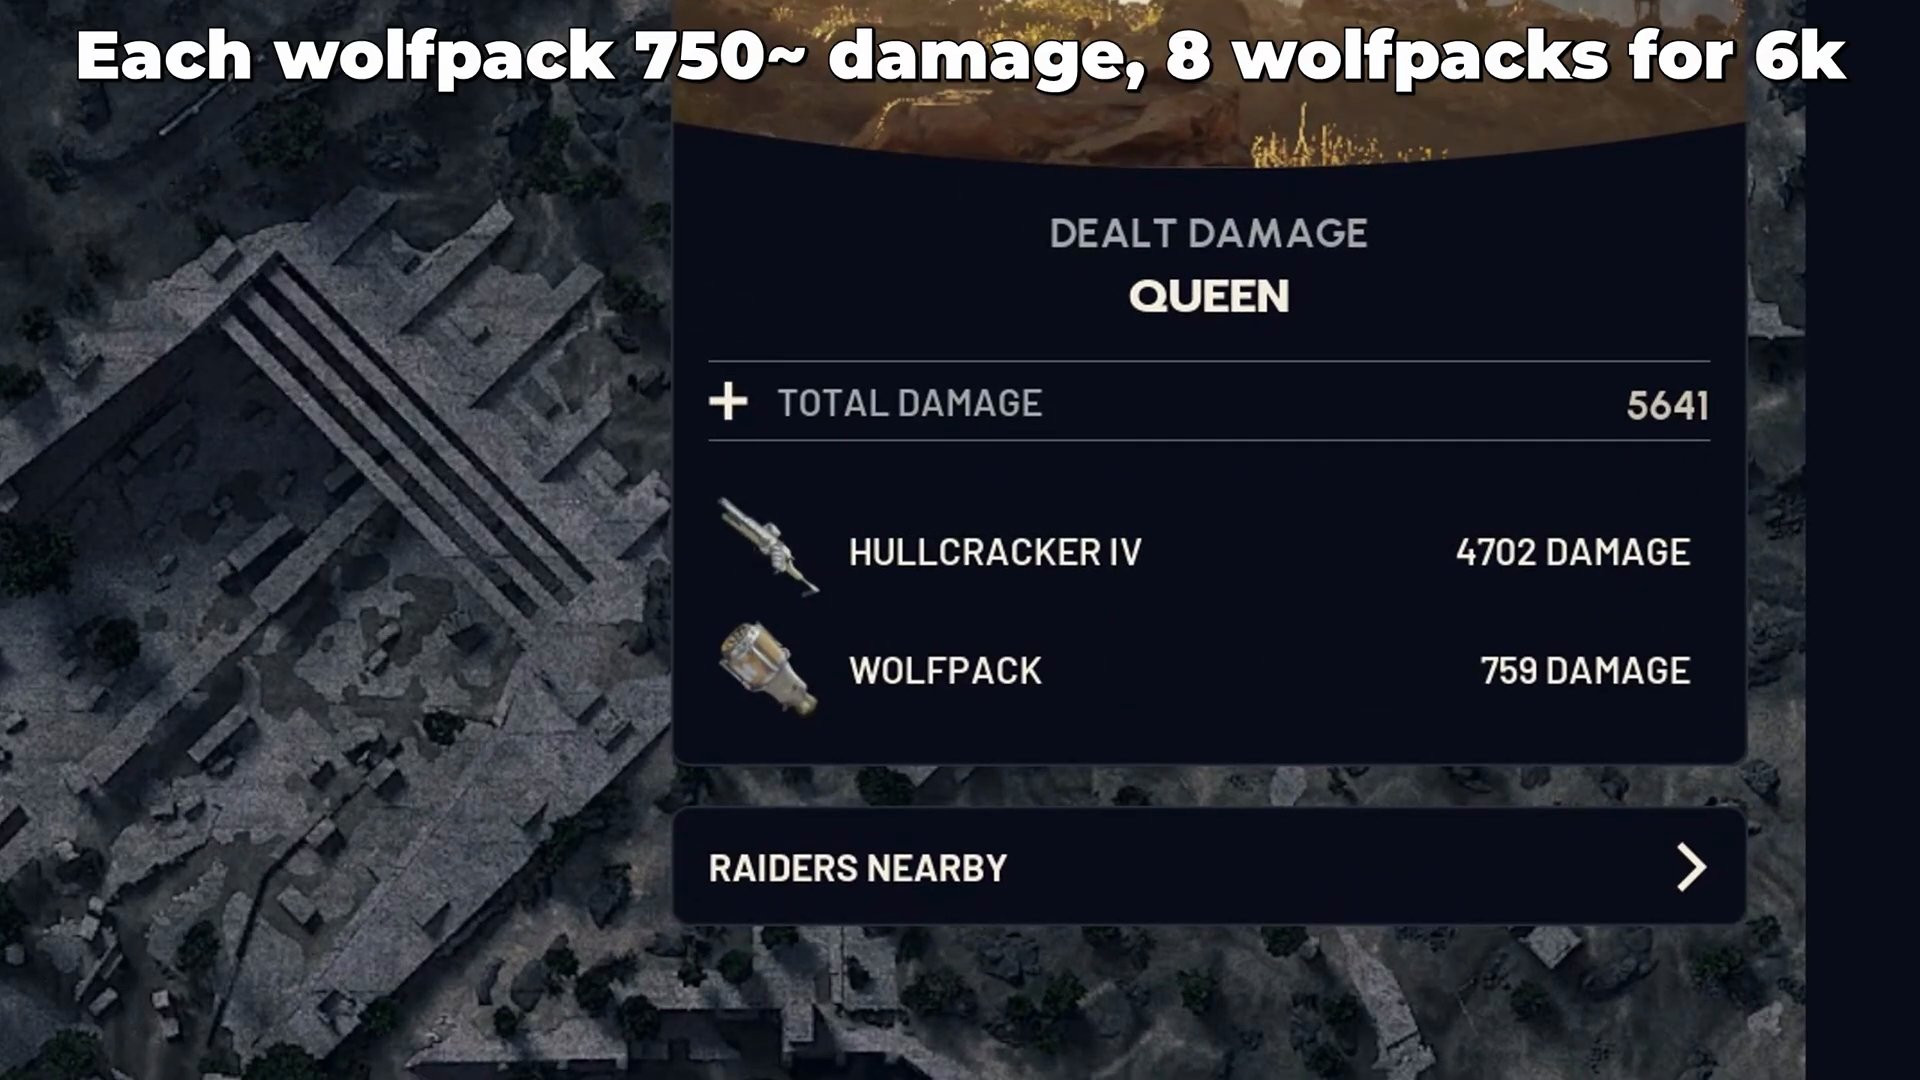
- Damage dealt translates to points at a 0.7:1 ratio. You need 5715 damage (not XP) to reach the 3-star threshold.
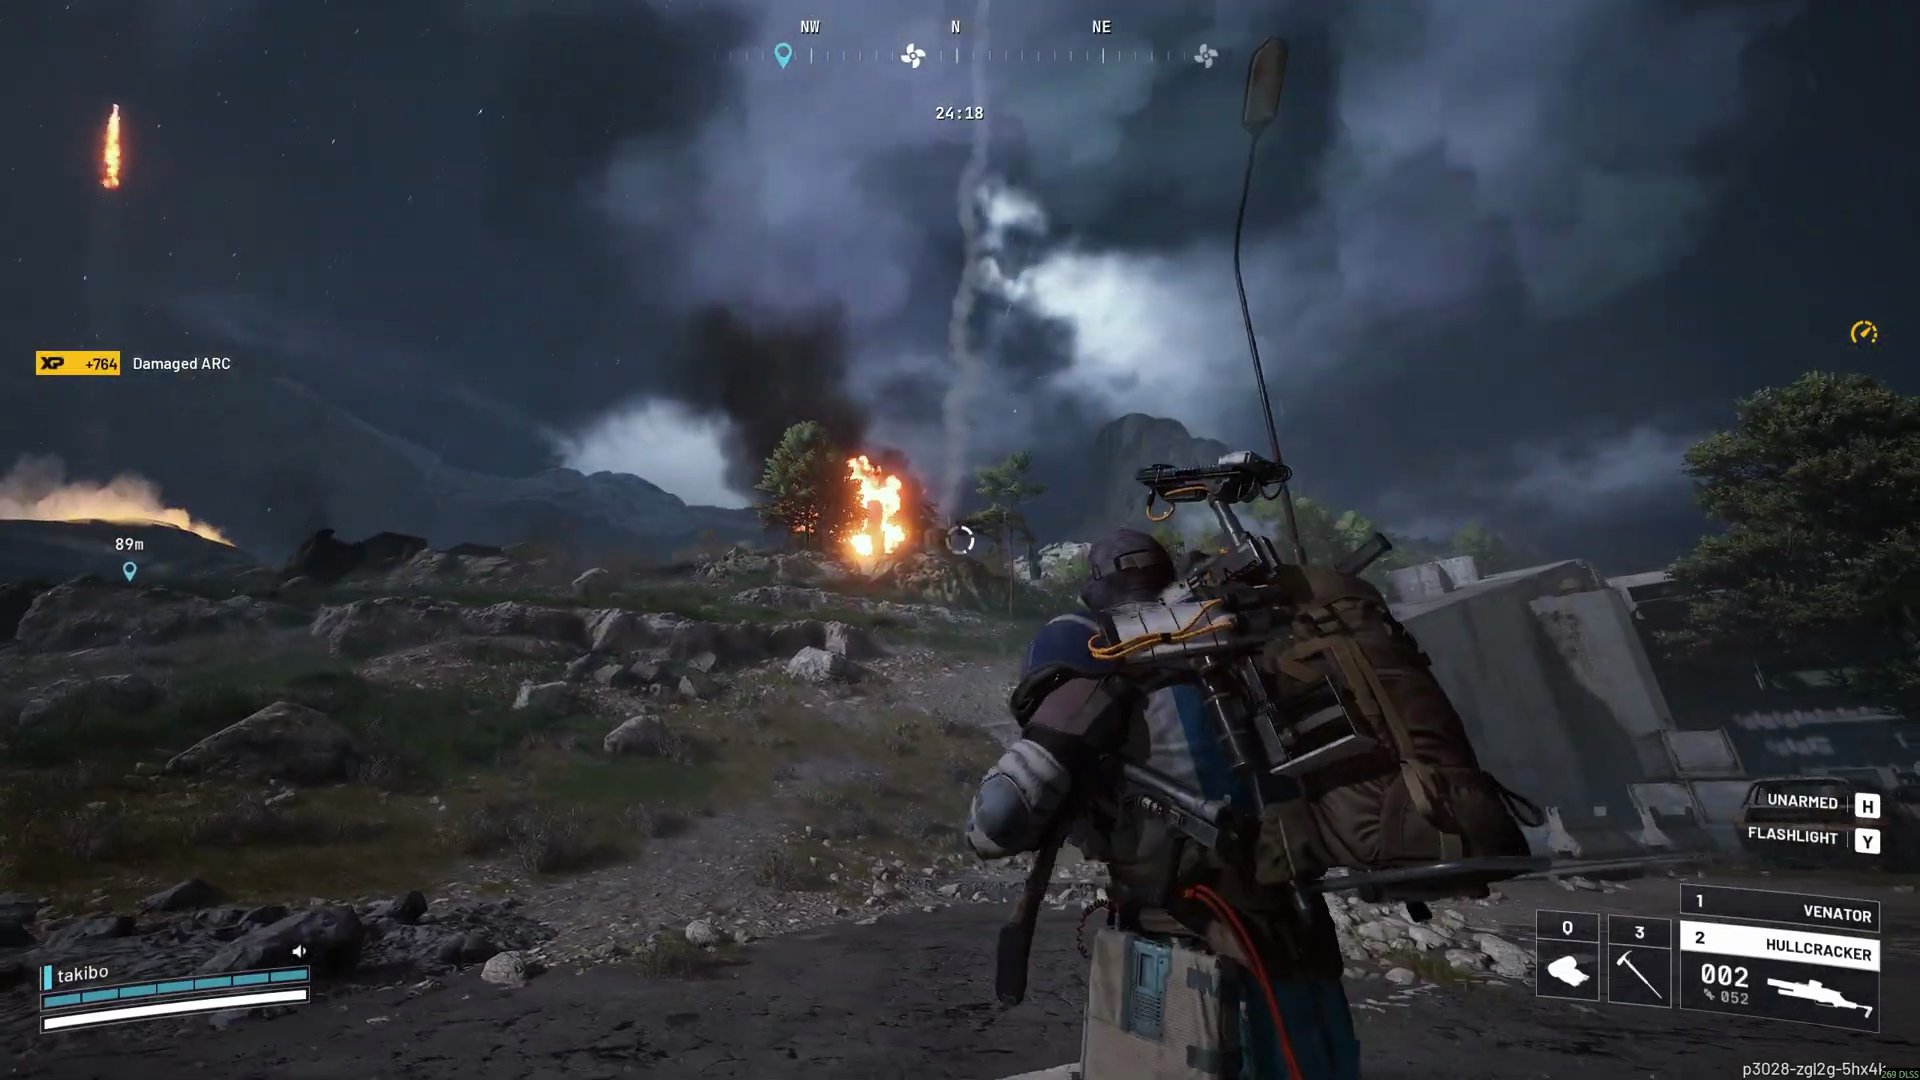
- This is the most challenging and expensive trial for solo players.
- Method 1 (High Cost, Low Effort): Use approximately eight Wolfpacks. Each Wolfpack deals around 750 damage, totaling ~6000 damage, easily exceeding the 3-star requirement. This is costly but effective.
- Method 2 (Risky): Get on top of the Queen/Matriarch and place Deadline mines. This can deal significant damage but is highly dangerous.

- Method 3 (Recommended): Use a Jupiter instead of a Hullcracker. The Jupiter deals significantly more damage per shot and its ammo is cheaper to craft/buy. This method allows for faster damage accumulation.
- Safe Positioning: When engaging the Queen/Matriarch, find high ground or cover.
- Group Play: This trial is best completed in a trio. If other teams join the fight, they will steal damage points from you, making it harder to reach the 3-star threshold. Coordinate with your team to deal the damage and secure the kill entirely for yourselves.